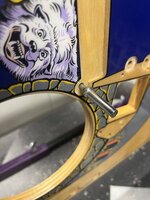
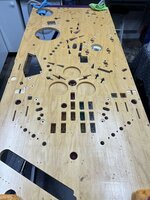
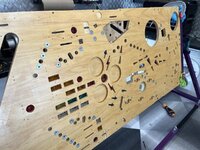
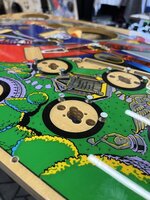
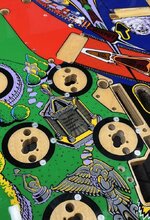
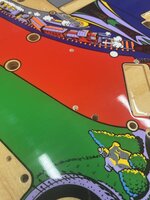
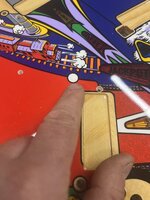
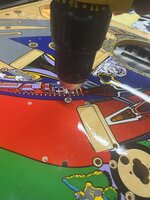
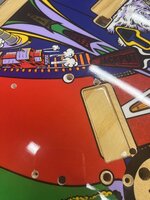
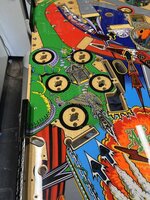
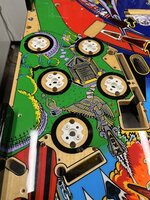
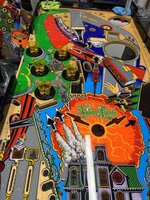
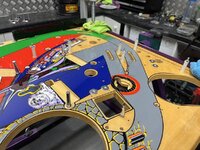
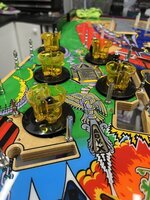
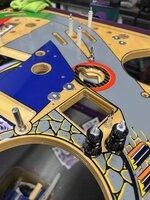
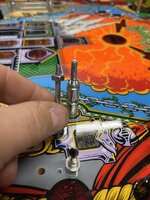
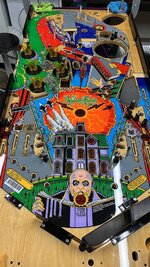
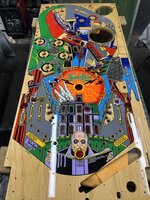
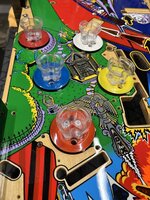
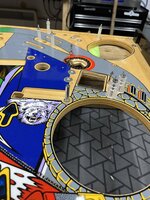
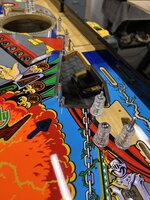
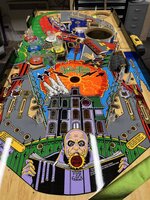
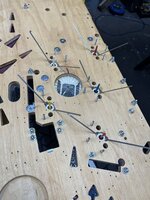
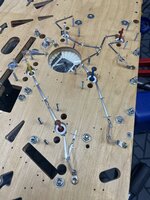
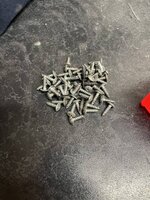
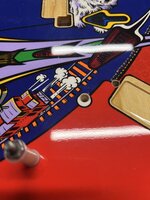
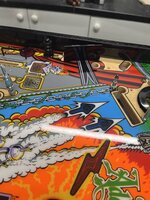
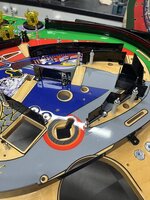
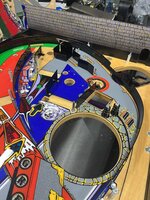
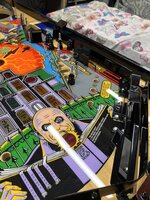
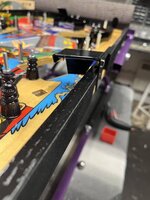
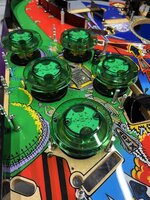
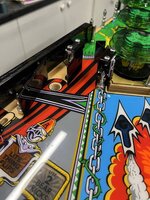
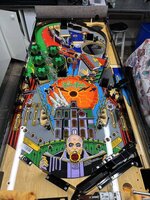
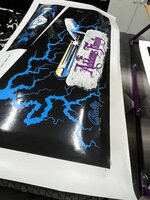
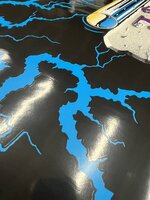
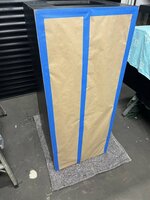
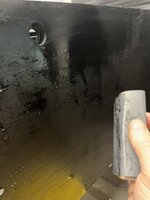
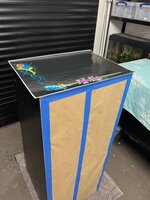
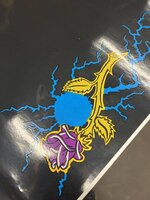
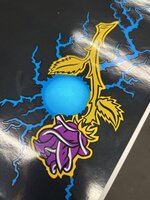
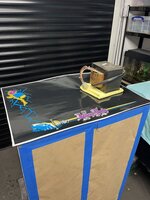
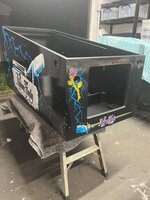
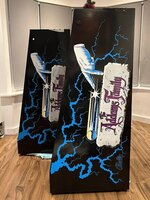
I needed to crack on with the playfields and as one of them has a Ron Kruzman re-finished clear coat, there’s a few extra steps to take in order to avoid chipping the clear when drilling out the holes and dimples on the top side.
The thickness of the clear he applies is a lot different from the standard finish of repro playfields.
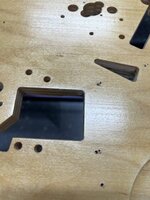
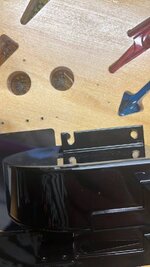
Due to thickness of the clear he uses, it builds up and flows into the holes and dimples.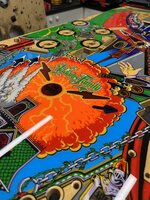
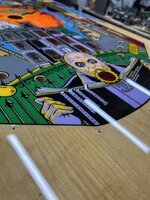
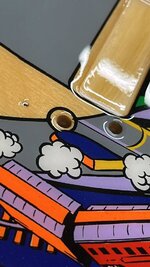
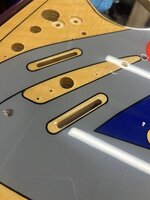
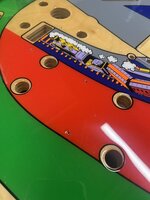
If I was to take a small drill bit and attempt to open these up, as soon as the drill starts to spin, it would catch the clear and chip it, or could cause ghosting. This can also happen on a CPR or Mirco PF, but on this one, it would definitely happen.
To get round this, I used a kit that he supplies.
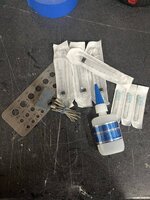
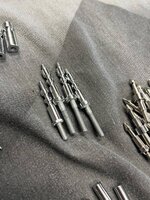
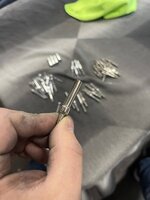
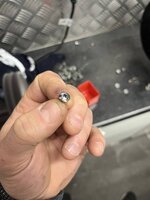
The kit includes grinding bits that won’t catch and chip the clear, but will sand/grind it away instead. The basic concept is to open the holes out and then re-seal them to stop any future chipping or lifting to the clear. I believe this is something that happens on some repro playfields and even on newly released titles and will only get worse unless you stick some mylar on it to try and stop it spreading.
I used 2 of the grinding tools from the kit as well as a hand countersink tool, however there are loads of different ways I’ve seen people do this using this mini kit on Pinside.
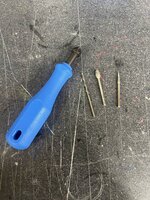
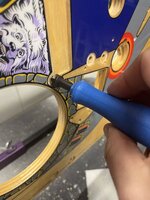
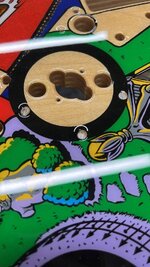
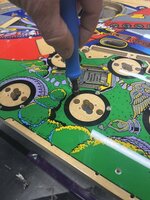
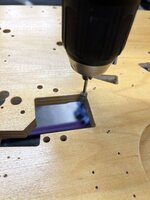
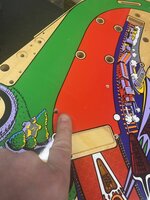
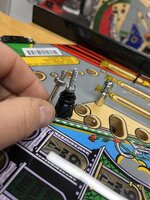
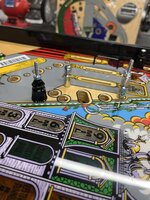
First step I did was to use the pointed tool to start opening up the dimples.
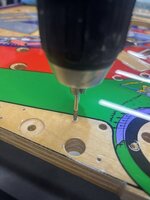
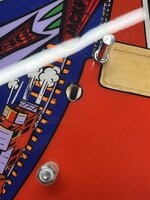
This opened the dimples up slightly. I then followed up with the oval bit until the opening was larger than the screw threads. This will stop the threads of the screws catching the clear and potentially lifting the clear coat.
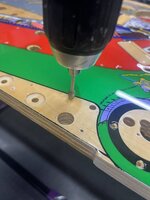
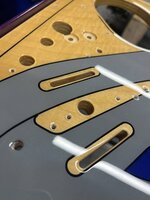
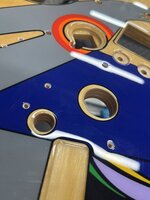
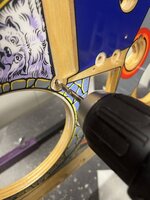
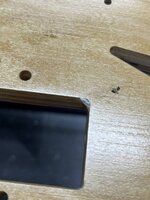
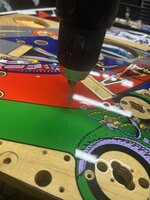
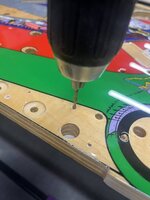
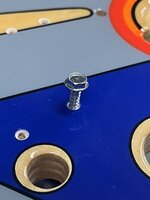 Once the hole is opened up enough, I moved to the drill bit. Ron includes a nice drill gauge set which comes in handy for much more than this job.
Once the bit is selected, I run the drill through to the required depth.
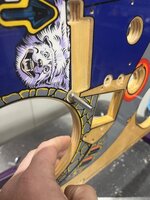
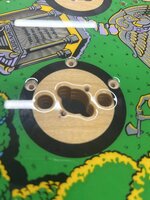
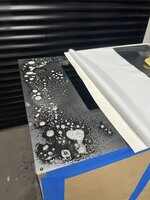
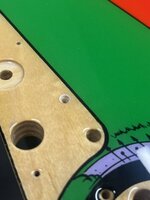
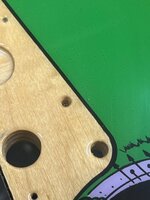
The final and most important stage is to re-seal the holes. Because the clear has been removed, each hole is now an area that could chip or cause ghosting from vibration or impact of the ball.
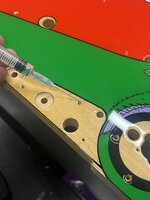
To re-seal the holes I used watered down super glue that comes with the kit.
Ron includes syringes to put the glue into the holes.
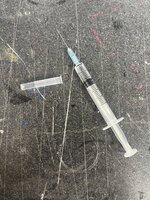
They work great and gives precise control, as to be honest I was ****ting myself when doing this as I didn’t was super glue going all over the playfield.
I just added a drop to each hole or until the white turns clear which locks the clear coat back down.
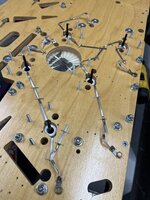
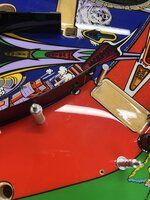
Next job is to open up all the holes for the posts and do the same to the CPR PF.
The thickness of the clear he applies is a lot different from the standard finish of repro playfields.
Due to thickness of the clear he uses, it builds up and flows into the holes and dimples.


If I was to take a small drill bit and attempt to open these up, as soon as the drill starts to spin, it would catch the clear and chip it, or could cause ghosting. This can also happen on a CPR or Mirco PF, but on this one, it would definitely happen.
To get round this, I used a kit that he supplies.

The kit includes grinding bits that won’t catch and chip the clear, but will sand/grind it away instead. The basic concept is to open the holes out and then re-seal them to stop any future chipping or lifting to the clear. I believe this is something that happens on some repro playfields and even on newly released titles and will only get worse unless you stick some mylar on it to try and stop it spreading.
I used 2 of the grinding tools from the kit as well as a hand countersink tool, however there are loads of different ways I’ve seen people do this using this mini kit on Pinside.

First step I did was to use the pointed tool to start opening up the dimples.

This opened the dimples up slightly. I then followed up with the oval bit until the opening was larger than the screw threads. This will stop the threads of the screws catching the clear and potentially lifting the clear coat.


 Once the hole is opened up enough, I moved to the drill bit. Ron includes a nice drill gauge set which comes in handy for much more than this job.
Once the bit is selected, I run the drill through to the required depth.

The final and most important stage is to re-seal the holes. Because the clear has been removed, each hole is now an area that could chip or cause ghosting from vibration or impact of the ball.
To re-seal the holes I used watered down super glue that comes with the kit.
Ron includes syringes to put the glue into the holes.

They work great and gives precise control, as to be honest I was ****ting myself when doing this as I didn’t was super glue going all over the playfield.
I just added a drop to each hole or until the white turns clear which locks the clear coat back down.


Next job is to open up all the holes for the posts and do the same to the CPR PF.
Last edited:

