What's new
Pinball info

Register a free account today to become a member! Once signed in, you'll be able to participate on this site by adding your own topics and posts, as well as connect with other members through your own private inbox!

Complete The Addams Family(s) Restoration

Ant-H

Site Supporter
Joined
Oct 17, 2020
Messages
1,300
Location
London
Now that I’ve finally completed my T2 restoration , I thought I’d start a new shop log for the next project in line which is The Addams Family.

I’m actually going to be restoring 2 x TAF’s in tandem, one being mine own personal game and the other owned by another collector within the hobby.
I’ll mainly update this build log with progress to my game, just to save doubling up the photos etc, but I will add some progress updates for the other game as well.

The plan for both games are new decals, new playfields, refurbished armour, all new part etc, basically everything 😀
They will look slightly different once they are finally complete as Ive got a few ideas for mine that I’d like to try out.

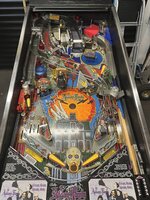
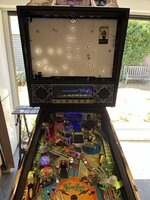
In regards to my TAF, I purchased it approximately 4-5 months ago, where It had been unused for the last 10 years but still played ok with no major issues.

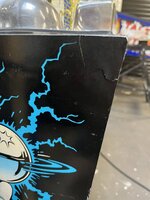
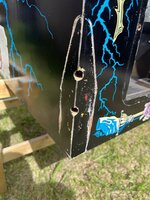
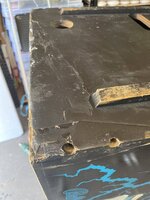
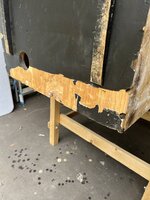
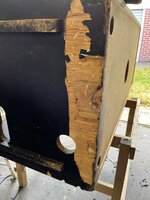
I would say the worst part of it was probably the cabinet condition. It looked battered in some areas, and I could see straight away someone had tried to fix some damage to the rear with some polycell filler😬 and I knew once I start taking it apart I’ll uncover some more problems.
But overall it was in good playable condition.FC210CF6-667D-4587-8261-F3B1779C19AF.jpeg265EFC7E-F7C3-4035-A575-AEC302FB8A72.jpegD2207E7E-BDE6-405A-8DD4-2B364E8DDB87.jpegDE571355-985A-4E52-9CB4-0A1009EA673C.jpeg0B679C05-4CB6-47F7-AFD3-0018A4977F5A.jpegA2261282-99DB-43B2-B87D-445B09727BFD.jpegD5652328-0B8C-415A-BC83-84D4F6E912A3.jpeg3D34E22B-08A3-46C2-8AAC-289A4C42ACEA.jpeg

 
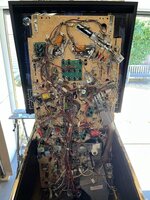
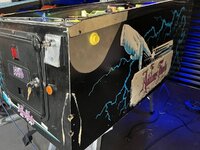
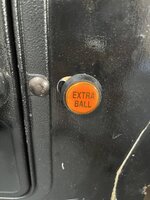
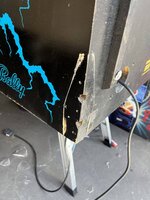
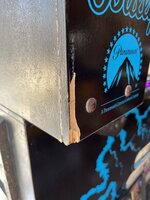
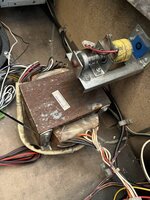
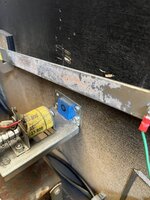
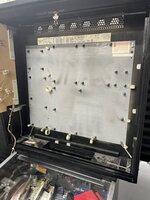
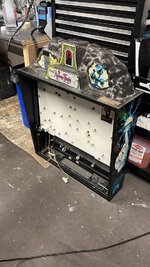
Here’s a few before shots of the 2nd TAF game.
IMO both machines have spent time either by the coast or in damp conditions within the past 30 years as a lot of the metal work is quite rusty, more so on this one.

0653A93B-1E4F-46F1-8F9B-79E30D0C15BB.jpeg69709CC4-D368-45BE-A906-7C29092B842A.jpeg36E6A25B-6ACE-4CFA-879E-9B5393CB0B60.jpeg7F968657-DF48-4456-A534-375491D0B717.jpeg2402B724-00BC-4AF6-9884-7B5C1C0A78F7.jpeg510B4950-DF7C-4815-BF2B-0A4FD17E60D5.jpeg6A3767B8-ED9D-4DB8-9099-6E499AA653AA.jpegD5578E45-2316-46EC-A394-CB9244185816.jpeg2A67839A-B7A4-4EB7-82A5-B447B192270E.jpeg
 
oh I do like to be beside the sea side.... 🤭


Looks like the metal did in my LOTR
 
IMO both machines have spent time either by the coast or in damp conditions within the past 30 years as a lot of the metal work is quite rusty, more so on this one.

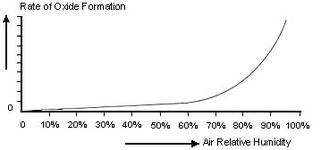
You'd be surprised how "natural" that is The average humidity in the uk is between 69 and 92% depending on time of year and temperature .. for surface rust to occur, anything over 50% RH could cause it... above 60% and the curve starts to rise fast...

In the previously mentioned work, Vernon found that, apart from high atmospheric pollution, high air humidity promoted fast corrosion. He found that air relative humidity was the critical factor, with corrosion rate being very low below about 60 percent relative humidity but much faster above (Fig.2). The sharp “cut off” or “knee” in the graph at about 60 percent is the vital factor. Normal atmospheric air relative humidity is well above 60 percent, typically 75 percent to 80 percent. Comparing the corrosion rate at, say, 50 percent to 55 percent with that at 75 percent to 80 percent shows that if the relative humidity is kept at this lower level the steel corrodes several times more slowly than would normally be the case.

Influence of Humidity on Corrosion

Figure 2: Influence of Humidity on Corrosion
A relative humidity of 60 percent is therefore the upper limit for minimal corrosion. A practical figure has proven to be 50 percent, being not only easy to remember but also affording a small safety margin. By using relative humidities as low as 30 percent, though, blast-cleaned surfaces have been held even longer before coating.

It is too easily forgotten that the corrosion rate is determined by the relative humidity of the air in contact with the steel surface. This is frequently quite different from the relative humidity of the air even a few millimeters away from the surface and happens if the air and the steel are at different temperatures. Unless water is evaporating from or condensing on the steel,the air close to the steel-the air “boundary layer” will be in moisture equilibrium with the surface. With no net transfer of moisture content of the air next to it, that air will in turn assume the moisture content of the air next to it, and so on, with the result that the boundary layer air moisture content will be the same as that of the main body of air well away from the surface.

Temperature equilibrium is less likely. The boundary layer air assumes the temperature of the steel surface, and heat then flows from this boundary layer into the main body of air, or vice versa.

To repeat, corrosion rate is controlled by the relative humidity of the air in the boundary layer. This cannot be measured directly because practical sensors cannot get close enough to the steel surface. The boundary layer is thus assumed to have the same moisture content-and hence the same dew point as the main body of the air, but the same temperature as the steel. The psychrometric chart is extremely useful here, for any method can be used to measure the condition of the main body of air away from the surface, and hence its moisture content. A contact-type surface thermometer suffices for measurement of steel temperature. The following figure gives a practical example of such a calculation.
In this example, the dry and wet bulb temperatures of the main body of air are measured ( by a sling psychrometer) to be 8.6 and 4.9 C, respectively. This equated to a relative humidity of about 70 percent for the surrounding air. The relative humidity in the boundary layer adjacent to steel depends on the steel surface temperature. This is measured as 2.1 C. From the chart this condition corresponds to a relative humidity of about 87 percent.

The fact that the corrosion rate is determined by a combination of air moisture content and surface temperature leads directly to the conclusion that there are only two methods of reducing the boundary layer air relative humidity. One is to reduce the moisture content by dehumidification and the other is to raise the surface temperature.

But agreed - If it's been near the coast then the salts in the air will rapidly increase the speed of corosion...
 

Attachments

  • 1659645522432.png
    1659645522432.png
    4.6 KB · Views: 12
You'd be surprised how "natural" that is The average humidity in the uk is between 69 and 92% depending on time of year and temperature .. for surface rust to occur, anything over 50% RH could cause it... above 60% and the curve starts to rise fast...


But agreed - If it's been near the coast then the salts in the air will rapidly increase the speed of corosion...
Gets above 92% here and not far from the sea😫
Ive had 2 new vans rot living here within several years and one was always kept in the garage, if you don’t use them enough they are doomed.
A simple car air chamber that runs from 2 pc fans solves storage issues though in the garage, just doesn’t rust or cardboard/paper not feeling damp in there.
 
You'd be surprised how "natural" that is The average humidity in the uk is between 69 and 92% depending on time of year and temperature .. for surface rust to occur, anything over 50% RH could cause it... above 60% and the curve starts to rise fast...
Interesting read Paul 👍🏻

I understand bowing occurs in ply when the moisture content in it changes between both faces of the wood.
Can the increased in humidity bow only one part of a cabinet?
 
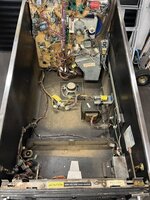
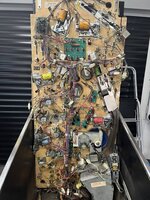
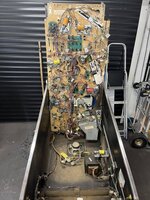
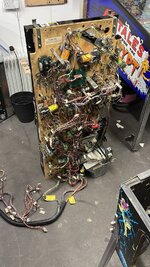
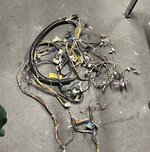
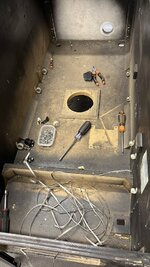
First job on my Addams was to remove all the pcbs, back box, playfield and harness. Basically completely strip the game down so I can take a closer look at what I’m dealing with.
83FEB05B-4473-4AE2-BBD1-71023382C114.jpeg7BF2C503-7810-4C55-8B10-C981784035BC.jpegE660315A-A25B-4EE5-B690-9BF2E11EB7FC.jpegA1F95982-8B6B-4A54-940F-2C0FF071D260.jpeg
13DD7C4F-8859-455F-ACDD-F35031696444.jpegA06F0030-DEB7-4A5F-B13B-030D1E5BA511.jpeg
 
Once completely stripped I could have a good look over any damage that will need fixing on the main cabinet, which is what I’ll tackle first.
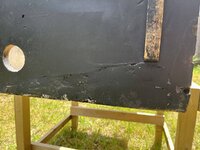
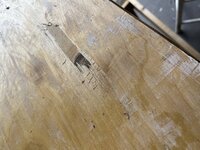
Overall it was ok. Has the usually damage from the legs and a poorly repaired hole from an old lock bar.
D31ED2C4-9FE7-491A-827A-314C47E57C22.jpegE8775E2A-E48A-4186-99EB-B3264B5210D9.jpegB92D24D4-2490-48B5-B976-2D6250FD4CA6.jpeg
47572900-B503-482D-A5C2-ADBA27530DED.jpeg

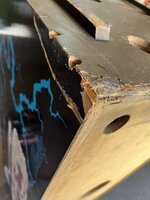
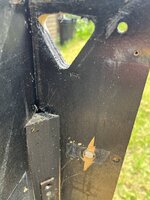
The rear of the cabinet on the other hand didn’t look great 😮. One of the wooden mounting points on the inside was completely split and I just literally pulled away from the cab.
068D08AE-3D8A-4963-A511-6941042B2AAC.jpeg

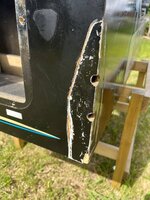
It’s either been dropped or someone has smashed a sack truck underneath when moving it.
Nothing a tub of Polycell filler can’t fix though 😂
The attempted repair is just awful 😬

DF561F0A-FA21-4643-8DD1-8E86D605B470.jpeg34637ECC-BCAF-4E75-8430-0254B8C188A8.jpeg

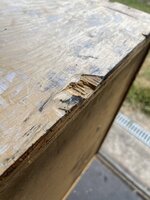
I also noticed some of the layers of ply had delaminated on the inside of the cabinet so they will need attention.
 
Last edited:
Next job on the list was to completely strip the decals from the main cabinet.
BF06FBAF-72BB-407C-9A09-CB1C2F4ACA57.jpegE90D3C23-7A26-48D9-88F4-D742D82CAD4F.jpegE4D5F7B4-4BBE-4390-95B9-00B317338818.jpeg
It’s definitely going to need some more work than I thought.

90906111-5E7E-41EF-B039-4FD0D8B9F589.jpeg
CE6F7B87-5A5E-43C0-BB34-648F9F77196F.jpeg

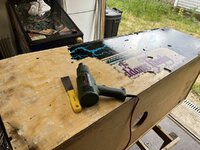
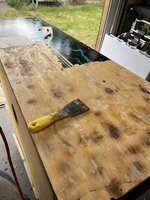
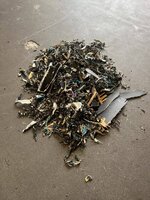
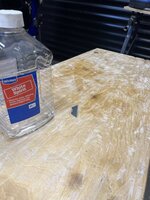
Once it was all stripped I like to remove as much of the left over white glue as possible before I start sanding. That way I find the sanding disc’s don’t get clogged up after 20 seconds of sanding and last a lot longer.

Basically I pour a load of white spirit on it soften the glue and then scrapped it off with a Stanley blade.
0F37E35F-8C82-4530-BB27-99ABD9AEDDE5.jpeg0C785BBB-6E79-4207-AA94-26C09A155F29.jpeg
Before
693B6069-0147-4380-A320-3316CFE3755F.jpeg

After
EC675786-21F9-4B2A-83B7-BF32B2374282.jpeg
40EB2E8D-D3AF-49C4-971C-11253F52562A.jpeg
Next job before I start sanding is tackling the previous bodge job at the back of the cabinet 😬
 
Last edited:
nice. cab doesn’t look too bad at all

It it wasn’t for the back of the cab I would say it’s above average. The previous polycell filler job really let’s it down.
On the other TAF that I’m working on, apart from the slight warping to one side, it has a much nicer cab and back box than my one.

The back box on on mine is a different story. Every corner will need to be rebuilt with resin as they are all damaged.
 
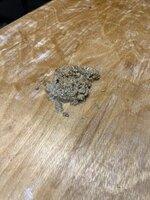
So I started to chip away at the old filler and it uncovered quite a bit of previous damage 😮
7053117E-80DC-4EEA-B5AF-B19A27979130.jpegC0F23A91-0B6D-4BBB-A7D6-8CF73016AB36.jpeg81D2D3F6-164F-492E-B952-31D1FC43A1A9.jpeg

After a closer look I could see that there was more bodge work higher up, which could be fixed with resin/filler but I think I’d rather go to plan b, which is to fit a whole new back panel 🤔
 
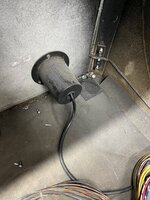
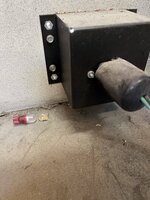
Addams (and Getaway) were the games where WMS moved from a fixed mains lead to a detachable 'kettle lead', with metal cover. It looks like your Addams is the earlier type, as it lacks the holes and T-nuts* for the cover.

* Or as I thought, T-nuts. In fact, the metal box for the later arrangement has threaded holes for the cover screws
 
Last edited:
Think this might interest you if you can get it cheap😎
 
Addams (and Getaway) were the games where WMS moved from a fixed mains lead to a detachable 'kettle lead', with metal cover. It looks like your Addams is the earlier type, as it lacks the holes and T-nuts for the cover.
Yeah that’s right. My playfield is stamped Feb 1992 if I remember correctly, where the PF on the other Addams I’m working on is dated June 1992 and that has the fixed mains lead/kettle lead unlike mine.

D8A389D5-1488-4DB8-9DE8-2381DCC966F8.jpegCC87CDB8-6713-45F2-87AA-D321EB5426DE.jpeg
 
Think this might interest you if you can get it cheap😎
Thanks for that. I saw it last night, so will keep an eye on the price 🤔👍🏻
 
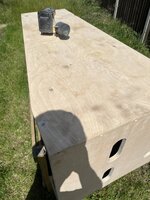
Time to tackle the major surgery on the damaged rear of the cabinet.
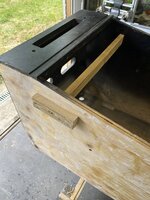
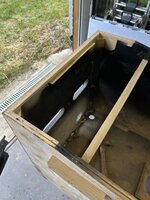
First job I did was to screw a piece of wood between the two sides so that it would hold its shape once the rear potion was removed.
1CC5B0B7-1287-4607-B781-93130D65A86D.jpeg

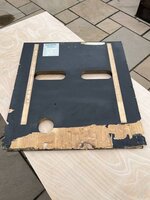
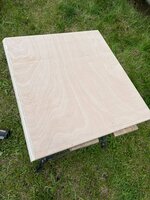
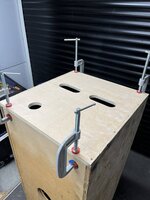
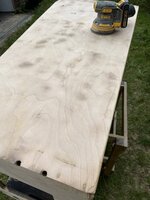
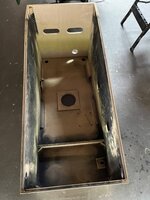
Next I removed the top panel to give me more access and to help me see what I was doing. I thought I could also give this piece a good sand and paint the underside whilst out of the cabinet.
Pointless I know, as it’s not seen, but at least I know it’s been painted 😂
837DD3E2-75D2-4B01-9598-4CB0982BBC38.jpegC9FFF4F8-BE81-448E-AF21-AA7019DFD7E5.jpeg

The rear panel on these cabinets are locked in place, with mitres, glue and loads of nails, so I was concerned that I could cause more damage to rest of the cabinet if I went at this the wrong way.

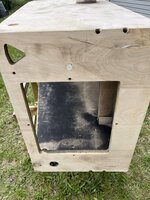
After a lot of deliberation, I decided to remove the 3 remaining corner supports and cut down both sides at a 45 degree angle. It actually went really well and came out “relatively” easy 🤔. I could then use the old panel as a template to cut new 18mm ply replacement.
18535D21-FC3C-4BAE-9050-0FD62BD05635.jpeg

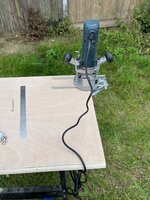
Once I’d cut the basic shape out, I cut Both sides at 45 degrees and marked the line that needed to be routed to support the base of the cab. I messed up the cuts on the 1st attempt, so had to do another 😬😂
860F26B7-CF6E-4F2C-A7A6-E6D84DF4EA7D.jpeg

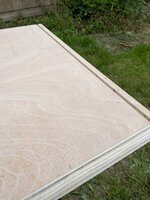
After triple checking the measurements I cut the groove needed at the bottom and checked fitment. So far, so good 😀
BF02D153-4A57-4296-A407-4EF45D4066F1.jpeg55385657-7546-453C-815A-7C96BBC0E43C.jpeg

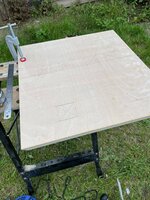
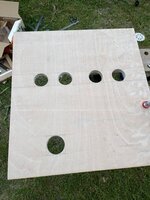
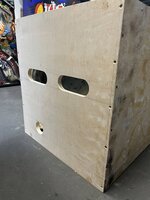
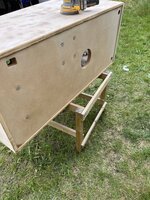
I again used the old panel to get the exact dimensions and placement for the vent holes and the one needed for the power cord.
7618ADC2-B631-4977-B322-023B2FA46F2F.jpeg

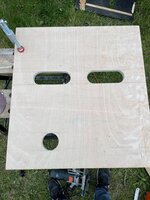
I used a hole saw to cut the bottom hole and to get the basic shape for the vents.
06D452E4-5935-4687-9A76-F4D5B6BB24C4.jpeg

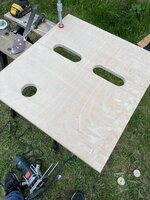
Final job was to cut the remaining parts of the vents with a jigsaw and to give every a good sand.
Really pleased with how it came out in the end. Next job is to prep the main cab and then glue and screw this in place.
D8E68704-7462-466B-9C0C-9B3336B5EA04.jpegA78E491E-237F-4C8A-8899-83F324A0B3AA.jpeg
 
Damn I'm glad I've never had to pull a panel off (yet) due to it being beyond economical repair.

Great work.
 
Damn I'm glad I've never had to pull a panel off (yet) due to it being beyond economical repair.

Great work.
Thanks mate. I was very hesitant before cutting the panel out as I was concerned I’d be left with an unusable cabinet if it all went wrong 😬.
 
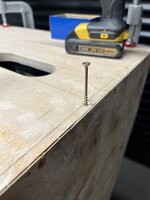
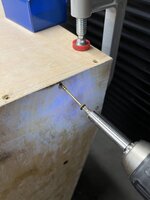
Fitting the new rear panel was pretty straight forward. I just glued and screwed in place with 70mm screws, and with the amount I used, it is never coming out 😂

1849B744-BA27-41AD-BC75-985ED45AE33E.jpeg67F78A63-757E-40DE-8BF1-4FEECF21E6B6.jpegE0FD4591-8AFD-46A2-A1D8-4A20C8BC7E01.jpeg63F8BA49-35BD-4BE4-8B05-6BB970AE99B6.jpeg

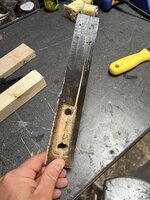
Final few jobs to finish it off is to make and install some new sliders, 2 new 90 degree posts to support the leg brackets and finally reinstall the top panel.
Then it’s onto filling and sanding the cab.
 
I’m in awe of you and the other restorers on this site. Absolutely brilliant. Thanks for sharing all the photos.
 
I find this stuff fascinating, enjoying seeing the transformation.
I’m in awe of you and the other restorers on this site. Absolutely brilliant. Thanks for sharing all the photos.
Thanks guys. This one definitely needs more attention to the woodwork than my T2 did.
I tend to go OTT with the prep work but I think time spent well on that now will hopefully show in the finish.
Im looking forward to getting this part of the restore done so I can crack on with the decals.
 
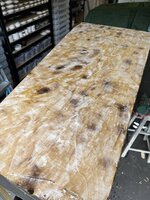
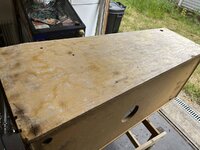
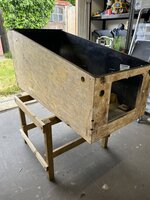
Next job on my TAF is to sand and fill the cabinet. I like to start switch an 80 grit to remove any last bits glue from the old decals.
390BB27F-D3D0-4CDB-A4B2-A7EB5B847AEB.jpegA5326F7E-0AF5-4A04-84B5-0600BF3763C4.jpegBB9BA4CC-C79A-4C8D-BA86-EF0AC7FA6193.jpegD2C81B83-7DFA-40FB-824A-A472122B05E2.jpeg

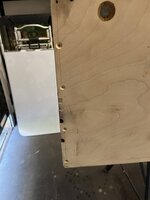
Before I start filling any damage, I glued and screwed the front corners with 70mm screws to help make sure everything was nice and strong.
D54A6FD5-0E6D-4F12-BE08-700E96D49D67.jpeg3EF3B425-0704-408E-A102-703BBE5110F4.jpegF827AB77-145B-4D66-80E9-D0051F14B9C1.jpeg

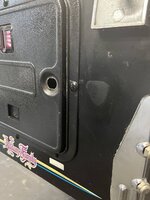
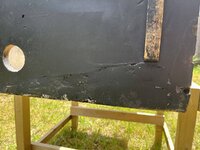
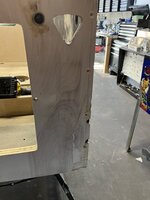
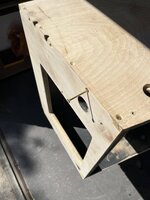
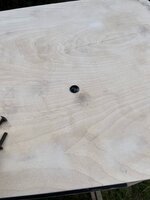
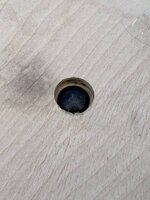
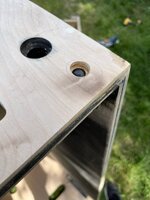
Unlike my T2, on this particular game I’ve decided to countersink the bolts that are on the side of the cabinet as well as the ones on the front which bolt to the lock down receiver. I’ll fill these with resin once I get to that stage.
23B485A1-778B-45E7-8B4A-1A740FAA5722.jpegC68B6448-E8B6-4F83-962D-806436EE8F37.jpeg5FCD2D30-1CE4-4082-B55E-49909537BED2.jpeg

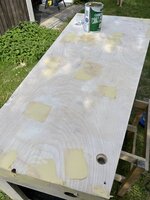
I then applied the first coat of filler which I sanded down with 120 grip sandpaper. Both the outside and inside get the exact same treatment.
And thus starts the fill, sand and repeat process 😬😂

2517B77B-CAEC-4BCD-9649-E5FC36D70CAE.jpeg8CBDA0B6-FC66-4EFE-804E-855FC9319E79.jpeg
 
Back
Top Bottom