Pinball info
You are using an out of date browser. It may not display this or other websites correctly.
You should upgrade or use an alternative browser.
You should upgrade or use an alternative browser.
Complete Terminator 2 Restoration
- Thread starter Ant-H
- Start date
Can’t wait to see this on the Gonzo pod cast thingy when finished
I can't wait Chris mate. It's very special.
Yeah it’s one of those things that I’d wish I’d stick at, but on the flip side, I wouldn’t of had the career/job I eventually had.Christ! Imagine if you’d stuck with it. Could’ve had Millyard as your apprentice.
Thanks mate. It’s so close to being finished now. I can’t wait to play it again.Wow, its really coming along.
That is just amazing work. Its becoming almost too good to play.
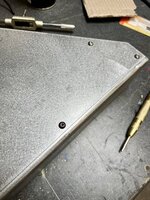
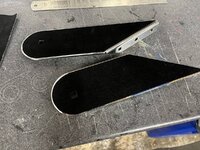
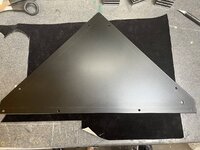
As I want to light the topper, it has to be fully enclosed in order for the light can be directed through the coloured acrylic. So the next job was to cut a piece of steel to go on the back.
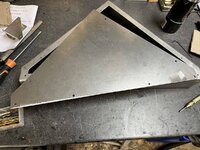
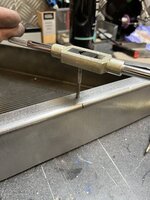
I then marked up the mounting holes, drilled and taped them out with an m4 tap so that it could be fixed to the topper.
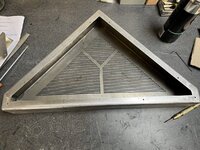
It was then just a case of screwing the rear panel down to check the fitment.
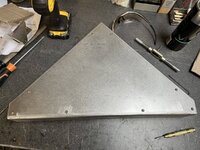
I’ll have to work out where I want the wires for the led strips to exit the topper and drill a hole for this.

I then marked up the mounting holes, drilled and taped them out with an m4 tap so that it could be fixed to the topper.


It was then just a case of screwing the rear panel down to check the fitment.


I’ll have to work out where I want the wires for the led strips to exit the topper and drill a hole for this.
When I put the topper on top of the back box, it looked great.
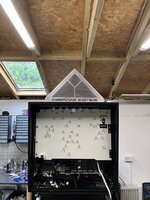
However when I stepped closer and stood as if I was playing the game, that’s when I realised it was to low.
I’m around 5ft10 and I noticed that at my height the Cyberdyne Systems font was slightly out of view.
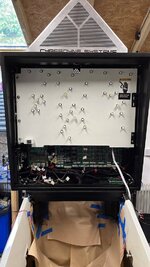
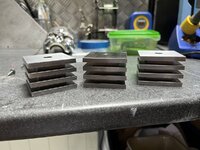
So onto plan b . After a while taking measurements and using want ever bits of scrap wood I had to raise it up, I made the decision that it needed some kind of risers/legs to give it that extra height so that me personally and anyone shorter than me, could actually see the topper fully. I measured by raising 35mm would be spot on.
So I’ve got a some 50mm solid square bar that I’ve given to my son (apprentice engineer) as he has a cnc mill at his work, and will hopefully be able to machine it down to 3 x 35mm legs, which I’ll then bolt through and into the top of the back box. I’m hoping he can get them done this week. But in the meantime, I need to drill a hole for the led wires and now 3 mounting holes on the bottom. I can then take it to the platers.

However when I stepped closer and stood as if I was playing the game, that’s when I realised it was to low.
I’m around 5ft10 and I noticed that at my height the Cyberdyne Systems font was slightly out of view.

So onto plan b
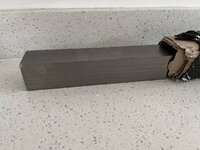
So I’ve got a some 50mm solid square bar that I’ve given to my son (apprentice engineer) as he has a cnc mill at his work, and will hopefully be able to machine it down to 3 x 35mm legs, which I’ll then bolt through and into the top of the back box. I’m hoping he can get them done this week. But in the meantime, I need to drill a hole for the led wires and now 3 mounting holes on the bottom. I can then take it to the platers.

I finished the topper off this morning and dropped it to the platers. Hopefully I’ll have them back by the end of the month.
The last job to do was to drill the holes for the new risers.
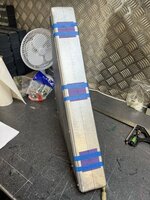
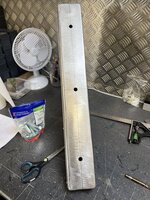
I’ll use similar bolts that are generally used on the main cabinet, so I had to file the holes square in order for the bolts to lock In place and not twist when fixing the topper to the back box.
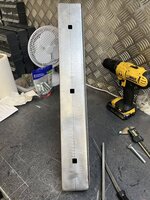
The last job to do was to drill the holes for the new risers.


I’ll use similar bolts that are generally used on the main cabinet, so I had to file the holes square in order for the bolts to lock In place and not twist when fixing the topper to the back box.

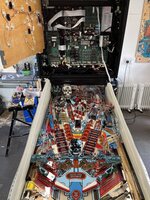
On Sunday I thought it was about time to get the playfield back into the cabinet.
I measured the width of the cabinet and the playfield and it was going to be tight .
.
This was due to the custom mirror blades I made, as I needed them to hide the wiring for the cabinet leds. I ended up using some 2mm mirror hips which is slightly thicker than standard stainless steel blades, so I always knew it would be close.
I cut some more of the ultra thin felt and stuck it to the sides of the playfield, with the idea that if it does hit the cabinet at any point, hopefully it won’t damage the mirror blades.
I also used a set of Pinball Life game blade protectors as well.
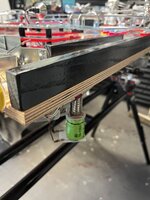
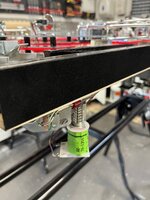
After some head scratching and contemplating on getting some extra muscle to help , In the end I got my wife to thread the harness through into the back box while I hulked up and lifted the playfield onto the pivot bolts. It was heavy but I found it easier lifting it on my own as I had more control when lowering into position.
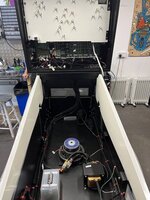 It actually went better than I thought it would. I slowly lowered the playfield down without the protectors and the felt I added to the sides worked great as there was no damage to either of mirror blades.
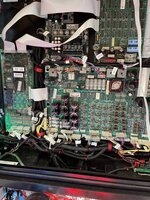
Next job is to connect and tidy the playfield harness in the back box.
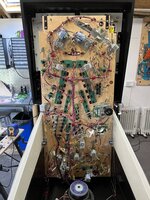
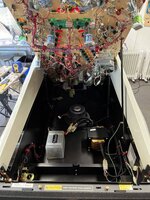
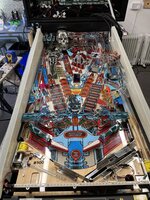
I measured the width of the cabinet and the playfield and it was going to be tight
This was due to the custom mirror blades I made, as I needed them to hide the wiring for the cabinet leds. I ended up using some 2mm mirror hips which is slightly thicker than standard stainless steel blades, so I always knew it would be close.
I cut some more of the ultra thin felt and stuck it to the sides of the playfield, with the idea that if it does hit the cabinet at any point, hopefully it won’t damage the mirror blades.
I also used a set of Pinball Life game blade protectors as well.


After some head scratching and contemplating on getting some extra muscle to help
 It actually went better than I thought it would. I slowly lowered the playfield down without the protectors and the felt I added to the sides worked great as there was no damage to either of mirror blades.
Next job is to connect and tidy the playfield harness in the back box.


Last edited:
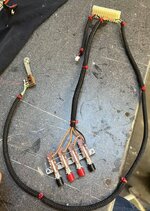
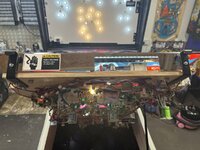
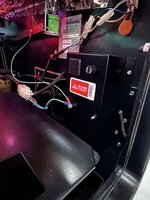
The original service buttons had seen better days and one of them was intermittent so I swapped it out for a new one, fitted a new connector and braided the wires.
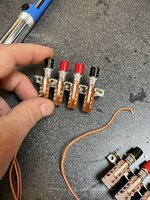
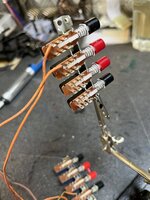
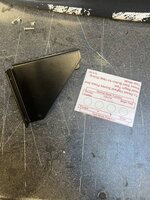
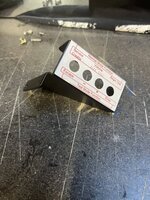
The mounting bracket for the service buttons was originally zinc plated so I had that powder coated and then printed off a nice new sticker for it.
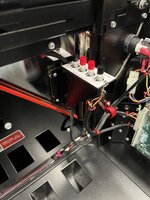
The service buttons now work perfectly.


The mounting bracket for the service buttons was originally zinc plated so I had that powder coated and then printed off a nice new sticker for it.


The service buttons now work perfectly.
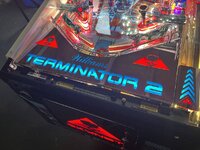
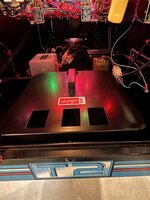
I also fitted the apron last night and printed some new stickers for the cabinet. Also gave the plastic coin box tray and blast in the ultra sonic cleaner and fitted that in place.
So that I don’t overload the original driver board, all the extra lighting for the coin door and apron are run directly from the mod power expander board.
All that’s left now is to fit the rest of the chrome, the back glass and then it’s just a waiting game for the topper to come back from the platers.


Last edited:
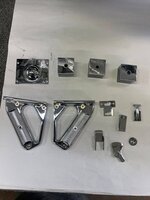
I picked up today the last parts needed to complete this build.
I’m over the moon with how the topper came out, as I was concerned that I didn’t get the corners smooth enough, as chrome shows any flaws and imperfections but it looks spot on.
View attachment FullSizeRender.MOV
I’m over the moon with how the topper came out, as I was concerned that I didn’t get the corners smooth enough, as chrome shows any flaws and imperfections but it looks spot on.

View attachment FullSizeRender.MOV
Thanks mateAbsolutely epic resto. You've set the bar massively high!
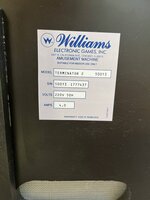
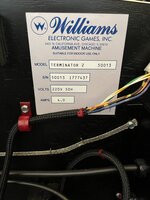
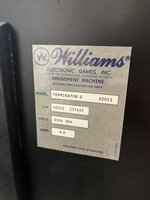
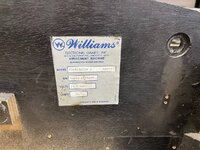
I (International) 77437 seems a low number for a T2. Not that it's of much concern now, no-one's going to mistake this one for any other.
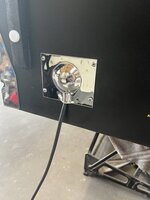
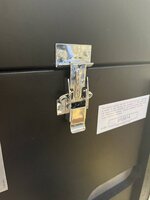
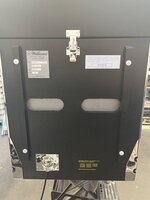
Man your cab looks so mint. Be sure to get some adaquate protection for the move to Pinfest!I fitted a couple of the newly chromed parts this evening, just so I could finish the back of the cabinet.
Refitting the 2 little springs in the latch was a complete pain in the ****. It took me ages.
View attachment 173208View attachment 173210View attachment 173211
Is it being bought to pinfest?Man your cab looks so mint. Be sure to get some adaquate protection for the move to Pinfest!
Encasement in bubble wrap, roped off on a plinth like a museum.
It is amazing work @Ant-H pitty I don't still live in Morden otherwise I would negotiating a go
Well spotted. You made think that it was very low, so I went back and checked the originals from photos I took from the cabinet, transformer and driver board and I missed a 7 off when I made the new labelsI (International) 77437 seems a low number for a T2. Not that it's of much concern now, no-one's going to mistake this one for any other.
It was originally a German import.
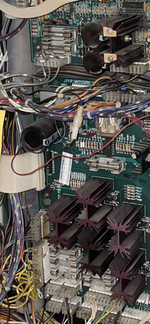
Thanks mate. I haven’t thought that far ahead yet.Man your cab looks so mint. Be sure to get some adaquate protection for the move to Pinfest!
Thanks alot. Shame you don’t live in Morden anymore, for sure you could have popped round for game or 2.Is it being bought to pinfest?
Encasement in bubble wrap, roped off on a plinth like a museum.
It is amazing work @Ant-H pitty I don't still live in Morden otherwise I would negotiating a go
Yeah I’ll be attending but not until Saturday as i get back from holiday on the Friday.
Thanks, I'm still about from time to time, some family in Putney or near the massive b&q off the A3 , if the offer is on the tableThanks mate. I haven’t thought that far ahead yet.
Thanks alot. Shame you don’t live in Morden anymore, for sure you could have popped round for game or 2.
Yeah I’ll be attending but not until Saturday as i get back from holiday on the Friday.
Ive finally started to fit the newly chromed armour, starting with the back box hinges.
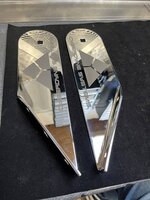
As my side rails have been chromed, I’d like to avoid causing possible damage by lowering the back box and the hinges scraping again them.
So as with the wooden side rails on the playfield, I’ve used the same thin sheets of sticky felt and stuck them to the inside of both hinges.
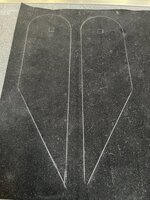
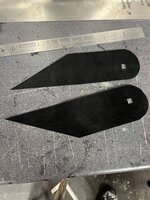

As my side rails have been chromed, I’d like to avoid causing possible damage by lowering the back box and the hinges scraping again them.
So as with the wooden side rails on the playfield, I’ve used the same thin sheets of sticky felt and stuck them to the inside of both hinges.


God damnit Ant, stop making me spend more money!Ive finally started to fit the newly chromed armour, starting with the back box hinges.
View attachment 173899
As my side rails have been chromed, I’d like to avoid causing possible damage by lowering the back box and the hinges scraping again them.
So as with the wooden side rails on the playfield, I’ve used the same thin sheets of sticky felt and stuck them to the inside of both hinges.
View attachment 173900View attachment 173901View attachment 173902
View attachment 173903
Now I gotta look at my hinges... God Black.. BLACK who wants just BLACK. Now I gotta either powder coat or more!
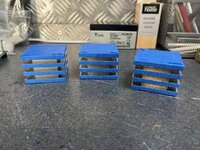
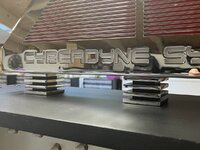
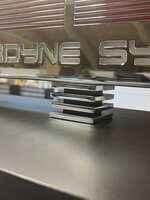
I got round to work on the topper this week. First job was the legs/risers. Where the grooves have been machined out, it was impossible to chrome these.
So to give it a bit of contrast I masked everything up and gave it a coat of satin black.
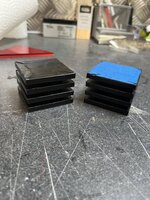
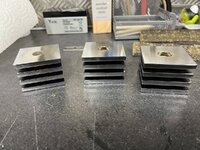
Once dry I then added felt pads to protect the underside of the topper.
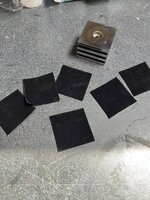
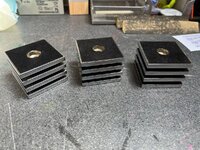
So to give it a bit of contrast I masked everything up and gave it a coat of satin black.


Once dry I then added felt pads to protect the underside of the topper.


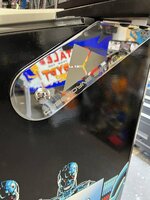
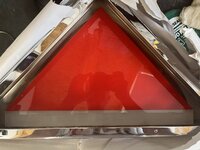
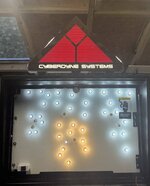
Next up I installed the coloured acrylic to the inside of the topper. I went with the same red colour combo I used on the apron and coin door.
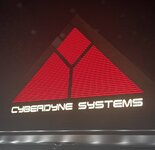
For the Cyberdyne Systems font, I bought a few different colours/shades as I wanted it to look slightly different from the blue which I used on the apron. In the end I went with a white.
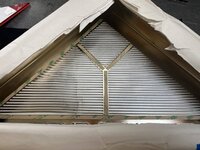
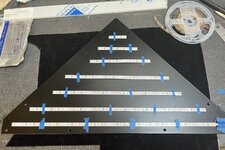
For the wiring I used a strip of 12v leds which I cut into the appropriate sizes and tacked into position with some tape.
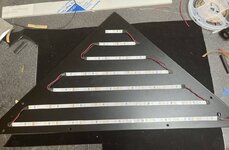
I could then solder wire to each length to connect them up. This will run through a small hole in the top of the back box and be powered by the separate mod power board.
For the Cyberdyne Systems font, I bought a few different colours/shades as I wanted it to look slightly different from the blue which I used on the apron. In the end I went with a white.


For the wiring I used a strip of 12v leds which I cut into the appropriate sizes and tacked into position with some tape.


I could then solder wire to each length to connect them up. This will run through a small hole in the top of the back box and be powered by the separate mod power board.

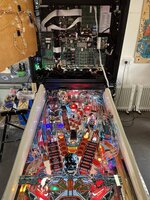
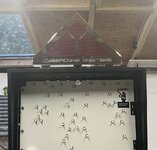
Finished off the topper at the weekend. Really happy with how it looked when lite up. I was concerned that the design wouldn’t let enough light shine through.
The final job I needed to do was drill a hole in the top of the back box so that I could run the wire through.
I wasn’t happy with how the hole looked so I polished up a stainless steel washer to finish it off.
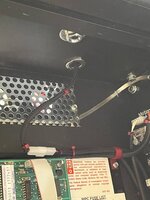
The final job I needed to do was drill a hole in the top of the back box so that I could run the wire through.
I wasn’t happy with how the hole looked so I polished up a stainless steel washer to finish it off.


Holy Mary!
Holy Mary!
Thanks guys. Yeah I have gone a-bit nuts with some of the small detail stuff I’ve done. Most you probably wouldn’t notice unless is was pointed out.Wowsers, looks amazing, love the attention to detail on the small details.
I’ve got one more idea that I’m going to try out for inside the back box/wiring. The part I made is at the powder coaters at the moment. Not sure if it will work though.

