What's new
Pinball info

Register a free account today to become a member! Once signed in, you'll be able to participate on this site by adding your own topics and posts, as well as connect with other members through your own private inbox!

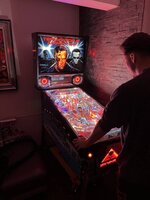
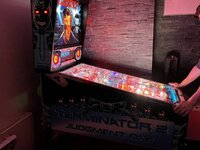
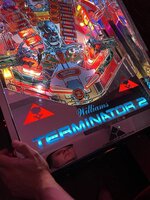
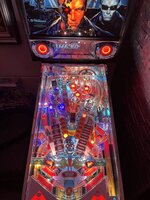
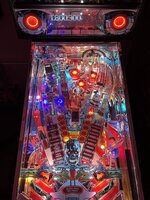
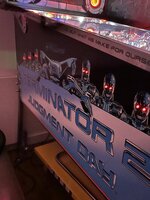
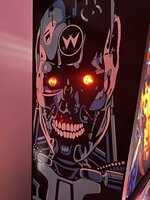
Complete Terminator 2 Restoration

I’m determined to get T2 completely finished by the end of this weekend so that I can really start to crack on with my other builds.

All I have to do is fit the side rails, gun handle, back glass and legs.
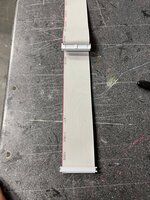
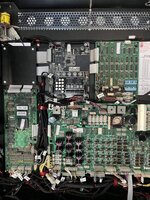
One little job I’ve done already was to tidy up the wiring in the back box a little bit more by doing something with the ribbon cables.

My idea was to somehow hide them but still making sure I could unplug them if needed. I know it’s not needed, but so is most of the stuff I’ve done on this game, so I thought why stop now 🤔😂

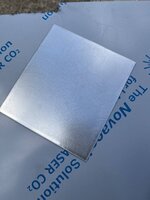
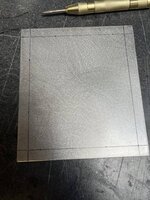
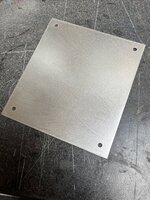
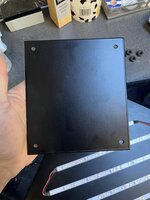
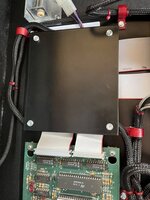
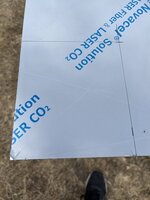
So, first job was to make a metal plate and drill a small hole in each corner. This could then be powder coated to match the rest the metal work in the back box.
319076C4-E38E-4BB9-8286-8C11756D9F24.jpeg
DC61C907-1C4F-4331-8D03-01BC05FD7ECC.jpeg
3000F3C0-C3DE-4DD5-84CC-223217E157D9.jpeg

C874528E-FBF6-40FE-8419-26A4FAC96476.jpeg
D367F779-94F7-49A7-B590-DADC39ED6260.jpeg

My idea was to run the ribbon cables behind the pcb boards.
In my head, it was a simple job to do. However the issue was 2 of the cables we’re not long enough for me to do this and the middle connector on the cable that goes from the dmd board to the PinSound board needed swapping around.

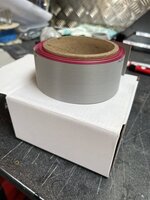
So in the end I bought 50m of each size ribbon cable plus the connectors and made my own to the size and spec needed for this to work.
00FFA897-9EFD-4023-A31B-7FFF5E2CB528.jpeg

Plus, now I won’t have to spend £40 on new ribbon cable sets ever again as I have enough cable to make new sets for about for about 80 machines 😂.
EF813A0F-3622-4017-8A5B-2480C285DCD5.jpeg

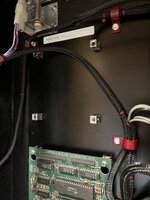
Once the cables were re-routed, I used the metal plate I made to hide the 2 cables that go from the PinSound board to the mpu board.
8408C894-6D42-4DE4-BF6F-4E2801CECB1E.jpeg9C146780-029B-4CB5-85F9-9669D4B927A5.jpeg

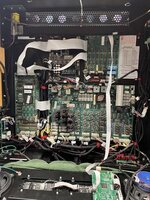
I’m pleased with the way it turned out as I think it does tidy the back box up nicely.

Before
1E42C7A9-E87C-4BBF-855F-71D8208E1021.jpeg
After
EA8FDF9D-81C7-4955-9520-3F95A362D408.jpeg
 
Last edited:
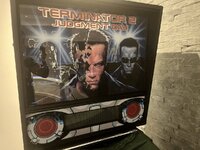
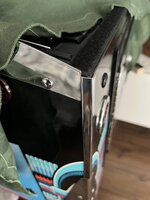
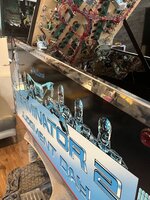
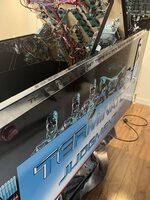
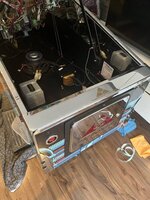
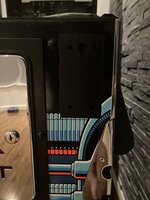
Side rails and lock down bar now fitted. I had to cut the ends of the side rails slightly so that they would sit flush against the corner trim.

All that’s left now is to reassemble the gun handle and to fit the legs and mirrored back glass.
A309E1AC-E45A-4249-B368-1ADC1593AE9F.jpegAD921A1F-FFEB-4B9D-BEB0-8EA39F486B50.jpeg6C5A7A62-7F41-48B3-BDB6-8FB73293B07D.jpeg4E1EC54F-BF5E-4EF4-9385-D6F1400109E2.jpeg4C3EC011-ED6B-4AA4-9B8A-39988A5AD52F.jpeg
 
You need another T2, one for actually playing.
I’d be scared of putting some minor blemish on it!
Cracking work tho’
 
Thanks mate. Once completed I’ll definitely be playing this for sure.
Played With white gloves I hope, it’s a work of art.

loved watching this come together, it’s a master piece of work.
Top notch work in every way.
 
Played With white gloves I hope, it’s a work of art.

loved watching this come together, it’s a master piece of work.
Top notch work in every way.
Thanks mate 👍🏻. I’ve really enjoyed the whole process/project. I’m ready to put this to bed and start the next one now.
 
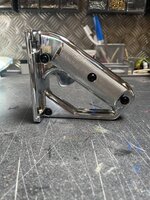
Installing the gun handle is the next job on the list.
D946B491-199F-4088-8040-50B5D0326DFA.jpeg

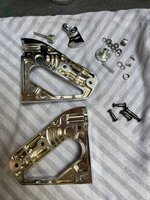
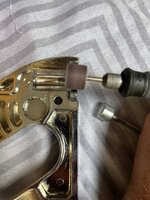
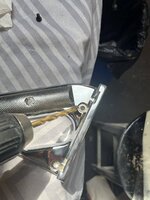
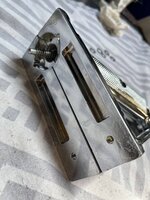
Thought it would be straight forward but I didn’t take in to account the extra thickness on the inside of the handle due to the chrome plating, and this was causing issues with the internal moving parts and the trigger itself.

To get round this, I used my dremal and sanded the top layer of chrome plating back down to the copper. This gave me the clearance needed for the internals.
613BE5B3-A60B-495C-8A44-A7EA5E518B9E.jpegE548D77A-4AF6-4940-AE27-D96870E5123C.jpeg
6F8B9004-52EE-45A3-B221-5F8F436283E9.jpeg

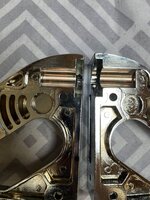
When it came to bolting the 2 halves together, I again had to remove some material from each hole due to plating and the powder coated bolts.
2498BB96-0A4F-40E5-A9F5-D0492878C479.jpegCE486FAA-EC86-4203-8286-1EF2206CF2D3.jpeg

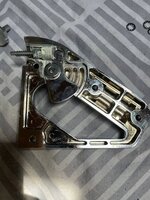
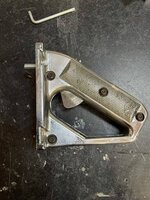
Now that it back together and has a nice solid feel when the trigger is pulled, I just need to bolt it back to the cabinet.

Before
80949C1B-C281-4EE8-B58C-319365E06B5B.jpeg
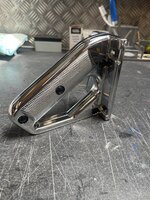
After
2370013E-F5A9-4382-945F-D6A5007D2BDC.jpeg49833F4B-4BE1-48E7-8448-23B099ECEE27.jpeg94B42C00-0AD8-4FE3-9E71-F0CB570E60C1.jpeg
 
Last edited:
I would not be taking that to pinfest it will not look like that after
Maybe @Big Phil could make a special area for machines like this where people can still play them but with the understanding to that they are one offs and pretty rare. Or if Ant prefers maybe just for show/viewing only?
 
Looking forward to seeing this in the flesh, way too scared to touch it though!
Work of art.
 
Maybe @Big Phil could make a special area for machines like this where people can still play them but with the understanding to that they are one offs and pretty rare. Or if Ant prefers maybe just for show/viewing only?
Agree this machine should not be for public consumption as it will not look like this, just think of festival toilets in relation to some people respect limits 🤭🙂😀
 
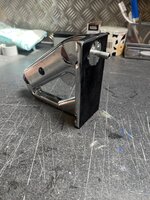
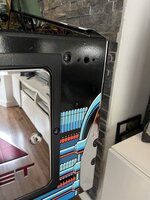
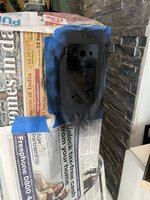
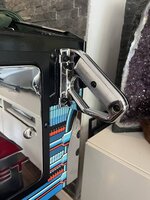
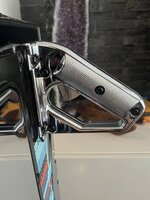
Got round to bolting the gun handle back to the cabinet today. When I originally took it off, it had clearly caused some damage to the decals, very similar to what the legs usually do.

So first job was to remove the decal so that the base of the handle is in direct contact with the cabinet. I then gave it a quick coat of satin black.
B8FDCAC4-7F33-4697-80D9-6416D228B3CC.jpeg
29262C10-E579-425F-998C-88BD7E10BC7A.jpeg8DB7C34A-82E6-46CD-BFA9-7A0218A7262B.jpeg

It’s didn’t take long for the paint to dry in this heat, so then it was simply a case of tightening up the 4 bolts and adjusting the switch.
BA3AC584-E796-4571-ADF9-59A115057002.jpegEEA5D05A-40EC-449D-AC78-8EFFFF550480.jpeg
All that’s left now, are to fit the legs and install back glass.
 
My boy has been play testing quite a-bit this evening. So far so good. Only 2 things needed adjusting. Also changed out the cool white flasher for Arnie’s red eye on the back glass to a standard red led.

Now it’s position the final job is to fit the topper.
6BB89079-FF5D-4038-A5DB-9526B8C6998D.jpeg679F3BC1-0719-4A35-9E21-55B015D04CF3.jpeg215D886C-E2C2-415E-856F-DAFFC32AA67D.jpegEED9150F-BC7A-457A-B95A-5C80B9573896.jpegDCAEB6A4-A841-442B-8DE0-3721025E0C99.jpeg2DE0A990-243E-4E40-99B8-6B70CCD6DBF1.jpeg3A2E3985-AAFD-400F-9268-EE068E6EBC26.jpegE97A9DA6-010A-4F43-8227-17CA841970C5.jpeg
 
Maybe @Big Phil could make a special area for machines like this where people can still play them but with the understanding to that they are one offs and pretty rare. Or if Ant prefers maybe just for show/viewing only?

Was it your Alien or someone else's new game that was at Pinfest and they noticed so many scratches just from people who wear rings and watches.

This is the issue with super mint games, they're so mint that even the smallest scratch becomes obvious 😦
 
Was it your Alien or someone else's new game that was at Pinfest and they noticed so many scratches just from people who wear rings and watches.

This is the issue with super mint games, they're so mint that even the smallest scratch becomes obvious 😦
Yeah it was riddled. I've already told ant he should put on a standard lock bar for the event.

That chrome will get damaged no doubt.

For me I'm just sending my lock bar back to the powder coaters after the event.
 
So from the play testing yesterday, it highlighted 3 points that needed addressing.

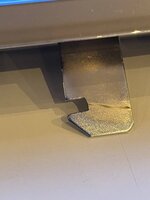
The first one was when the lockdown bar was fitted, the latch on the receiver wouldn’t lock into place despite the adjustment screws being fully unscrewed. The problem was a build up of extra material from the powder coating on the receiver and the plating to underside of the lockdown bar.

All I did to sort this was to file a couple of mm’s off the locking hooks on the lock down bar. It now locks into place nicely.
10EBE951-73CB-4AF4-B567-6CE71A767493.jpeg

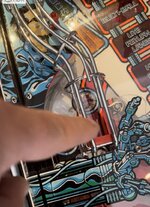
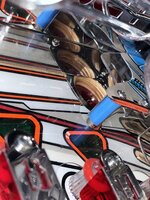
The next issue was a bit more frustrating to sort. When the ball traveled down the left wire form and hit the rubber bump stop at the end, it would then travel back up the wire form by about 3” and would drop out the side.
CB3FD03A-2C10-498D-95FE-87369CBD3E77.jpeg

At first I thought it was the Titan rubber stops I installed, giving it too much bounce, however the right hand wire form didn’t have this problem.
So I spent well over an hour adjusting the the wire form to try and sort the issue. In the end I think the problem was caused by the end being slightly out of shape due to the polishing/chroming process. Once I gave it quick bend and bolted it all back together it seemed to do the trick.
View attachment FullSizeRender.MOV
 
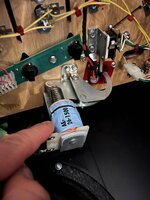
The last snag to sort was rear lock/kicker at the back of the playfield. When the ball was hit into it, the kicker struggled to knock it out.
498FC532-364D-4F32-9B3B-A62DAD11DB49.jpeg

This was easier to fix than I thought it would be. Upon investigation, I noticed that the kicker arm was slightly catching the plastic rim of the coil, which was stopping it fully engaging. All I did was to bend the mounting bracket for coil away slightly and that did the trick 😀
936215CB-7769-41B9-9092-774938CA8D4F.jpeg
 
Back
Top Bottom