OP
OP
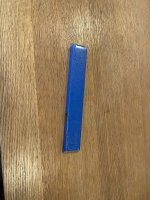
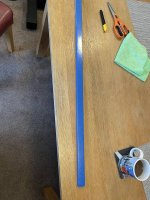
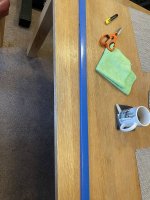
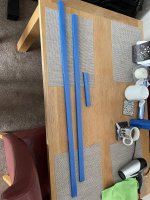
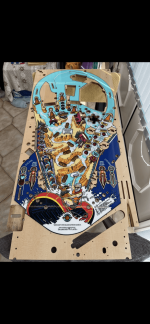
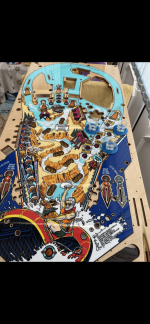
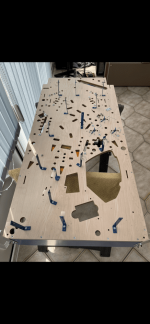
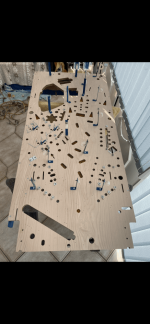
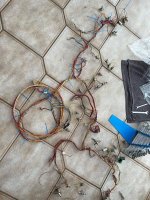
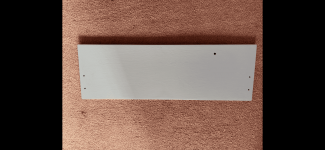
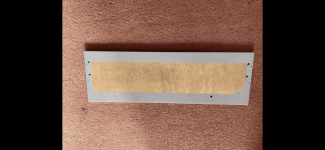
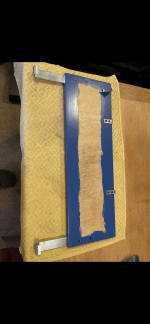
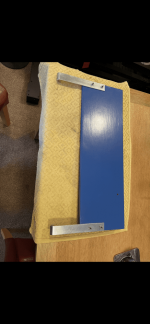
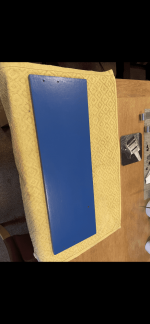
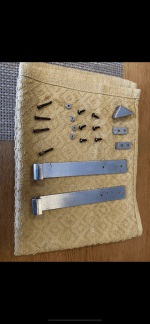
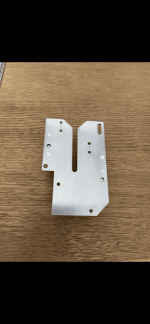
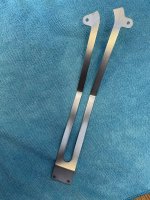
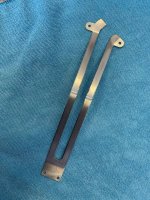
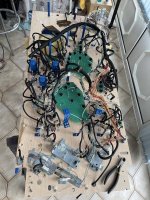
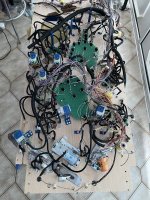
Rails wrapped and bare wood primed ready for painting


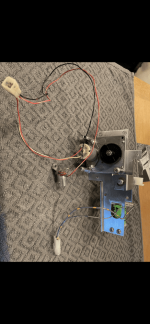
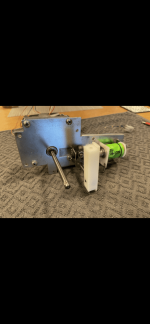
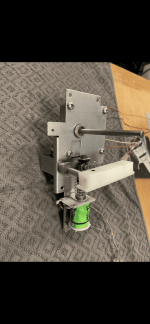
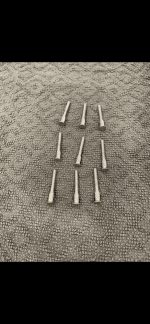
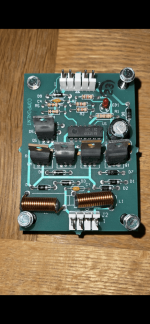
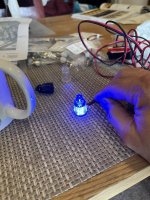
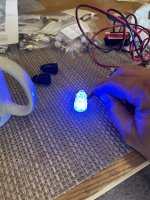
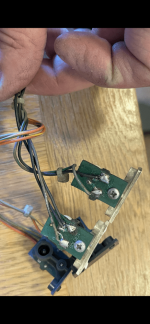
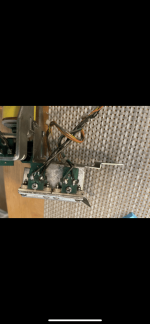
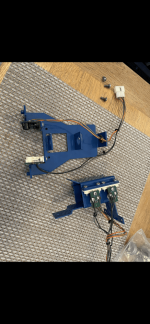
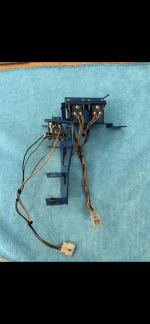
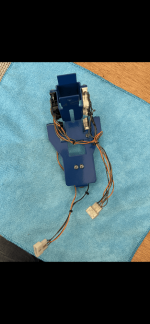
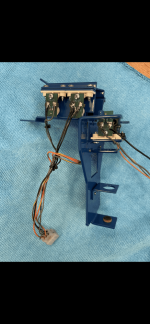
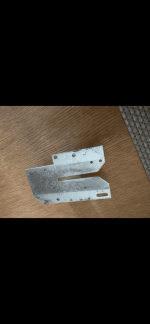
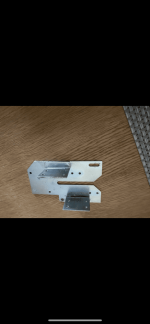
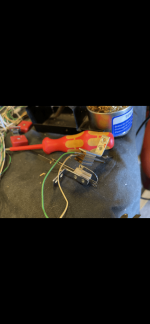
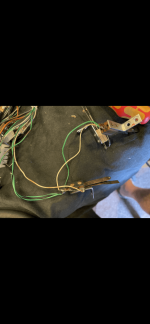
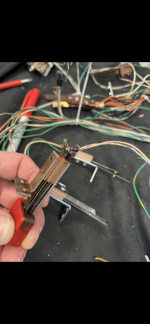
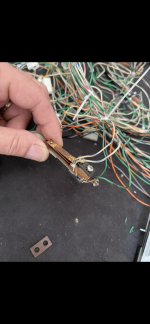
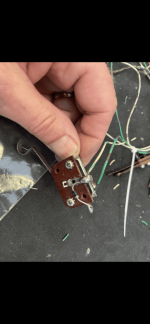
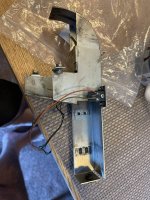
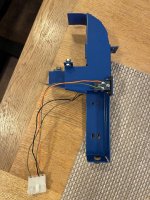
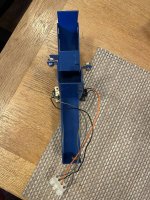
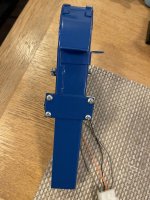
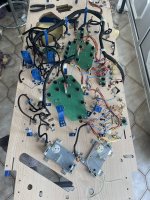
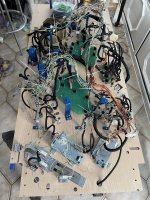
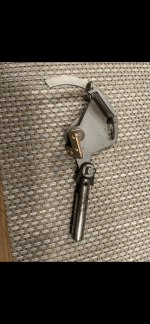
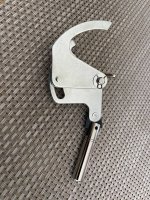
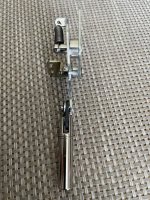
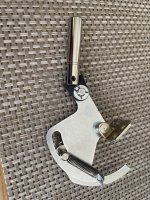
Nice, shiny!Bigfoot assembly stripped, cleaned, greased and rebuilt, new coil fitted
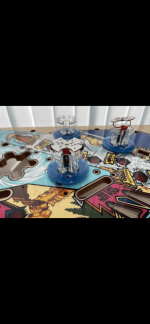
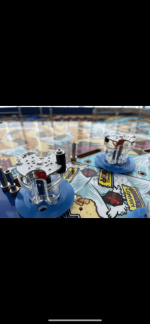
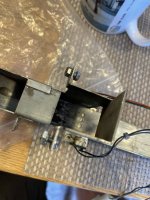
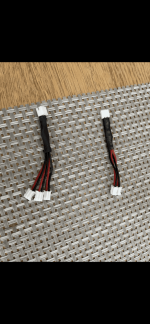
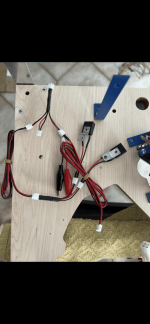
 fitted perfectly
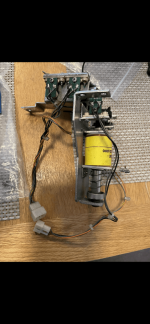
")
Thanks Phil lolCome on mate, get your finger out.....
I do like the game but after the one I did (you know the story) I would not do another. Would buy a players grade, play it then sell it.
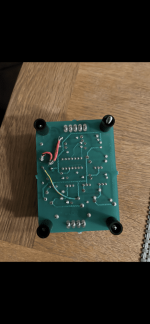
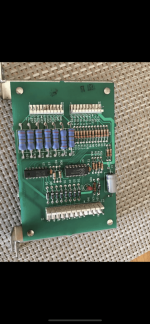
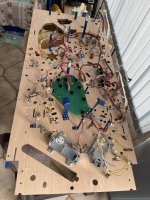
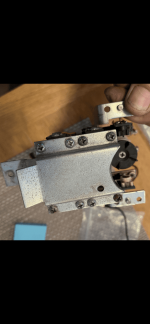
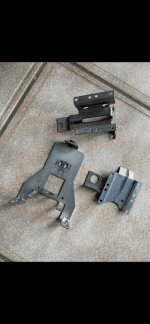
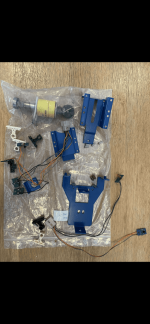
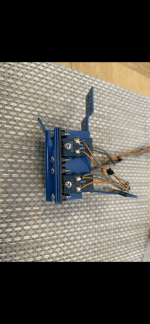
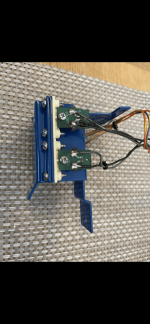
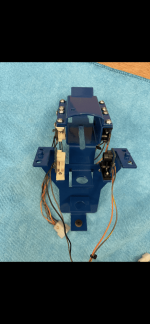
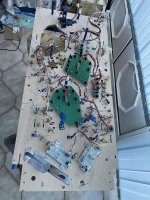
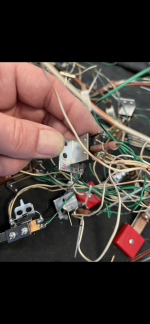
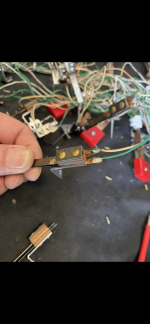
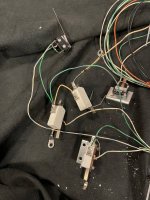
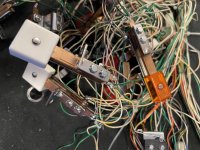
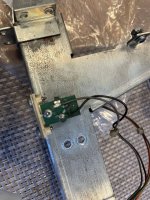
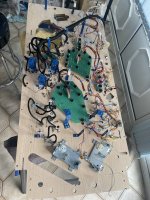
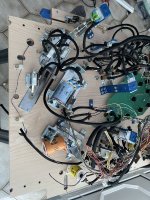
Think the powder coating of the mechs improves the look underneath an awful lot.
Really looking forward to seeing the completed game.
With pinflation I hope you get what it is truly worth.
Thanks MikeNice work Tony - looking beautiful
Sent from my iPhone using Tapatalk
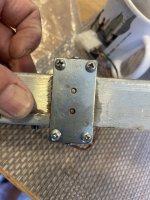


Thanks Mike,Is that Hammerite you’re using on those parts? Comes up lovely.
Sent from my iPhone using Tapatalk
Thanks MikeJust showed Mrs MadNat your pics Tony… apparently I have much more to learn. All I can say is thanks mate [emoji22][emoji3064][emoji30][emoji23]