Pinball info
You are using an out of date browser. It may not display this or other websites correctly.
You should upgrade or use an alternative browser.
You should upgrade or use an alternative browser.
Complete WH20 super minty
- Thread starter chris b
- Start date
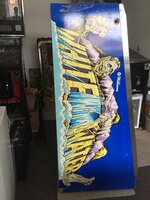
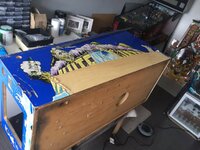
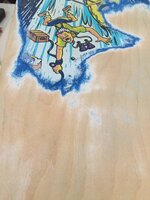
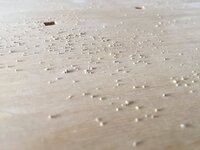
Once the decals are off it's out with the sander, the first goal is to remove the last of the glue. The sander turns its into loads of tiny balls!!!
Once the glue is all gone we'll get the wood progressively smoother using finer discs.
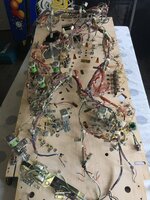
The bottom is really dirty but the sander will get rid of all that
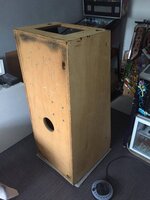

Once the glue is all gone we'll get the wood progressively smoother using finer discs.
The bottom is really dirty but the sander will get rid of all that

What sort of dust extraction have you got on your sander mate (assuming you're sanding inside)? 

It's a Makita dust extractor which removes 99% of all dust created by the sander. It is spot on, costly but worth every pennyWhat sort of dust extraction have you got on your sander mate (assuming you're sanding inside)?
Been busy with the cab over the last few days, it takes some time but it's worth the effort.
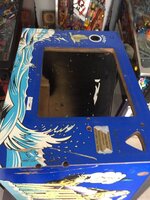
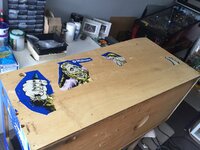
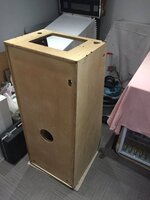
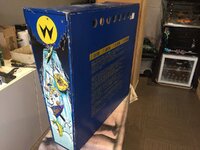
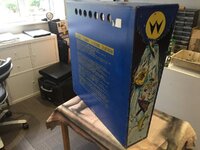
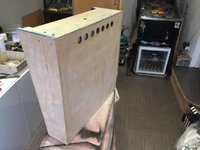
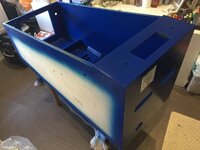
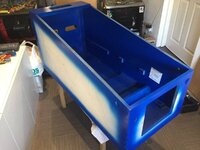
Sanded the cab fully inside and out and have filled sanded, and has now had its second fill and sand. It's getting there, the corners are yet to do which is being done using different filler which is much stronger. The first shot is after the first fill, the last picture is after sanding the second fill.
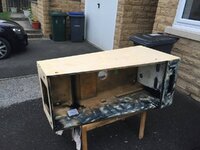
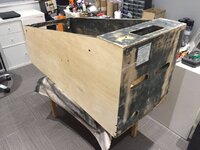
The sides are now really smooth all the dings and scratches are now gone. It will spray really well when finished
Sanded the cab fully inside and out and have filled sanded, and has now had its second fill and sand. It's getting there, the corners are yet to do which is being done using different filler which is much stronger. The first shot is after the first fill, the last picture is after sanding the second fill.


The sides are now really smooth all the dings and scratches are now gone. It will spray really well when finished
Hi Chris, loving this log. Have you thought about having repro labels done instead of sanding round them (if that's what you're doing, I noticed it's still on the back of the cab) Henrik at Pinball dreams has blank templates. I ran some off for my TAF
using different filler which is much stronger.
Really enjoying following this Chris, can I ask what different fillers do you use and why, hoping to get some advice
Ta
Car body filler is always quite good. Dry quickly and easy enough to send to perfectly smooth finish I've found.Really enjoying following this Chris, can I ask what different fillers do you use and why, hoping to get some advice
Ta
The attention to detail in this shop log is unbelievable. Going to be a pricey one if he sells this on, and rightly so
Hi Chris, loving this log. Have you thought about having repro labels done instead of sanding round them (if that's what you're doing, I noticed it's still on the back of the cab) Henrik at Pinball dreams has blank templates. I ran some off for my TAF
Hi Jon thanks for the heads up on the labels but for me you cant beat the originals if you can save them

Hi Tony as Darren has messaged I use different filler to do different jobs. You want a filler that is strong, but sands easily to fill the scratches and flat areas. However that filler isn't ideal for edges and corners as it breaks easily if knocked. I use a specialist filler with fibre for the corners and edges, it is incredibly strong if knocked. You need to be a little careful if using car body filler some of it just isn't flexible enough for wood, it's a very different substrate compared with metal. I've had a bad experience with car body filler so don't use it anymore.Really enjoying following this Chris, can I ask what different fillers do you use and why, hoping to get some advice
Ta
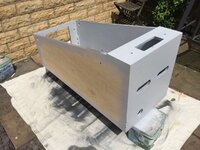
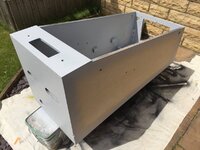
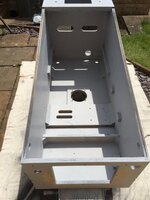
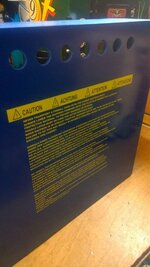
It seems the sun has gone missing up north and has been raining so it's onto the backbox while we wait for some sunshine.
You're not missing much, there's no sunshine down south either.

