It's a serendipitous journey of restoration as I come across new pieces that I can sort out.
Wasn't planning on doing much with the metal work, as I am conscious that new paint versus old artwork might jar.
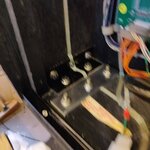
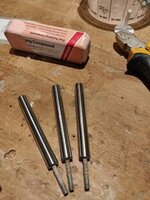
But it got the better of me, so I rubbed down the hinges and popped the bolts into some light acid, quick watery wash and then gave them some Isoprop and a coat of black spray.
View attachment 123855
View attachment 123856
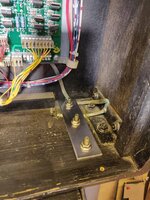
I also decided to make the speaker and DMD section slightly easier to remove and added a small connector, the whole thing can be removed now with 3 connectors.
View attachment 123899
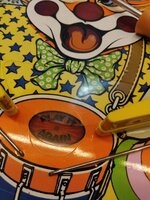
Looking into the lighting, I've discovered that the manual calls for lighting in the pop bumpers, yet this Hurricane doesn't have any wiring or lamp holders for it. I wonder if some went out with no bumper lights.. seems odd.
View attachment 123896
View attachment 123897
At least, I don't recall removing any lighting and I can't find any in the giant beer pong of part cups.
View attachment 123900
Few other bits popped back onto the PF, but got distracted with hinges and brackets and black trim clean up. [emoji846]


 but first I want to see it as it was from the factory...


 Faffing!