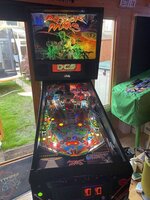
XMen shown a little love
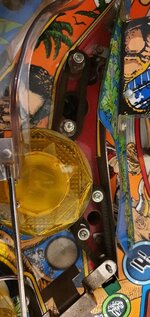
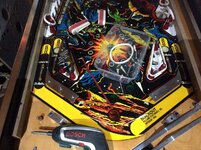
Gave XM a little makeover with a set of extended protectors and clear inlanes.


Gave XM a little makeover with a set of extended protectors and clear inlanes.


I just bought a huge amount of rubbers in every size which works out expensive to start but in the long run vastly cheaper than pre made sets. This is only cost effective if you have a larger lineup or a regular turnover of pins to shop out.View attachment 120913View attachment 120914View attachment 120915View attachment 120916
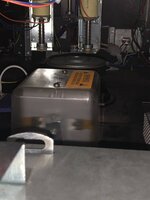
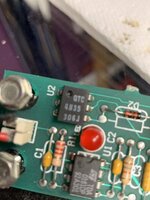
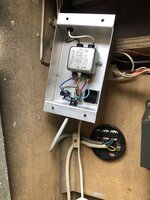
Some hidden old rubbers on my JP.
Wonder how old they are?
Replaced with a premium pack from Pinball Center but left with a load of spares and maybe a couple post rubbers missing.
How do people replace rubbers if kits are missing some?
I would be more shocked if a rubber kit was actually correct!View attachment 120913View attachment 120914View attachment 120915View attachment 120916
Some hidden old rubbers on my JP.
Wonder how old they are?
Replaced with a premium pack from Pinball Center but left with a load of spares and maybe a couple post rubbers missing.
How do people replace rubbers if kits are missing some?


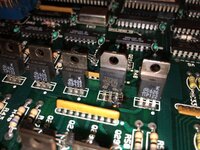
 ) and a new shorter lift rod ( so the UFO lifts up less hopefully fixing the broken hinge problem )


")


 .
.


 ....
....


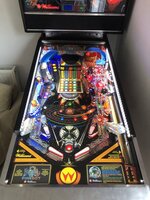
From lord of the grime and scratched glass - to lord of the rings.
View attachment 123031
View attachment 123032


@Andydn is it though? It was bugging the hell out of me earlier but couldn’t figure how to do it, in the time I had to get back for football. Any ideas? Couldn’t see what to loosen up all looked very rigid.
Cab redecal completion
Mirror sideblades added too.....
View attachment 123112View attachment 123113


 has gone off