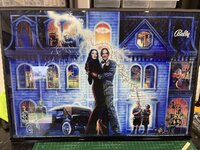
Will one of these make it to pinfest this year mate ??
Cheers
Kev
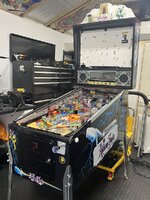
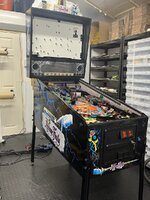
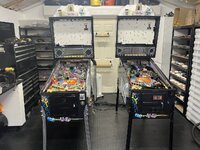
Yes mate, definitely one of them will be going, possibly both.
Will one of these make it to pinfest this year mate ??
Cheers
Kev
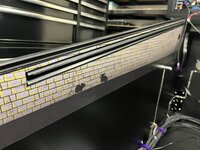
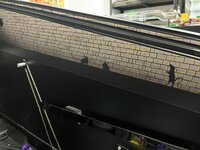
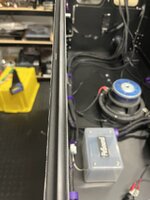
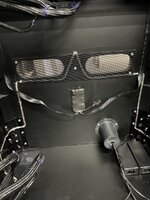
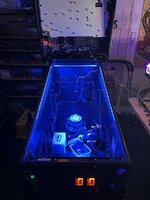
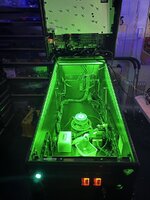
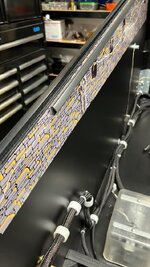
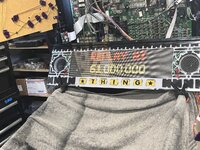
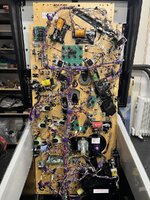
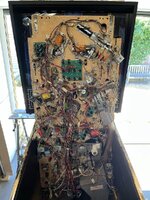
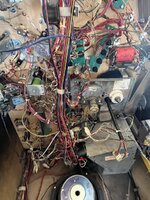
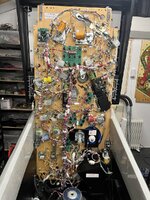
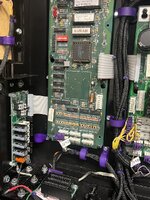
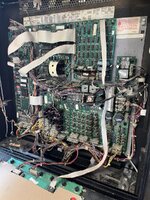
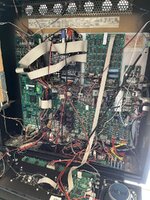
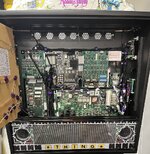
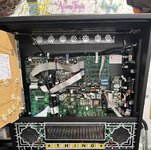
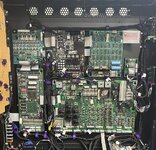
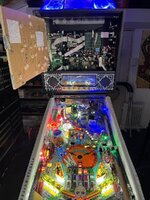

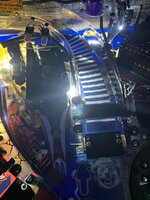
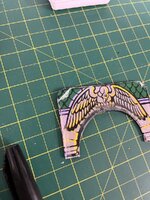
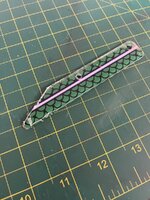
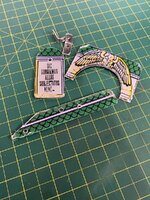
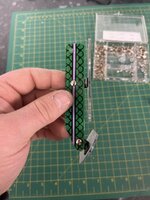
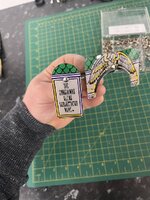
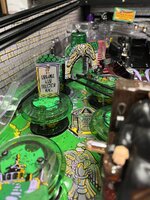
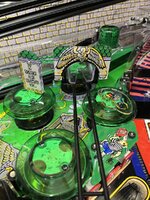
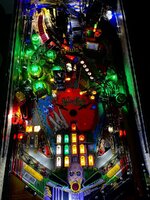
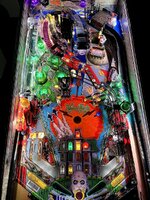
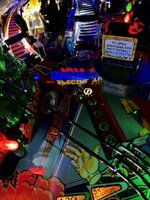
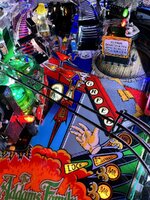
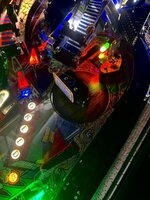
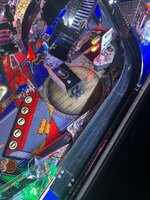
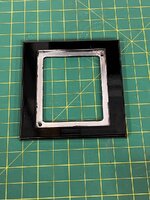
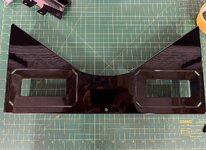
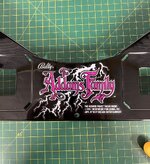
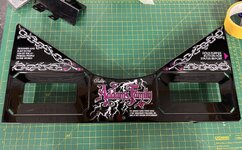
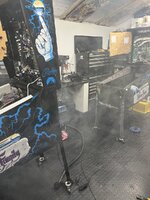
After you’d modded the topper with the cloud effect, I was half expecting a smoked black apron with a similar effect.
Truly awesome work!
Amazeballs Ant !!!!I’ve been busy this week finishing off some of the last few jobs to do.
A couple I got crossed off the list was fitting the shooter rod on my game and rebuilding both aprons.
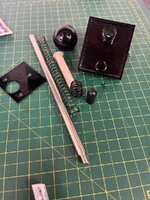
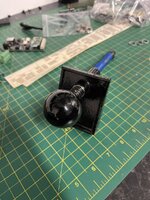
Like literally everything else on my TAF, all the shooter rod parts were powder coated black.
View attachment 200956
The TAF manual states that you should use a green shooter rod spring, but when I tried it out, you would hit the skill shot every time, and that was with a full plunge. So I settled for a blue spring so that a full plunge would send you round to the pop bumpers, this making the skull shot harder.
View attachment 200957
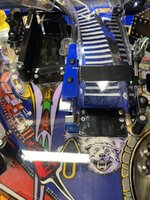
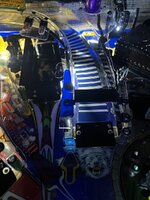
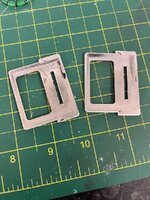
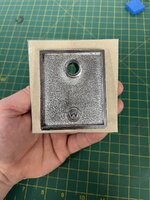
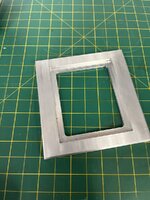
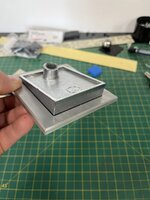
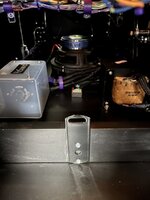
Another last minute idea I had was to make a plate to go around the shooter rod bracket. Firstly I made a rough cardboard template so that I could check the dimensions.
View attachment 200958
My son then machined it out of a piece
of aluminium plate.
View attachment 200959
View attachment 200961
It was then blacked out to match.
View attachment 200962
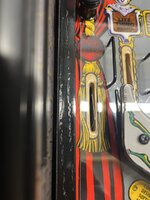
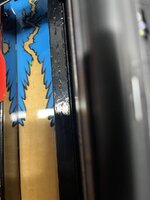
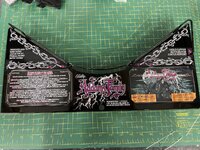
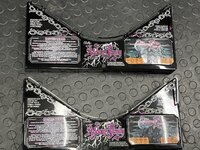
Next up was rebuilding the aprons. Both were fully stripped and powder coated in gloss glass.
View attachment 200967
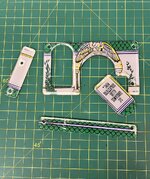
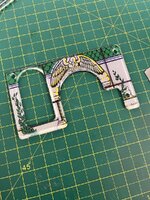
New decals were added next followed by the wire form and some new apron cards.
View attachment 200969View attachment 200970
View attachment 200971
The decals I used were slightly different in the way they were cut, as they came from different suppliers, but I think they both came out great.
View attachment 200968
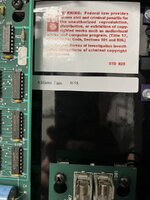
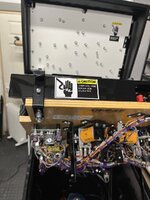
Last job was to fit them to the playfields and add a replacement warning decal.
View attachment 200965
View attachment 200966
For me, one of the best things when playing TAF is the whole multiball sequence. I really like how the sound gives the effect like the the game is powering up with the electricity noises and lighting etc . Its actually my youngest daughter’s favourite part of the game.
So at the start of the projects, I had the idea that I definitely wanted to incorporate the shaker motor to that sequence plus I wanted to try and add a smoke machine as well.
You can literally set it up so that it, in theory could come on every time you hit the pop bumpers. However I think the room would quickly fill up with smoke if you did that.
My initial thinking behind it was for it to come on with the electrical and powering up sound effects along the the shaker motor rumbling away. The idea being that the smoke machine would add that last thing in order to give the impression that the actual game has started to smoke.
Plus I thought it would be funny as **** to see my friend’s reaction when they play it and don’t expect that to happen
I’ve been working on it for about a month now, and I think I’m at the point where I’ve dailed it in and am happy with how it works when playing the game.
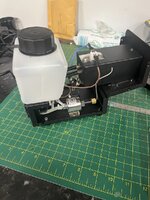
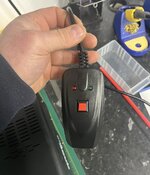
I started by finding the smallest smoke machine I could. As standard they come with a wired switch/button.
View attachment 200955
View attachment 200972
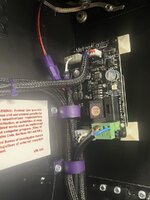
The PinSound shaker control board would be used to control it, but I needed to work out how to mod the wired switch/button so that it would work with the control board
View attachment 200992
Another challenge was to work out the best way to power it and where to mount it on the game. My first thought was to put it in the cabinet and add a pipe so that the smoke blast outside. The issue with doing that, is that smoke machines get hot!
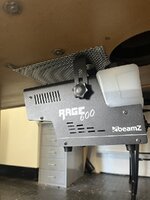
So that idea was scrapped. Plan B was to mount it under the cabinet itself. This worked well but also highlighted a couple of other problems.
Firstly I wanted to wire it up to the actual game so that it comes on when the pin is switched on.
I also noticed that even though it was mounted outside and underneath the cabinet, when I felt the wood on the inside on the bottom of the cab, it was getting hot from heat transferring through the wood.
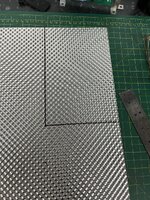
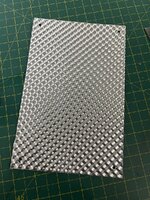
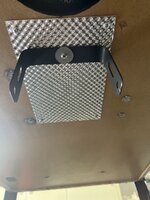
So I bought some heat shielding used for car exhausts and made a plate to go below the cab.
View attachment 200944View attachment 200945View attachment 200946View attachment 200947
This did the trick as there is hardly any heat transfer coming through now.
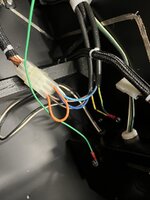
To power it, I cut a small hole in the bottom of the cabinet and wired it directly to the transformer, so that it would come on at the same time the pin is switched on.
View attachment 200973
Next up, was getting it to work with shaker motor control board. My idea was to simply cut the switch/button off and simply wire it directly to switch relay on the control board. Unfortunately this didn’t work as when I tried it out, nothing happened.
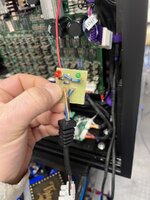
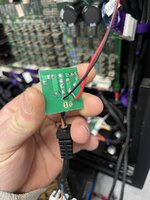
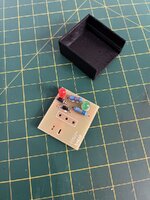
After opening the smoke machine activation button/switch up, I eventually worked out through trail and error that I needed to in incorporate the small pcb board when wiring it up to the control board.
View attachment 200949View attachment 200950
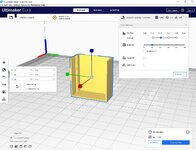
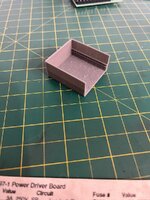
Now I knew it would work, I needed to somehow mount the small pcb board. I asked a friend to 3D print me a little box that I could fit it into and then install somewhere inside the cabinet.
View attachment 200953View attachment 200951View attachment 200952
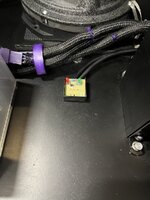
When it came to finding a location to fit this, I ideally wanted it to go somewhere easily visible so that you could quickly see the leds on the board. These basically tell you that it is ready to use. So I decided to mount it on the bottom in the cabinet.
View attachment 200977
Locating it where I did gives you a perfect view of the leds when you open the coin door.
View attachment 200964
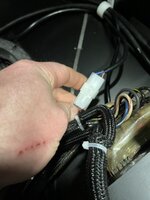
I also added a Molex connector to the wire running upto the control board, so that everything could quickly be disconnected, if I needed to move the game.
View attachment 200976
The next hurdle, was to find an appropriate smoke fluid to use. The basic stuff on the market is fine if you wanted the smoke to stay in the room for 5 to 10 minutes. Obviously I didn’t want this so I found 3 different brands of extra quick dissipating fluid.
After the initial testing, I’d say 2 of the manufacturers were talking bull**** as I timed their products to see how long it took to disappear and both were between 3-5 minutes.
But the third one I tried was spot on, with the smoke lasting approximately 10 seconds.
I used the standard PinSound program to set up when I wanted the switch relay to kick in. You can basically adjust when it happens, how long for and how many times you want it repeated.
I knew I only wanted it to be activated on the start of multiball and to only go off the once. What I wasn’t sure of was how long it should smoke for. So I went with 5 seconds at first. As you can see, 5 seconds was to long
View attachment 200948
After a lot of trail and error, I found the perfect timing was 0.8 of a second. That gave a good blast of smoke and evaporated within 10 seconds so it doesn’t fill the room but still gives the effect that the actual game has started to smoke, especially when your standing in front playing the game.
I’ve also programmed it to come on during both, Raise the Dead and Seance modes, but with slightly different timing. It particularly goes well with the music and knocker during the seance mode.
I’ve also now fitted one in the other TAF as well.
Cant wait to get my hands on the flipper buttons.At the start of the project my initial plan was to do another custom apron and coin door, with a glowing type effect but as with a lot on my ideas/plans, I end up changing them at the last minute and do something else
Im putting my own pin projects on hold until I get the parts I need for my IJ.Be sad to see this one finished, only because I look forward to the updates.
Roll on your next project. Which is ?
Super glad that the details Holly did came through in the end. Getting all that detail to fit on such a small surface was a pain!I’m finally on the last few jobs and should have both these games done within the next couple of day.
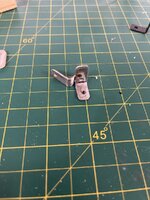
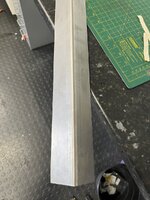
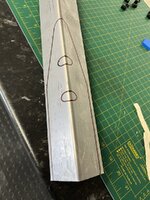
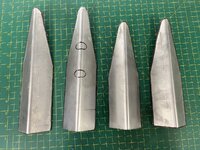
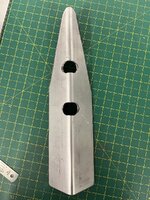
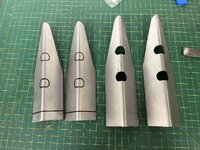
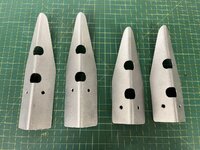
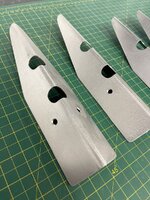
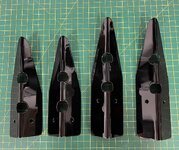
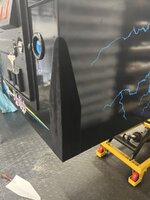
I decided last week that I wanted leg protectors that would match the colour of the legs, but didn’t want to use the plastic ones as they hang down lower than the cabinet. So, like I did in my T2, I made my own from some mild steel.
View attachment 214197
I took some measurements, marked them out began cutting.
View attachment 214215
View attachment 214198
The trickiest part when making these is to get the bolt hole cut as it involves quite a bit of grinding and filing.
View attachment 214199View attachment 214200
Last thing to do was to drill and counter sink a couple of holes for the mounting screws.
View attachment 214201View attachment 214202
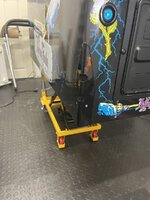
After picking them up from the powder coaters, I marked them on the cabinet and removed the decal from underneath where they go to avoid any wrinkling. I then used some of the felt I use on the cabinet and screwed them in place.
View attachment 214203
View attachment 214214View attachment 214213
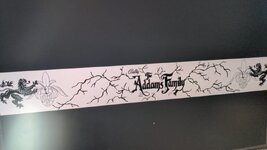
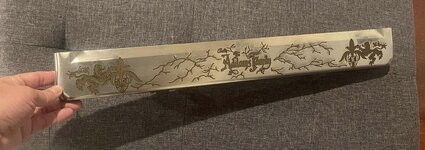
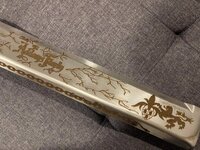
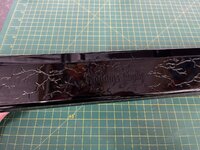
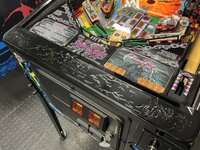
The last part I also picked up from the coaters last week was the lock bar. I asked @Dracoola to do a design for me last year. After a few different drafts, we went with this one, as it included The Addams Family Crest at either end.
View attachment 214222
I then had the design engraved into the lock bar.
View attachment 214220View attachment 214221
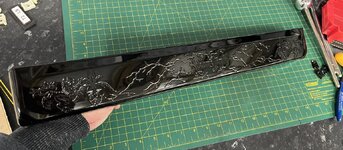
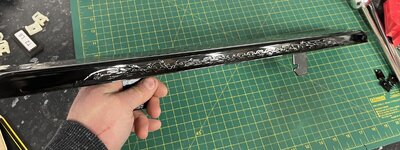
When it came to applying the finish the bar, unfortunately it had to powder coated twice, as the first time it was done, the powder went on a little too heavy and the engraving lost most of its detail.
So it was stripped down and lighter coat applied. This time it actually exceeded my expectations as every bit of the design is still clearly visible.
View attachment 214206View attachment 214205View attachment 214204
View attachment 214223
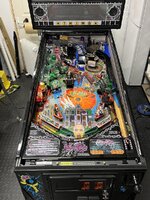
So all that left to do now, is to add a couple more decals to the back boxes and install the back glass
