Pinball info
You are using an out of date browser. It may not display this or other websites correctly.
You should upgrade or use an alternative browser.
You should upgrade or use an alternative browser.
Complete 8 Ball Deluxe LE
- Thread starter AlanJ
- Start date
I just used ordinary electrical solder. It works pretty well. the key is to get a blob of solder to sit into the hole and fill it, then sand off the top and bottom, which pushes the soft alloy into the gaps making a pretty good seal, such that it doesn’t drop out. It’s. really cheap, easy, fast way to fill a metal hole.looks good,what method did you use to fill the holes?
To stop the solder falling out the bottom whilst it was molten i just taped up the underside with blue decorators paper tape.
A new stock of fine sanding disks arrived this morning, so I could complete the insert sanding / polishing. Did a bit of overkill 400,600,800,1000,1500,2000,3000,5000 grits in turn. Shame I’m putting a hard top on because the playfield is super super smooth now.
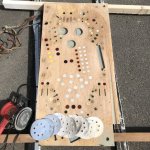
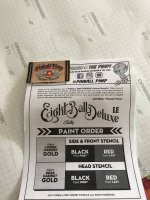
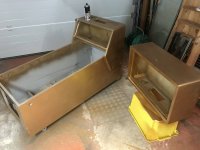
Then I have done some test painting of the base gold colour. got a variety of gold paints, the hammerite is coming out tops on my wood tests. but not sure if the stencils will work on a hammerite finish.
Whilst waiting for the paint tests to dry, i’ve had time to print some coil wrappers.
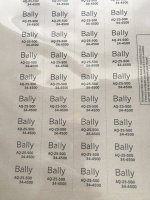

Then I have done some test painting of the base gold colour. got a variety of gold paints, the hammerite is coming out tops on my wood tests. but not sure if the stencils will work on a hammerite finish.
Whilst waiting for the paint tests to dry, i’ve had time to print some coil wrappers.

^ Ha ha yes I realised that after I printed a few - so printed them on the reverse of my paper!
Long day on this today
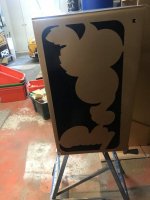
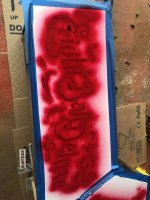
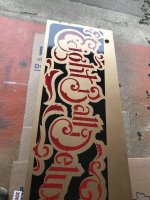
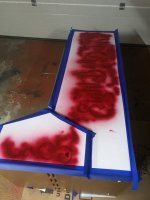
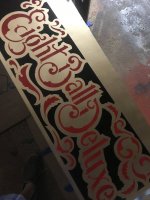
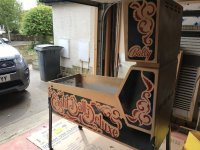
Stencilling
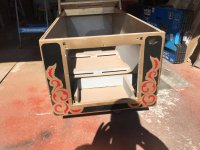
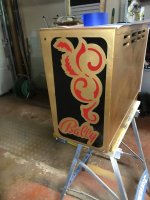
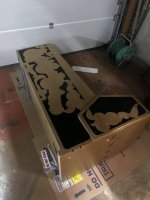
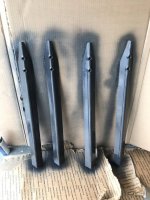
then i did some cleaning and sanding prep on the legs
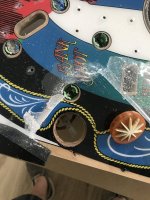
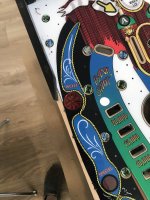
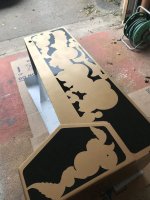
then applied the playfield overlay. took a while to line up and adjust.
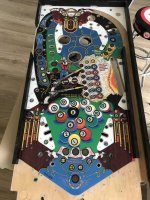
It needs some minor adjustments to trim round holes and the rollover hole way too small so needs dremling out
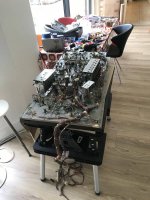
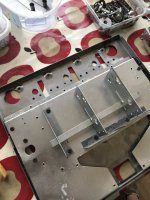
mechs being reassembled - initial assembly to make sure i’ve got all the bits in the right boxes
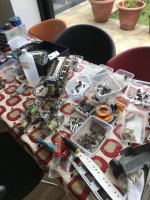
parts everywhere!
Stencilling


then i did some cleaning and sanding prep on the legs
then applied the playfield overlay. took a while to line up and adjust.

It needs some minor adjustments to trim round holes and the rollover hole way too small so needs dremling out
mechs being reassembled - initial assembly to make sure i’ve got all the bits in the right boxes

parts everywhere!
Alan when I installed a Taxi hardtop I found the easiest way to deal with holes that are slightly out of centre was simply to use a soldering iron. Poke the iron where the hole is on the playfield and it instantly makes a hole or enlarges the existing one in the hardtop so that the two are perfectly aligned.
Last edited:
Cheers Paul. Good tip. i’ll need to sort a few out when i get to rebuilding the top playfield.
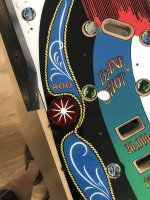
the star rollover hole was very undersized, or it was 1cm diameter rather than 2.5cm. apparently by design, so i had to gradually increase the hole size with dremmel type drill.
the star rollover hole was very undersized, or it was 1cm diameter rather than 2.5cm. apparently by design, so i had to gradually increase the hole size with dremmel type drill.
Made a start of trying to reassemble the coin door, realised i didn’t take enough photos when taking it apart, so abandoned for today. Managed to find a pinside thread that has step by step instructions with pictures, so that’s tomorrow’s job. along with side 2 of the cabinet to stencil.
the drop target mechs have cleaned up well. all the nasty rust has gone
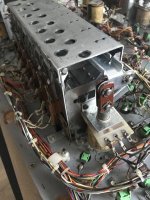
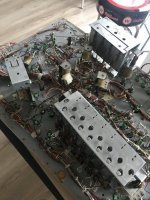
All flippers rebuilt
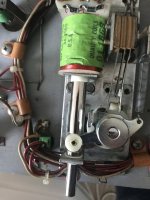
I started to rewrap the coils but the paper i used to print the wrappers on is not good the print started to rub off, so i’ve left them original - need to find another stock of coloured paper that works well in my laser printer.
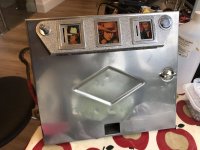
polished up the lock down bar
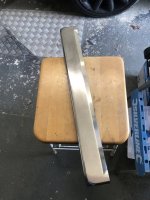
I’m just learning the polishing malarkey- it’s not a fast process for sure!


All flippers rebuilt

I started to rewrap the coils but the paper i used to print the wrappers on is not good the print started to rub off, so i’ve left them original - need to find another stock of coloured paper that works well in my laser printer.
polished up the lock down bar

I’m just learning the polishing malarkey- it’s not a fast process for sure!
Ashbo
Site Supporter
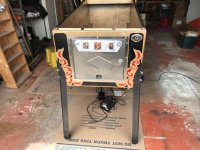
She has been transformed...amazing work!!View attachment 140088
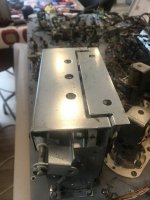
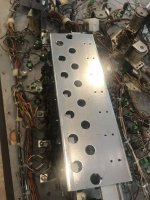
Nice new earth lining board
View attachment 140089
Nice new earth braid
View attachment 140090
Insert reinstalled
View attachment 140091
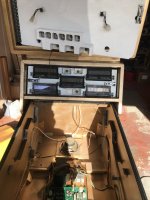
Coin door back on. Earth bonding straps all reinstalled. I’ve tested for earth continuity to the legs, side rails, power switch plate, lockdown bar, etc. All good so far.
I’m just in total awe. From someone who can just about replace a bulb (well some of them) - this will be a real credit to you. Amazing!
Wish I was brave enough to do something like this.
And had the machine to do it with
And a garage or something to do it in
And the skills to actually do it.
If not for these minor hurdles id be on the cusp of doing something like this myself
Cracking stuff here and no mistake.
And had the machine to do it with
And a garage or something to do it in
And the skills to actually do it.
If not for these minor hurdles id be on the cusp of doing something like this myself
Cracking stuff here and no mistake.
Wish I was brave enough to do something like this.
And had the machine to do it with
And a garage or something to do it in
And the skills to actually do it.
Sounds like you've already got the most elusive thing though - the time do it!!
Hmmm. Not sure about that either. That's easier to find somewhere if the other prerequisites are met however.Sounds like you've already got the most elusive thing though - the time do it!!
finally got the new flipper buttons in. they were slightly larger than the holes, so i had to carefully widen the hole.
really cheesy gold coloured
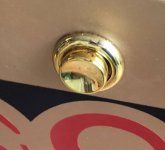
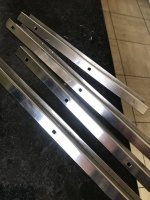
I was going to put on a new set of side rails but they don’t fit. the flipper button holes are too small, as they’re for the earlier ss type flipper buttons. so tonight’s task is to clean and polish up the old ones. Gonna be hours of fun…………..
really cheesy gold coloured

I was going to put on a new set of side rails but they don’t fit. the flipper button holes are too small, as they’re for the earlier ss type flipper buttons. so tonight’s task is to clean and polish up the old ones. Gonna be hours of fun…………..

