March 2015
OUTHOLE KICKER REBUILD
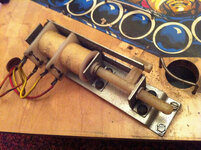
Time to start working on the mechs that sit under apron and first up is the outhole kicker. Although it seemed to move freely this was really struggling to get the ball up the ramp that leads to the shooter lane. Not sure why? But in my limited experience giving any solenoid mechanism a ruddy good clean always improves matters.
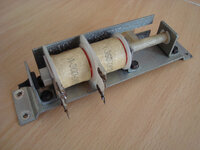
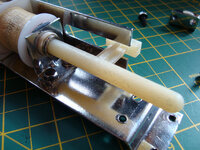
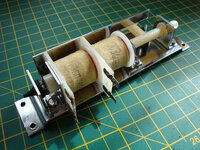
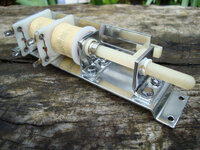
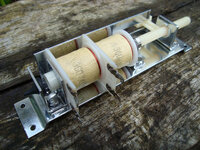
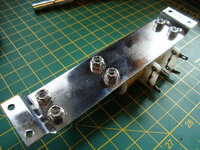
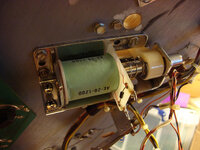
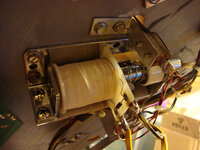
So, what we're dealing with here is the A371-00037-0000 TOP MOUNTED OUTHOLE KICKER:
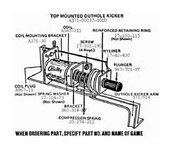
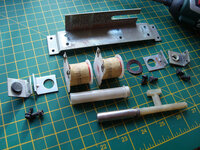
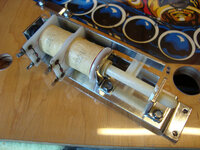
As you can see, like the flippers and slingshots, Bally also decided to "linearise" the design of the outhole kicker and stick in a big wodge of plastic. To prevent this chafing on the metal chassis they also riveted on plastic guides. Here's what I started with:
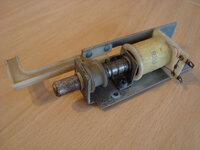
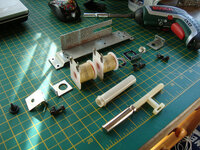
And then again stripped down:
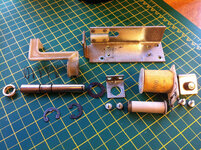
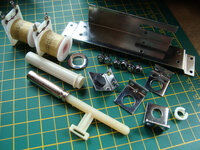
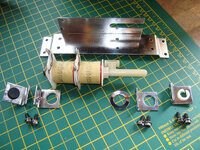
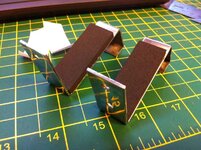
During polishing the main chassis I realised the plastic guides were going to get all messed up. Polishing with the Dremel creates nasty black cack that marks plastic and also gets hot enough to melt it. So I popped out the four little aluminium rivets with a 3" nail. After an hour or so I ended up with a pile of clean stuff:
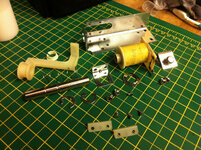
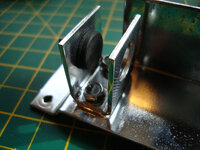
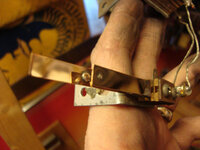
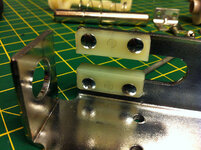
To reassemble, the guides were fitted back onto the chassis by reforming the original rivets using the bench vice to apply pressure with a punch:
The the big C-clips were used to hold the plastic kicker arm onto the plunger:
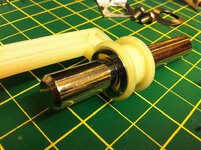
The nyliner for the plunger was fitted back into the hole at the end of the chassis, and the kicker arm slid through the gap in the corner so that it went into the slot with the plunger through the nyliner. The spring was slipped onto the plunger and both held in place with the bracket:
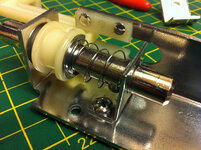
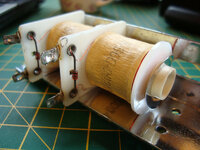
A new sleeve was fitted in the coil and the sprung washer popped on the end before offering the coil up to the plunger:
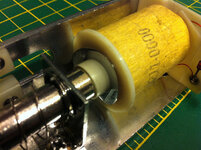
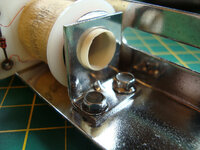
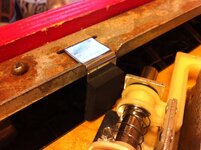
The end-stop bracket was then fitted. The bracket was pressed firmly up against the coil whilst tightening the screws to squeeze the sprung washer. Job done:
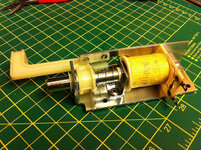
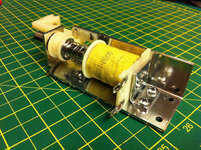
As a finishing touch I might give it a new coil wrapper with Bally logos
OUTHOLE KICKER REBUILD
Time to start working on the mechs that sit under apron and first up is the outhole kicker. Although it seemed to move freely this was really struggling to get the ball up the ramp that leads to the shooter lane. Not sure why? But in my limited experience giving any solenoid mechanism a ruddy good clean always improves matters.
So, what we're dealing with here is the A371-00037-0000 TOP MOUNTED OUTHOLE KICKER:

As you can see, like the flippers and slingshots, Bally also decided to "linearise" the design of the outhole kicker and stick in a big wodge of plastic. To prevent this chafing on the metal chassis they also riveted on plastic guides. Here's what I started with:

And then again stripped down:

During polishing the main chassis I realised the plastic guides were going to get all messed up. Polishing with the Dremel creates nasty black cack that marks plastic and also gets hot enough to melt it. So I popped out the four little aluminium rivets with a 3" nail. After an hour or so I ended up with a pile of clean stuff:

To reassemble, the guides were fitted back onto the chassis by reforming the original rivets using the bench vice to apply pressure with a punch:

The the big C-clips were used to hold the plastic kicker arm onto the plunger:

The nyliner for the plunger was fitted back into the hole at the end of the chassis, and the kicker arm slid through the gap in the corner so that it went into the slot with the plunger through the nyliner. The spring was slipped onto the plunger and both held in place with the bracket:

A new sleeve was fitted in the coil and the sprung washer popped on the end before offering the coil up to the plunger:

The end-stop bracket was then fitted. The bracket was pressed firmly up against the coil whilst tightening the screws to squeeze the sprung washer. Job done:


As a finishing touch I might give it a new coil wrapper with Bally logos

