February 2015
HOMEMADE PLAYFIELD PROTECTOR PT.5
Here's a video of the grand reveal! After 10 days measuring, marking, drilling, routing, cutting, sanding I finally peeled off the protective film from the top:
FYI: Not Safe For Work as I mutter the "F" word a couple of times due to pleasure and surprise! Just turn the sound off
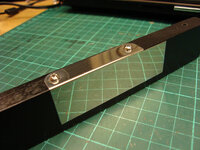
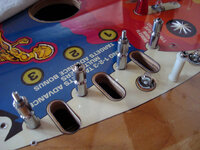
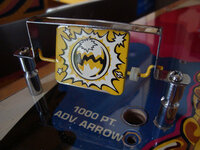
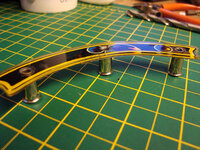
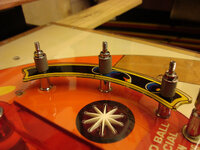
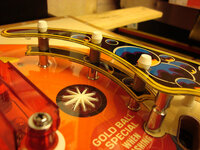
And a bunch of hi-res photos so you can see clearly just how super shiny this stuff is:






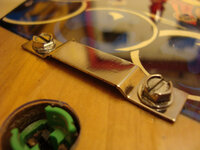
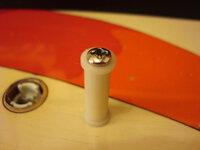
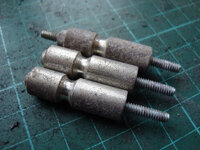
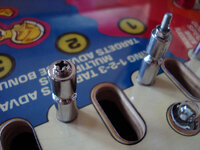
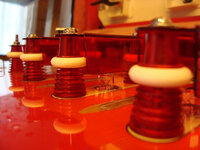
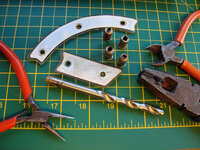
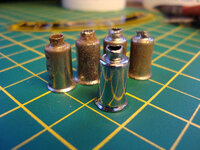
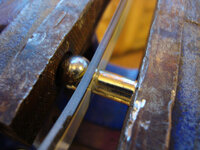
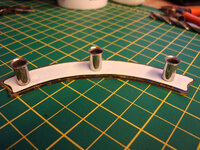
I've had a quick fettle and discovered I need to enlarge the holes for screw/bolt posts. I originally used a 3mm bit in a pin vice drill but it's not quite large enough. Lexan can crack if you force screws through it, so need to enlarge them to 4.5mm. Also, a little slack will help with any expansion/contraction. I'm also going to have to drill bigger holes for the mini-posts shown in the above photos. Because they need to be really tight (they have a nut on the underside) they pinch into the Lexan too much and cause puckering, so need to drill a hole that provides total clearance (this is like commercial protectors in that they are cut to fit over and around everything). I'm not doing this for star posts as they're quite wide at the base and distribute the force evenly (also they're not tightened down so much).
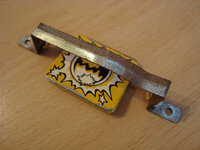
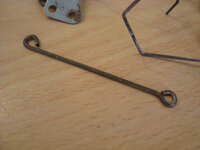
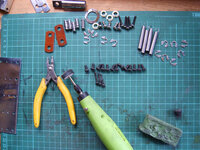
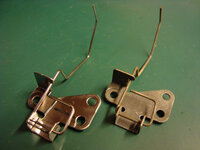
Now begins the process of cleaning and replacing all the hardware!
HOMEMADE PLAYFIELD PROTECTOR PT.5
Here's a video of the grand reveal! After 10 days measuring, marking, drilling, routing, cutting, sanding I finally peeled off the protective film from the top:
FYI: Not Safe For Work as I mutter the "F" word a couple of times due to pleasure and surprise! Just turn the sound off
And a bunch of hi-res photos so you can see clearly just how super shiny this stuff is:


I've had a quick fettle and discovered I need to enlarge the holes for screw/bolt posts. I originally used a 3mm bit in a pin vice drill but it's not quite large enough. Lexan can crack if you force screws through it, so need to enlarge them to 4.5mm. Also, a little slack will help with any expansion/contraction. I'm also going to have to drill bigger holes for the mini-posts shown in the above photos. Because they need to be really tight (they have a nut on the underside) they pinch into the Lexan too much and cause puckering, so need to drill a hole that provides total clearance (this is like commercial protectors in that they are cut to fit over and around everything). I'm not doing this for star posts as they're quite wide at the base and distribute the force evenly (also they're not tightened down so much).
Now begins the process of cleaning and replacing all the hardware!
Last edited:

