What's new
Pinball info

Register a free account today to become a member! Once signed in, you'll be able to participate on this site by adding your own topics and posts, as well as connect with other members through your own private inbox!

Complete White Water shop - It has ended phew!!!!

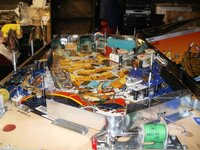
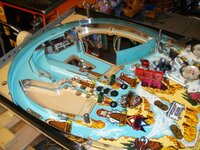
Started today on the mini playfield - here is the old one as is

and underneath - isn't this the flipper coil that really should be on the left hand main playfield flipper !!!! this should be a red FL-11630 coil ????
Its a bit minging as you can see!!!

View attachment 9093

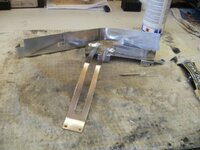
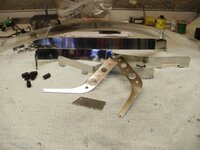
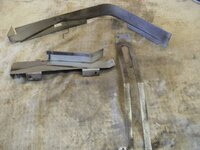
The picture of the flipper assembly supplies the answer to something I've occasionally wondered about; the spring return arrangement for the upper flipper. When new, WhiteWater was one of the last games to use the older 'pointed' flipper link (which the one pictured has), and as I recall the very last to have the System 11 era conical-shaped compression spring, used in this case on the upper flipper only. Though the 'new' spring set-up, using an extension spring stretched between the EoS switch mounting and a plate fitted to the flipper pawl, had been introduced on 'Hurricane', the upper flipper on WhiteWater reverted to the older type. As I reckoned it, this was due to clearance issues with the spring plate and a ball guide on the main playfield.

Once the new type plastic link was established in use, ops were encouraged to use it on older games, with a 'kit' available containing the additional parts. I didn't like the new link anyway, and I never found out what the situation was with the upper flipper on WhiteWater (the new-pattern link and the old-type spring aren't compatible). newdos' picture shows the solution - a bent spring mounting plate.
Interesting Jay - thanks for that

Kev
 
A bit more steel polishing today.

before

P8090564.JPG

After
P8090565.JPG

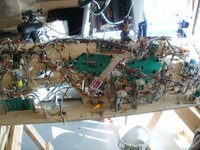
That about concludes the underside of the playfield rebuild now that I have put the subway ramp on

P8090566.JPG


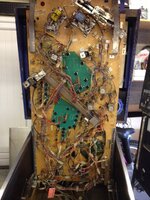
A quick before reminder !!!!

IMG_1032.JPG


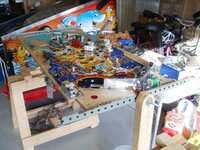
Now its time to turn focus on the topside - progress so far below

P8090567.JPG

That's it for today!!
 
More progress lots of post and pillars installed and rubbers starting to go on. Annoyed bits missing from rubber kits (as the manual is wrong!!) and a star post short on the same order Grrr!!!!

That's it for a while as off on holiday for 15 nights after tomorrow!!!!

P8130580.JPG
 
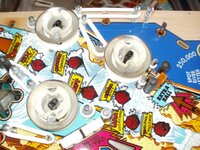
Question guys - See the rubber between the two lower bumpers - is this correct????? this is how the manual shows it, but when I stripped it the star post had just a ring on it, and the post near the middle bumper had nothing on it !!! Got to admit not sure how you would get a shot to the lower bumper on the right side of the extra ball target with this arrangement shown? All help appreciated. @replicas sure you had one of these so may know the answer


Cheers Kev

P8140581.JPG
 
I always wondered that mate. My mates was set up as yours is pictured but I always thought the ball should be able to pass through that gap to the inlane.
It certainly plays that way on pinball arcade (ie there's a gap between the posts, no rubber)
 
Totally correct on the machines that came out of the factory it's to stop outlane drains. They thought it was going to be a problem in the prototype games so came up with that. Up to you if you want to keep it factory or make it a little harder and remove it.
 
  • Like
Reactions: ski
Totally correct on the machines that came out of the factory it's to stop outlane drains. They thought it was going to be a problem in the prototype games so came up with that. Up to you if you want to keep it factory or make it a little harder and remove it.
Thanks Daz a great help as always buddy!!!:)
 
Which one did you mean on there Kev? Trying to work out which mine is set as now :)
 
Which one did you mean on there Kev? Trying to work out which mine is set as now :)
If you see my pic above that is how it is set in the manual but other don't have the rubber across from the post to the star post - just a ring on the star post and that's it
 
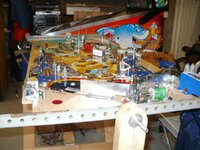
Its been a while since any progress due to hols etc but today we have started to move on again and the side rails have been added to the playfield. Tomorrow all the steels will be polished and put back and plastics starting to appear etc !!!

P9190585.JPG
 
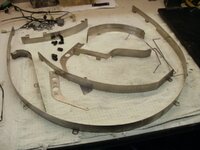
Steel polishing day!!! Before and after shots and the next job is stick em back on the table!!!

Before - dull

P9200587.JPG

And After!!! Shiny!!!!

P9200588.JPG
 
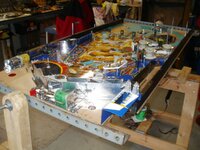
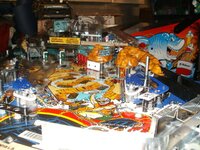
And finally for today the shiny steels back on the playfield with a few new plastics and some LEDs starting to go in. Really coming together now at last!!!

P9200589.JPG

P9200590.JPG
 
Todays progress - all the GI LEDs added and a couple more plastics.

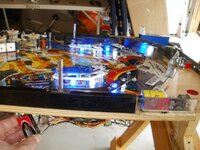
Here's a useful tip if no one has thought of it yet, when you have the playfield out of the machine and you are putting coloured LEDs in the GI, a PP9 battery across one of the GI socket terminals is a good way to test them and see how the colours look !

Note the PP9 being held on terminals in the lower left of the pic

P9210591.JPG

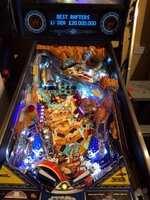
And this is now as far as I go below until I pick the ramps up form @Paul at the Play expo next month !!! Check back soon !!

P9210592.JPG

Cheers Kev
 
You are a machine! Such rapid progress!

Mind you, with a nice big garage I might make some more progress too. No wait. Forgot. I don't have any spare time as I'm too busy doing everything else around here o_O Grumble, grumble... wife not in my good books this weekend...
 
You are a machine! Such rapid progress!

Mind you, with a nice big garage I might make some more progress too. No wait. Forgot. I don't have any spare time as I'm too busy doing everything else around here o_O Grumble, grumble... wife not in my good books this weekend...
HAHA!!! thanks Nedreud - yeah my wife was on nights so in bed all day so I had some pin time!!!!

Cheers Kev
 
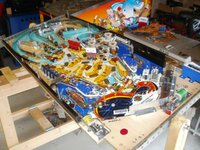
Well its been a while folks as I have been waiting for parts - ie the ramps from @Paul our admin on here, who kindly brought them to the play expo in Manchester. Gotta say they have cleaned up pretty good!!!

So today I have started putting them all back together and mounted the mini playfield as well ant is coming along nicely. Takes bloody ages to do these ramps though!!!

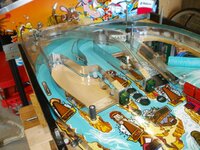
First ramp on!! and note the new ramp protectors behind the two green targets

PA250599.JPG

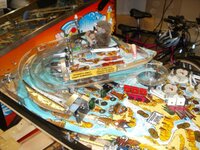
And the mini playfield and a few more ramps - that's it for today folks check back soon!!!

PA250603.JPG

Cheers Kev
 
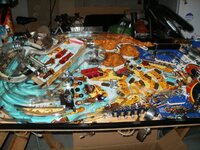
PA260605.JPG More progress today - starting to loo9k like a real white water playfield now!!! More ramps back on and there is a lot of them on a WH20

New boulders and metal protectors installed as well

PA260604.JPG
 
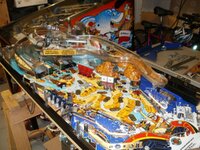
More ramps, boulder and LED flashers added tonight. Hope have playfield finished tomorrow!!!!

PA310607.JPG
 
Back
Top Bottom