Pinball info
You are using an out of date browser. It may not display this or other websites correctly.
You should upgrade or use an alternative browser.
You should upgrade or use an alternative browser.
Complete TAF, fullish rebuild
- Thread starter Lee ellison
- Start date
Like your idea to put thin felt on the insides of hinges. Cunning! I'll remember that when I own a machine young enough to have hinges 
Machine was put back together for the weekend , guests again ! . Painted the door and door bolts yesterday and cleaned all the door trim including new menu button decals , does not look much differant , but door had a couple of knocks on the paintwork and rust was starting to come through ,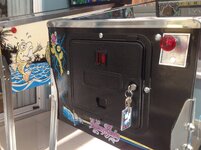 Before
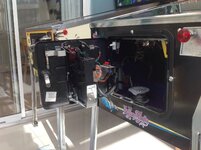 Before
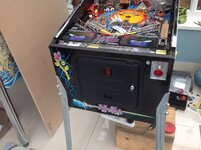 after
after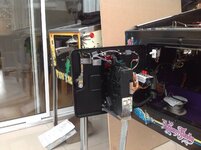
 Before
 Before
 after
after
Led,s all working now , new ones came from RS components , all fitted and working a treatPutting felt on back of hinge so it does not mark paintwork or shiny side rails !View attachment 6138View attachment 6139 View attachment 6140 Shiny rails and hinges fitted View attachment 6140 View attachment 6143 View attachment 6144 All working now ( except the bookcase led , that I destroyed). Had to adjust a few switches , all seems good

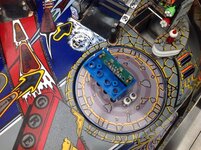
Black bolts on the coin door look way better imho.
Looking really good! Agree that the black bolt heads look better. What about the other two silver bolt heads on the front, next to the shooter and Start button? Going to black those too?Black bolts on the coin door look way better imho.
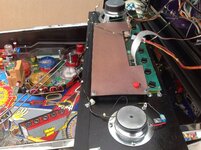
Also, are the speakers new? They're very shiny. Just wondering if you went mental with the buffer and Autosol because they've gone from being that naff electroplated brassy colour to near mirrored steel.
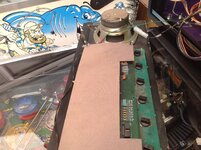
Wire brush and quick run around the buffer then some clearcoat on the speakers to keep the shine lasting ! , don,t know about the 2chrome bolts yet , they are not original anyway , I seam to have misplaced some in all the confusion !Looking really good! Agree that the black bolt heads look better. What about the other two silver bolt heads on the front, next to the shooter and Start button? Going to black those too?
Also, are the speakers new? They're very shiny. Just wondering if you went mental with the buffer and Autosol because they've gone from being that naff electroplated brassy colour to near mirrored steel.

Sorry, another question. Just wondering what you use for clearcoat on the bolts? Rattle can? If so, what are you using?
Damn, ya got meYr supposed to be looking at the can , not Abbey !
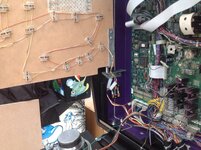
I think I,ll put complete for now , like I said pf will be refurbed properly later and 2nd set of decals will go on when these get too shabby , just finished tidying up the wires on underside of playfield And finished rebuilding the second set of flippers Before 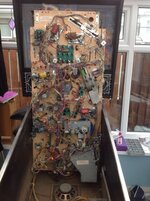
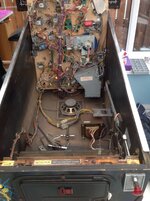 Before
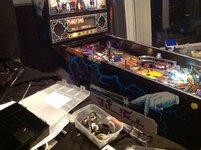
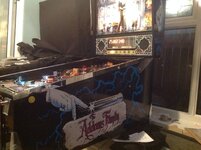
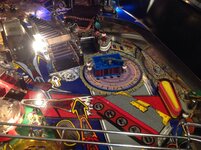
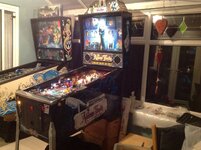
Now some photos of the finished item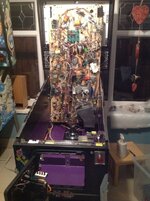
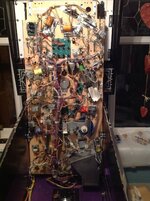
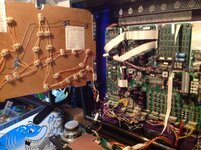
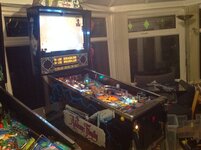
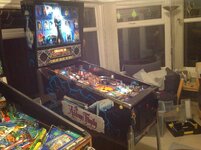

 Before
 Now some photos of the finished item


Attachments
Great stuff Lee - hope you'll get to play the crap out of it soon.
I'm about 2hrs off finishing a deep clean of my playfield and the associated tunnels, metal, new ramp flaps, rerubbering, minor lighting mods, LEDs where appropriate, etc...
Really enjoyed it, but ready for a few games now.
I'm about 2hrs off finishing a deep clean of my playfield and the associated tunnels, metal, new ramp flaps, rerubbering, minor lighting mods, LEDs where appropriate, etc...
Really enjoyed it, but ready for a few games now.
Sheesh, that is one busy-looking playfield. Remind me never to attempt a TAF restore!
Seriously good job Lee, another great pin has had it's life extended another 10+ years.
Seriously good job Lee, another great pin has had it's life extended another 10+ years.
That's how mine all started , just a clean ! Then a couple of months later it's finally CLEANGreat stuff Lee - hope you'll get to play the crap out of it soon.
I'm about 2hrs off finishing a deep clean of my playfield and the associated tunnels, metal, new ramp flaps, rerubbering, minor lighting mods, LEDs where appropriate, etc...
Really enjoyed it, but ready for a few games now.

Yeh played a bit last night , I think it's the first time I have toured the mansion , it gets better and better the more the game goes on , hopefully your enjoying yours soon

Thanks Steve, I've still got the playfield to do properly , I just took each bit off individually and cleaned , and done a temp clearcoat on the topside , just to keep the "wear"at bay Until I find the bottle to strip the whole lot , but atleast it will need a lot less work when it is strippedSheesh, that is one busy-looking playfield. Remind me never to attempt a TAF restore!
Seriously good job Lee, another great pin has had it's life extended another 10+ years.
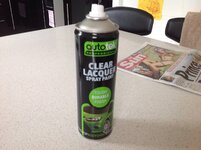
So much choice so I bought the very same brand off eBay for £4.79 including P&P. I tried "HB body auto clear HS 496 2k clear lacquer 400ml" previously and although it went on well and looked great it took forever to dry and actually still feels "soft" weeks/months later. It's not particularly tough and scratched easily with a finger nail.I am using this clearcoat below. This is what I used on the temp playfield clearcoat
View attachment 6243
I also meant to say really great job on your TAF!!! Great game. My friend has one and it's the only 100% keeper in his collection that also includes CV, TOM, WOZ and W?D. Love the purple insides. I know it doesn't get seen very often but it's great attention to detail. It'll also make it easier to keep clean - dust and grot should Hoover off that shiny paint in a flash.
This can take a while to harden and go a funny colour if you try and put too much on at once , read the instructions carefully on the can , and follow , some of these only allow another coat after 20 mins to 1hour , After that you have to wait 24 hrs otherwise it reacts ,So much choice so I bought the very same brand off eBay for £4.79 including P&P. I tried "HB body auto clear HS 496 2k clear lacquer 400ml" previously and although it went on well and looked great it took forever to dry and actually still feels "soft" weeks/months later. It's not particularly tough and scratched easily with a finger nail.
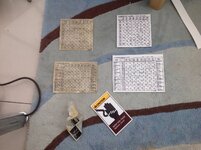
Lee,New matrix stickers and warning sticker printed , ready to go on lite board once the new white paint is dry View attachment 6244
Where do you get all the info to do the coil wraps and switch matrix printing yourself ?
Cheers Kev
Pinball rebel kev
got me some fresh coil wraps from here:
http://www.pinballrebel.com/pinball/cards/
be sure to read the copyright text in the frame, open each thing you want in a new window (CTRL + left click) and modify the address in the URL as per the instructions.
I'm taking some coloured paper into work to use the posh laser printer next week!
http://www.pinballrebel.com/pinball/cards/
be sure to read the copyright text in the frame, open each thing you want in a new window (CTRL + left click) and modify the address in the URL as per the instructions.
I'm taking some coloured paper into work to use the posh laser printer next week!
Thanks guys that's a new website on me - learn something on hear everyday!!!!
so what type of paper do you use for the stickers for the lock down bar etc. as that is like a gloss sticky label, and where did you get it from ?Pinball rebel kev
Cheers Kev
F
or the lockdown bar , I bought a shop out kit , for the coil wrappers I just used normal colour paper . For the light board warning sticker I used photo paper and normal paper , see which one turned out best , the black on mine looked a bit brown because my printer is not very good. So I did one at work on normal paper and laminated it , just brought that home , so need to replace it with the brown looking one , I've, got a few spare shop-out decals if you need ?so what type of paper do you use for the stickers for the lock down bar etc. as that is like a gloss sticky label, and where did you get it from ?
Cheers Kev
decals would be great Lee
Thanks again - when you back home and we can arrange it ?
Kev
Thanks again - when you back home and we can arrange it ?
Kev
Home now , for five weeks 

