What's new
Pinball info

Register a free account today to become a member! Once signed in, you'll be able to participate on this site by adding your own topics and posts, as well as connect with other members through your own private inbox!

Complete TAF, fullish rebuild

Lol oh dear, gimme a shout when you want payment btw

Gonna give em a shout and see what's happening - doesn't usually take this long - depends when they have a run going on tho - however saying that my last lot should have taken a week and took 2 days, so I guess the law of averages.... lol
 
Last edited:
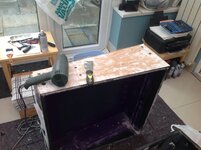
I didn't get any glue left when I re did the shadows head. All I did different was heat the decal till it softened and started to bubble slightly. About 4 inch strips at a time, use the scraper so as to be able to get ahold of an edge and just pealed it just kept doing that. They came off in about 2 or 3 pieces took no more than 5 mins a side
 
Nice job Lee. I would maybe try and get a bit more of that white residue off with the heat gun before sanding as it goes like boogers and may clog up your discs.
 
unless you sand with 80 or 120 grit first to get the crap off... couple of discs per side should do it and they are cheap as chips on Ebay, and will even out any imperfections in the original before progressing with 180 and then 240 grit....

However I do bow to @Steve 's superior knowledge as his are nicer and he's done more than me :D
 
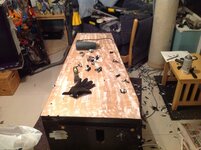
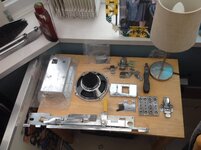
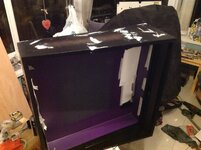
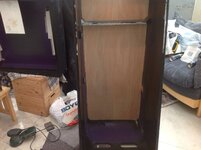
image.jpg image.jpg After some sanding , sanding , sanding, more sanding and yet more sanding, I feel as though I am getting somewhere! . Decals still not arrived , but bench polisher has , so it looks as though I,ll be polishing some hardware.
 
There seems to be a few people restoring there machines in there house.
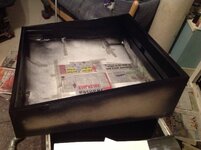
Spraying paint indoors can't be good .
 
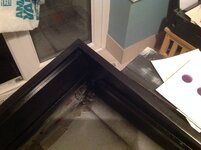
I filled them fully , drilled them with a small hole from the back ( by hand) then drilled out from the right side to the correct size , put the coach bolts in and tapped them fully down with a small hammer , this put the small square indentation in the hole and the filler still looks good , so should all be good when I put the decals on ! ;)
 
Looking good mate!

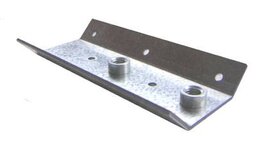
I would not be using those small leg brackets though, they allow too much movement of the leg and it will ruin your new decals.

These are much stronger and stay in place:

pbl_01-11400-1.jpg
 
Damn!

Look on the bright side, you are getting more practice at repairing damage. The next one will be that much better.
 
Back
Top Bottom