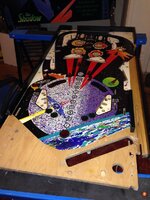
I think it is a bracket to stop the backbox folding. My blackout has one. The metal plate slides under another lip to prevent the back box falling down.
Pinball info
You are using an out of date browser. It may not display this or other websites correctly.
You should upgrade or use an alternative browser.
You should upgrade or use an alternative browser.
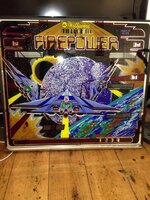
In Progress Firepower Shop Log
- Thread starter RudeDogg1
- Start date
Cheers guys
Out of curiosity roughly how much did it cost to get this bag-o-bits made all shiny? Is this a service available directly from a company or did "Paul" arrange things for you privately?
Paul arranged it bless him was £25. Due to no one down here doing it and he took pitty on me lol
Is she a runner yet Rudi?
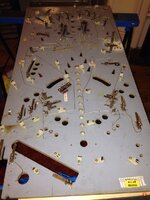
No still working on all the pf inserts
More nice work there Dogg.
Looking forward to the finished machine,it's going to be sweet.
Looking forward to the finished machine,it's going to be sweet.
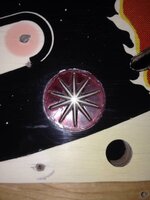
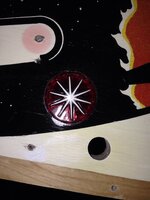
I've got a bunch of those star roll-overs on my Paragon. Any hints or tips? Are you putting in new ones or levelling the old ones? How'd you get them so shiny?Not much excitement at the mo just sorting the inserts out
The old ones were so worn due to being unlevel I just replaced them. Glued em in level with epoxy then sealed em with a uv activated clear coat I'll get u the name later as I'm at me mums at the mo
Anybody?
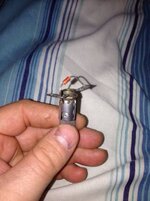
The end of the diode WITHOUT the line should be connected to the tab going to the center of the lamp, I.e the end tab.
Cheers dude
Does anyone have any pics of how the under pf lighting braid should be? Half mines missing including whatever's ment to be there to connect the pop lamps :0/
Looking good Rudi. I've gotta a load of inserts to level on my F14. What technique did you use? Any top tips?
Cheers mate
Cheers mate
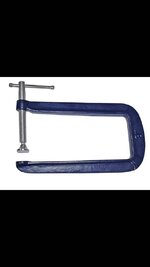
Depends how bad they are over half of these were pretty much hanging out. If they are hanging out and badly worn heat up the insert using a heat gun and gently tap it out using a similar sized socket. Sand off any damage using wet and dry of various grades (how far you have to go is dependant of the amount of damage). So either just enough to remove the damage or all the way to redecal then clear the insert when finished. Clean the hole the insert was in out and the outer edge of the insert. Apply so epoxy to the ridge in the hole and use a block of wood and deep throated (quiet dan lol) g clamp to insert it in level. If the insert is just slightly raised with no damage then heat it up and use the clamp and block to push it down level then apply some glue around the inner edge to make it stronger
Cheers mate. They're only slightly raised. I was gonna heat them up and hammer them flat with a block of wood. But in doing this I think I would rattle the machine to pieces, so i like the idea of the clamp.
Would you mind posting a pic of the clamp so I know what to look for.
Cheers dude
Would you mind posting a pic of the clamp so I know what to look for.
Cheers dude
Splendid. I'll have my people send for one at once
Got mine from eBay
Attachments
Last edited:
just noticed that cpr have used diferent inserts in andys repro than the smoth ones in the orig
Last edited:
Yup, CPR took it to a vote some time back about what kind of inserts to use...just noticed that cpr have used diferent inserts in andys repro than the smoth ones in the orig
http://www.classicplayfields.com/photo102.html
I think it's usually a Black plastic post with a long thin self tapper in the middle to hold it to the PF...
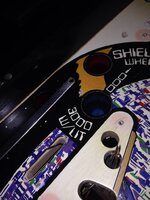
Something with a bit of blingAnyone know what type of post or fixture should be at the end of this lane guide?
View attachment 6082

Something with a bit of bling
Your correct apparently it's a tubeular metal stand off type thing now I need to try and locate one :0/

