bought some convolux for my paragon. 


Sent from my iPhone using Tapatalk
Sent from my iPhone using Tapatalk


")
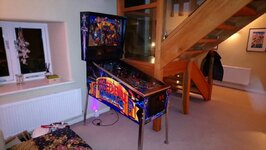
Taking the side rails off today.. have procrastinated on this for a few days because I was a bit scared about damaging the cabinet...
View attachment 75919
Taking no chances with damaging the decal with a slip of the stripping knife.
View attachment 75920
Woop finished and no damage done
That’s typically plastic, but you can buy metal versions.Do you get the glass channel bit at the back done too?
Will do!@kevlar if you ever want to move that Space Shuttle on please let me know


")


Please post the link!Finally got WPT within touching distance of it being where I am happy with it.
- changed out LED panel to LED tube.
- resolved issues with drop target (previously)
- resolved light issues
- cleaned upper playfield
- cleaned and waxed playfield
View attachment 77120View attachment 77121
The LED tube was plug and play from amazon for about £6 - let me know if anyone is interested and I’ll post the link. I think it looks great.
View attachment 77122


Sweet , nice work .