What's new
Pinball info

Register a free account today to become a member! Once signed in, you'll be able to participate on this site by adding your own topics and posts, as well as connect with other members through your own private inbox!

In Progress Scared Stiff Cabinet Restore / Build

Dex-Jay

Site Supporter
Joined
Nov 20, 2016
Messages
1,612
Location
Midlands
Alias
Richard
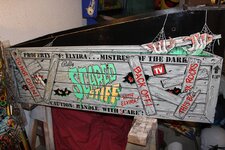
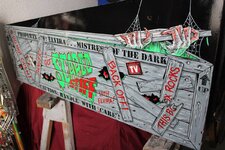
As promised here's the build-up / restore of my Scared Stiff cabinet. Now this was bought as an empty cabinet so I knew I'd need EVERYTHING! Is it do-able? Dunno, but a guy over on Pinside built one from scratch so it's worth a go.
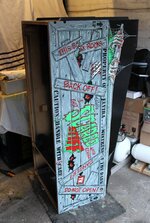
Ideally if a parts machine turns up then I'll be OK, otherwise in the meantime I'll see how far I can get with this. I bought the cabinet a couple of years ago from Tony on here, the cab is OK here and there and I knew what I was getting so there was no nasty surprises as he'd described it well. This October I put the cab up on sawhorses and started to appraise quite what it needed.

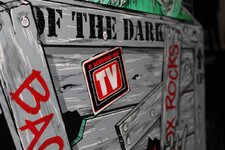
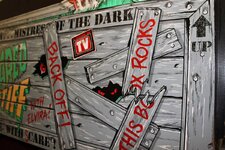
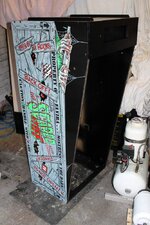
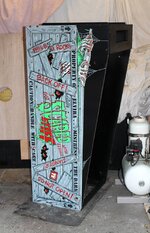
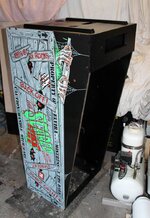
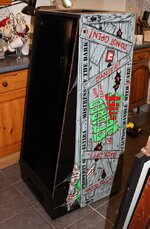
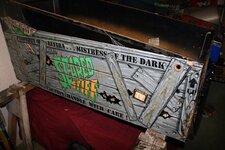
The art is all there but it is tired. I was going to redecal it but thought, let me see how much I can tidy it up and see if I can save the original silk screened decals.
0001.jpg

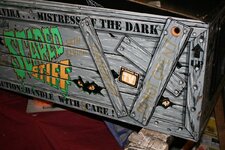
Here's it is in all it's gory glory, red faded to hell like they all are, with usual knocked about corners.
8.jpg

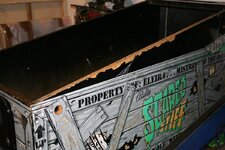
Other side as bad, slightly worse....
1.jpg

2.jpg

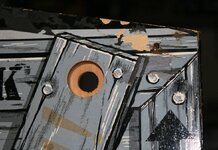
Some grey touch-up's from a previous owner. Booze - schmutz in brown!
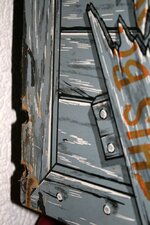
3.jpg

Rear left, more of the same....

5.jpg

Front more of the same, amazing the way the red ink fades, innit?
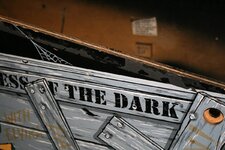
6.jpg

Remnants of side rail adhesive still there.
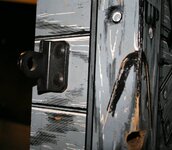
7.jpg

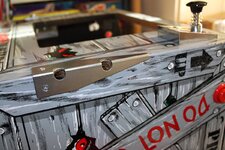
Security brackets to keep the coin door secure are still there for now.
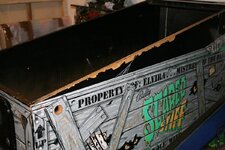
8.jpg

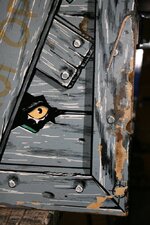
More red fade-age! The side rail adhesive took some of the top decal when it was pulled off... ouch.
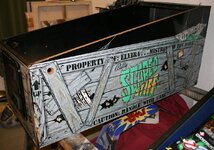
10.jpg

Here's one of the black upper edge touched-up. Gotta start somewhere!
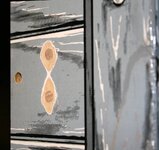
11.jpg

Well, I'm going to be doing some touch-up's so these brackets can go, granted it was how it left the factory but they're an eye-sore, no two ways about it.
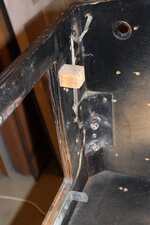
Glued some dowels in place, trimmed and sanded juuuuuust below the surface.
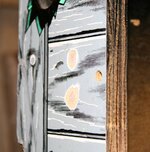
13.jpg

Same over here. Work tight. Always use a sanding block. Protect the existing art with tape.
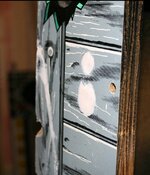
14.jpg

A couple of dabs of plastic filler, again keep it tight, you really don't want to make work for yourself if you don't need to.
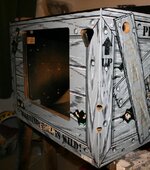
15.jpg

Mixed up some grey and started touching up the repair areas. I didn't get the grey quite right on the first pass, 2nd or 3rd it was about right! :p
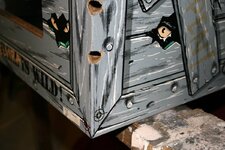
16.jpg

Grey, black and red paint applied at this point on the front corners...
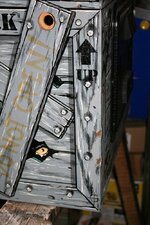
17.jpg

Left as well.

18.jpg

Many hours spent searching for touch-up spots to paint! The grey's looking OK though so far!
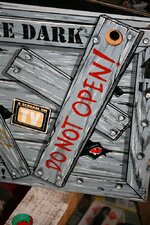
19.jpg

I went with small enamels for the red here... fine and time consuming but it feels worth it...
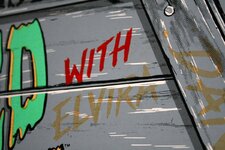
20.jpg

Wow! That red is how faded! Still it's easy to see where the paint needs to be!
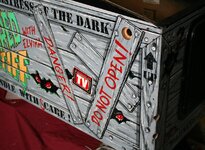
21.jpg

More hours later, almost half of this side is done in red. It might turn out OK after all!
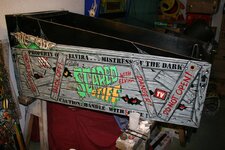
22.jpg

Almost all the red done here. Hopefully the red will cover OK on the "STIFF" area, won't it? Dunno.....
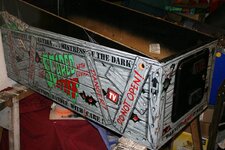
23.jpg

It looks like it will! Almost all the red here needed 2 coats, red never covers well - no matter what type of red it it.
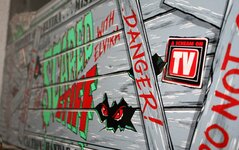
24.jpg

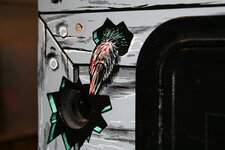
Some of this fine stuff took AGES! The green had a coat or two. That also felt really thin so it was 2-3 coats.
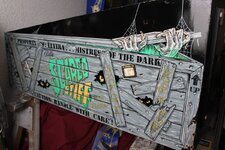
25.jpg

Onto the other side now!

26.jpg

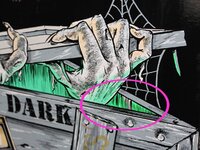
The area in the pink oval shows the difference the green paint makes. Not a load of difference but you can tell. The hand and everything left isn't touched yet.
27.jpg

Back. Yeah, iffy but they all are! I can sort that....
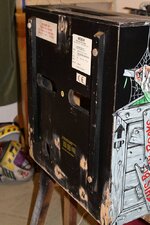
28.jpg

Could be worse, it's only black so not rocket science to put right, just time consuming..
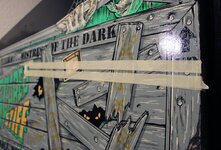
29.jpg

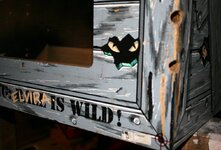
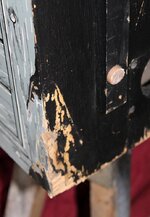
Now this is a tricky repair. The area in the centre has got to be filled as it's been gouged (and touched-up).
Nothing for it but to sand and fill... Yikes. Time for the brave pills son, it won't do it itself!
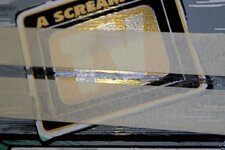
30.jpg

Right through the faux decal. Bloody 'ell...
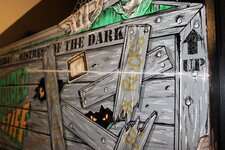
31.jpg

Filled sanded and ready for paint.
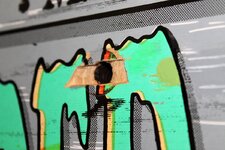
 
33.jpg

Grey first. I think we'll be OK here! :)

34.jpg

Rear right after some filling, sanding and touch-ups!

39.jpg

Some splitting here where the head of the bolt terminates. So a careful slice to remove the wood.
If I don't do this now I'll wished I'd have done it later....

38.jpg

Glued back in. I just need to fill it now.

40.jpg

"Should" be OK!

35.jpg

Repaired area. This took a few more hours with the fidly artwork.

36.jpg

That's half of this side in red.

41.jpg

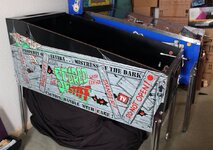
Repaired right hand side from the back.

42.jpg

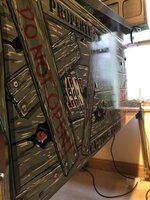
Here's a shot of the right hand side. Always a bit of a relief to feel you're on the right track!
Replacement decals! Pfft! Who needs those?

Next instalment, some drastic wood work on the base!
 
Last edited:
Awesome work with the filler - would something like that work on a playfield?
Dunno, your Shadow? I'll have a look if you start a resto thread. I'd be more tempted with paint build up. Plastic on the playfield is asking to get damaged, even a really good filler.
 
Dunno, your Shadow? I'll have a look if you start a resto thread. I'd be more tempted with paint build up. Plastic on the playfield is asking to get damaged, even a really good filler.
Yep - and I’d much appreciate that!
 
Right a bit more paint stuff before some more drastic action! :)

45.jpg

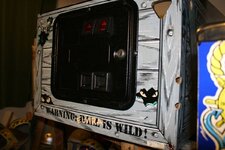
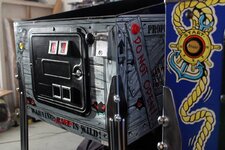
Trying out a coindoor from one of our ace regulars! Thanks @replicas ! Not exactly correct but pretty close. Closer than my WPC coin doors which really weren't right.
Anyone with a WPC95 Coindoor drop me a msg! :)

You'd struggle to see where the holes for the security bar was now... GOOD!

44.jpg

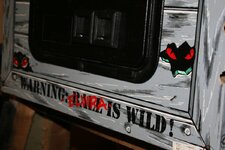
Red on the front panel, more fiddly fine brush malarky!

46.jpg

Oh yeah, that's a lot better! My warranty decal is still intact so I'm covered with Bally incase of a problem somewhere down the line.....

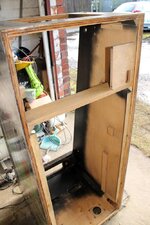
So what's it like internally?

47.jpg

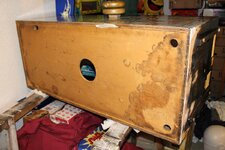
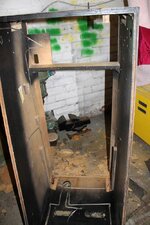
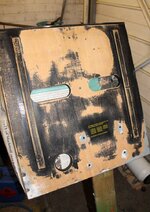
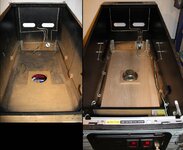
God I hate MDF it really is junk. Whoever it was at Bally/Williams who decided to save a couple of dollars by using MDF in place of time proven plywood you're an idiot.
You can't scrub this stuff, it just balls up in cardboard-y mush. Geeereat. :/

43.jpg

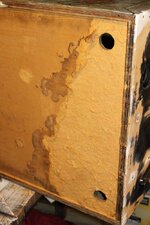
Me - "I can sand this, right?"

48.jpg

Er.....

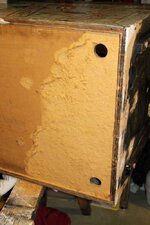
49.jpg

Errrrr..... no.

50.jpg

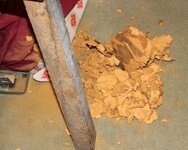
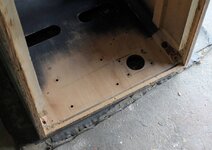
I can't do a damn thing with this! I'm going to have to replace the bottom whether I like it or not.

51.jpg

Even the leg brackets have been broken and re-welded! Niiiiice...

52.jpg

Yeah all 4 of them. Scrap then! Time for an order from Phil at Pinball Heaven!

54.jpg

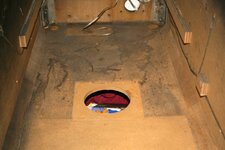
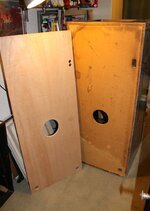
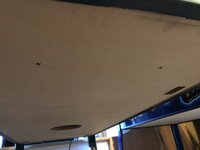
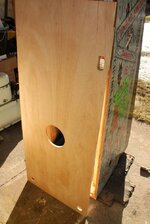
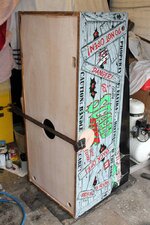
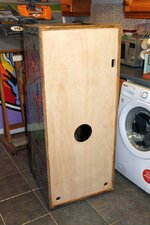
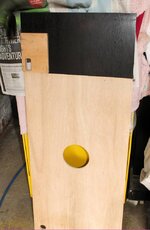
A run to B&Q for some 3/4 (18mm) plywood. Holesaw-ing not pictured but I know you can picture the scene.... dust'n'that ... (cough)
Just need to router around the on/off switch access (which has the 2 holes in it above)

Next up, let's get rid of that junk MDF for good! :)
 
Last edited:
Good job. Here’s the underneath of my Manny cab SS..
Yeah, very nice.
It's a bit of a mission keeping fresh sanded wood clean! I'm no wood worker, but I do enjoy it. Should I have done something more useful with my time like being a carpenter / chippy? Yeah probably!
 
I AM SOOOOOO GLAD you have shown this. Too many people scrape the original art off and stick on lasser quality decals just because they aren't faded or there's some minor scratches and gouges.


THIS IS HOW YOU DO IT!
 
Ta for the comments! I document stuff for myself, if it's beneficial to someone else, even better.

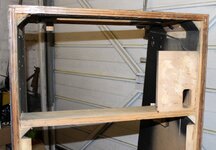
Now ideally, I'd split the cabinet back open, router and slide a replacement base back in. However the factory glue is so tough it seemed as strong as the wood.
If I start knocking it apart I will more than likely destroy the original routered joins so I opted to leave it intact and just replace the bottom.

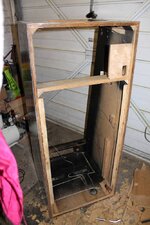
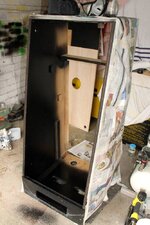
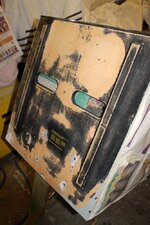
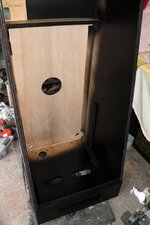
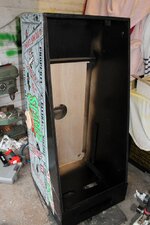
So I cut, ripped and trimmed out the MDF base. It didn't come out quite as cleanly as I thought it might...

b1.jpg

But it was out, damned mess!
I've got ample places to glue and staple the replacement bottom to. Corners, main bezelled timbers. etc.
b2.jpg

Blimey Charlie....
b3.jpg

b4.jpg
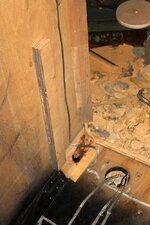
On/Off switch timber removed from the junk cleanly enough. Original tough glue sanded off so it's flat.

b5.jpg
These inner faces will look a lot better for a sand once I've removed that earth brading....

b6.jpg
Not the nicest thing in the world to do, this amount of woodwork after sorting out the sideart, I just have to be careful!

b7.jpg
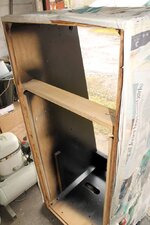
Ground back the factory staples so they don't get in the way with the new timber. Started sanding the inner black. Looks better just in the fresh timber!

b8.jpg
Before I fix the replacement base in I want all the insides as sanded back to the best of my ability. Most of those nasty grubby marks have gone at least...

B9.jpg
Other side too.

B10.jpg
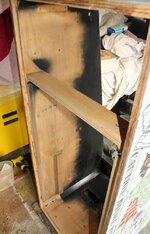
I'm going to cover the cabinet much like the factory did - save some paint by not completely painting it! Sure I could go all the way but they weren't (not this one anyway) painted all the way down.

B13.jpg
Sunshine?? In January? In the Midlands? God clearly approves of my endeavours! :)

B12.jpg
Routered around the template section before the base goes in. Nows the time to do it, not later!

Next up, paint!
 
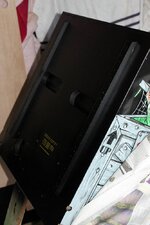
Before the base goes in It was time to paint the front, cash box section. Glued, nailed to the powersupply timber, masked up and sprayed the satin black.

B14.jpg

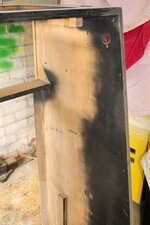
Then, and without using a taped hardline, I painted just a little lower than where the factory paint was.
One reason I went just a touch lower was because of where the playfield prop had marked the side. I filled a little but I didn't want to go any further down.

B15.jpg

Sided masked up of course, I am NOT going over that removing overspray! :)

B16.jpg

Yeah, that will look fine.
B17.jpg

I sanded along the horizontal spreader timber. Is that a "22" or a "CC" for Churchill Cabinets? Not sure! Either way I wanted to leave it on.
B18.jpg
Also it saved me the risk of getting overspray on the new timber.

B20.jpg
Fired some extra nails into the rear batons. One was just a little wobbly. Not anymore.
Go careful with that sander! Too easy to sand the Patents Numbers!

B21.jpg

B22.jpg
Sprayed carefully with a tight fan pattern around the patent numbers. Wiped off overspray quickly and carefully. Once painted, left over night, now I can unmask it.

B23.jpg
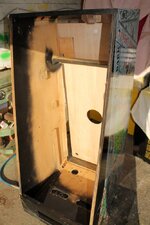
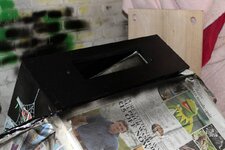
I did the top too of course. Sorry about that Kermit....

B24.jpg
It's looking pretty nice so far!

B26.jpg
Did I get everywhere I needed to? I think so! Before it goes back over the house, now's the time!

B27.jpg
I gave it a few days to harden off before the tidy up and putting the base in.
 
It will be nice to start reassembling this thing. It's been 3 Months so far, everything takes me ages!

B25.jpg

B28.jpg
Gorilla Wood Glue seems to be pretty close to the factory cream glue. Ran that carefully around the edges. Added a Sash Clamp to pull the base in, just a touch to make sure it was all correct before the glue went off. Now you know where the hole went for the speaker! :p Gotta protect the paint now!

B30.jpg

Nailed the heck out of that thing in all the right places! The white PVA glue will dry clear by the way.
Just so you know the small compressor is for my airbrush, not the nailgun....

B29.jpg
Yeah, it's all looking much like I hoped!

B31.jpg
Back in the house after a few days. The glue has all gone off, any slight glue traces I'd sanded back. I don't need to do much more to the base now. Feels sold too.

B32.jpg

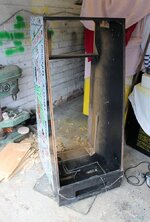
Now for the trip up the stairs so I can start putting some bits on it and I can get the nice new set of legs on it.
Tune in next time for more fun and excitement all the way!

"Unpleasant Dreams!"

Boogie.jpg
 
"Give me more!"

Screen Shot 2022-02-12 at 22.02.11.png

With the cabinet back over the house it's time to start assembling & cleaning some parts....

1.jpg

Well that lot's going straight in the bin then. The welding butchers have been in town! :p

2.jpg

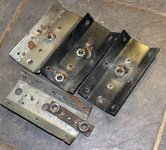
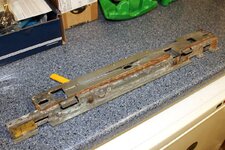
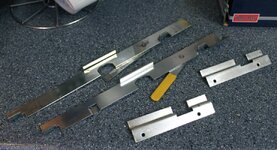
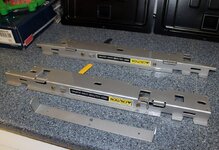
Sourced a lockdown bar, bear in mind the cabinet was bare when I bought it, apart from the delightful inner leg mounting bracketry!

3.jpg

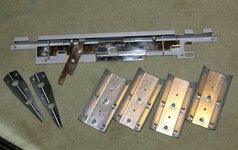
I stripped an older Bally Williams one at the same time and polished some bits. Kept me warm in this cool February...

4.jpg

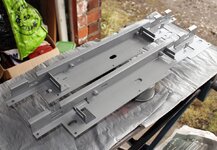
I'll probably get more parts zinc coated in future but here I sprayed a zinc coating and 2K lacquered these 2.

6.1.jpg

5.jpg

When not freezing myself half to death I warmed up scanning and cleaning up some decal artwork in Photoshop & Illustrator....

Screen Shot 2022-02-12 at 22.09.32.png

I did search various resouces for accurate decals but they all had something "slightly" off. Mine aren't perfect but they're pretty close.

6.jpg

Nothing I do is perfect but overall I'm happy enough with this.

6.2.jpg

Cash box front retainer repainted too as that was as rusty as you like....

7.jpg

Leg armour (I'd already fitted 2) and some new leg mounts from either Pinball Heaven or Pinball Mania.

8.jpg

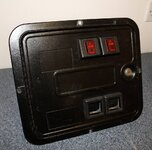
Condoor was pretty good, usual rusty reject areas, I'll lhave to clean and paint those... while not bad the coindoor will still need to be repainted.

9.jpg

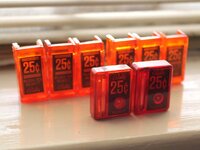
Euro inserts? No sir. Illustrator-ed up some US 25c types and added the Bally logos. I hate messy coindoors!

11.jpg

Leg armour, new buttons, new shooter rod bits fitted.

12.jpg

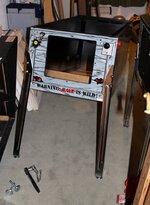
It's almost on it's legs! I'm getting excited now!

13.jpg

For the first time I've got it on the legs. Happy Days!

10.jpg

Coin door fitted, new start button too.

15.jpg

Fitted some new 'J-Clips'

14.jpg

Tune in next time when I fit some new Earth Braiding. :)
 
Last edited:
nice job man looks fab!!! what did you use to zinc plate the lock down bar mech looks really good on a well rusted one!

Cheers

kev
 
Ta, well I did try a Rustoleum chrome and that looked great! I thought I'll seal it with lacquer to protect it and killed all the shine, which was strange! So I stripped that and tried again.

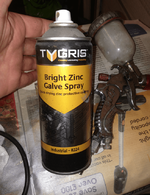
In the end what you see is a "Zinc Galavanising" Aerosol spray. I'll update with a brand but any will do it. The gloss was with a 2K Automotive Clear lacquer. That stuff you can also get in can form - the type that you activate by piercing the 2 parts (if you know what I mean).

I sprayed with a compressor and a cheap gravity fed touch-up gun. One like this > https://www.toolbox37.co.uk/collect...feed-hvlp-spray-gun-new-in-1-7mm-set-up-b8701. Mine was about £16 from Amazon when I got it. For a cheap gun it works quite well.
 
what black spray paint do you use, is it from a can or spray gun?
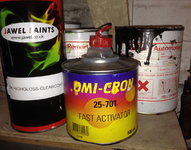
Black piant is 2K Black - SATIN. Satin gives you some shine, gloss is too much. I spray it myself but you can apply with a brush. As I've said in other posts 2K is nasty stuff so you want adequate ventilation.

I'm still not decided on quite what paint is the way to go but 2K Satin Black on cabinet woodwork doesn't look bad.
yeah deffo satin black for cabs is the way to go
 
"Give me more!"

View attachment 160791

With the cabinet back over the house it's time to start assembling & cleaning some parts....

View attachment 160792

Well that lot's going straight in the bin then. The welding butchers have been in town! :p

View attachment 160793

Sourced a lockdown bar, bear in mind the cabinet was bare when I bought it, apart from the delightful inner leg mounting bracketry!

View attachment 160794

I stripped an older Bally Williams one at the same time and polished some bits. Kept me warm in this cool February...

View attachment 160795

I'll probably get more parts zinc coated in future but here I sprayed a zinc coating and 2K lacquered these 2.

View attachment 160799

View attachment 160796

When not freezing myself half to death I warmed up scanning and cleaning up some decal artwork in Photoshop & Illustrator....

View attachment 160798

I did search various resouces for accurate decals but they all had something "slightly" off. Mine aren't perfect but they're pretty close.

View attachment 160797

Nothing I do is perfect but overall I'm happy enough with this.

View attachment 160800

Cash box front retainer repainted too as that was as rusty as you like....

View attachment 160801

Leg armour (I'd already fitted 2) and some new leg mounts from either Pinball Heaven or Pinball Mania.

View attachment 160802

Condoor was pretty good, usual rusty reject areas, I'll lhave to clean and paint those... while not bad the coindoor will still need to be repainted.

View attachment 160803

Euro inserts? No sir. Illustrator-ed up some US 25c types and added the Bally logos. I hate messy coindoors!

View attachment 160804

Leg armour, new buttons, new shooter rod bits fitted.

View attachment 160805

It's almost on it's legs! I'm getting excited now!

View attachment 160806

For the first time I've got it on the legs. Happy Days!

View attachment 160807

Coin door fitted, new start button too.

View attachment 160808

Fitted some new 'J-Clips'

View attachment 160809

Tune in next time when I fit some new Earth Braiding. :)
Forgot to say if you haven't painted the coin door yet this stuff is great I use it all the time

1644839539387.png

Cheers

Kev
 
Thanks Kev, yeah already done. I've been meaning to give that stuff a go at some point.
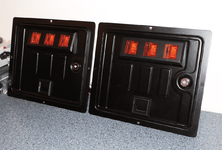
I was repainting that door + 2 others so I did all 3 at once in 2K Satin black.

View attachment 160936
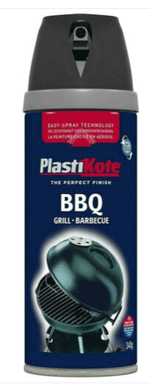
looks good man!!! its just the BBQ stuff you bake it on with a heat gun and its really tough to scratch etc. well worth a go next time.
 
looks good man!!! its just the BBQ stuff you bake it on with a heat gun and its really tough to scratch etc. well worth a go next time.
Thanks!
Mixed it thick, tried to keep the rough texture and painted it at low pressure. I shall keep my eyes open for some, I remember my mate using some years ago on some videogame parts.
 
"What are you? Dead or something?"

Screen Shot 2022-02-20 at 00.18.07.png

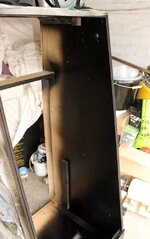
Next up is sorting the speaker mounting on the base and putting the earth braiding back in. So...
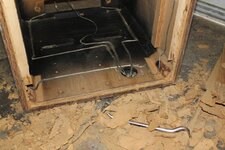
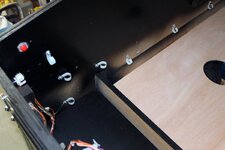
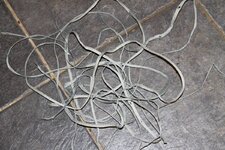
Shall I put this stuff back in? Might Autosol up OK.... oxidized and holes where the factory mounted it to the leg bolts.

E5.jpg
E3.jpg

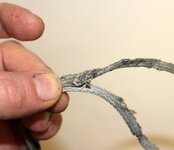
Erm.... no. This was more ragged than I thought. This is going in the bin.

I might as well save the factory earth loops anyway,

E4.jpg

There's a time for a 15W/25W soldering iron.... this is not one of those times. Time to break out the 75W Weller Iron!

Over to the state of the art facility to my CAD Router.

E1.jpg

OK, well my state of the Art lab is a cold garage,a free Workmate and a saw out of a skip...

E2.jpg

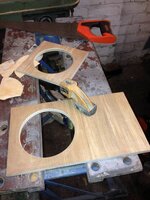
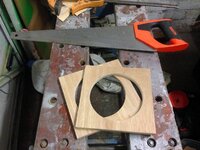
Still with a holesaw (even a cheap one) it gets it done. One for my Scared Stiff and one for another WPC project if it gets done!

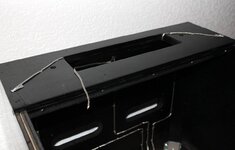
On with the braiding... starting on the left and working my way round... mounting to the new playfield supports I just added.

E8.jpg

E7.jpg

Up to the head / backbox earths and the earth bottom left by the hinge.

E6.jpg

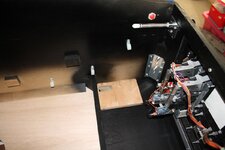
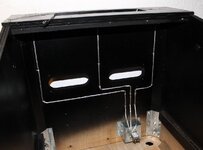
Fitted the power supply housing and routing the braiding as neatly as I possibly could.

E10.jpg

Ran the horizontal braiding as close to the factory positions as possible and round to the right playfield mounting.

E9.jpg

E11.jpg

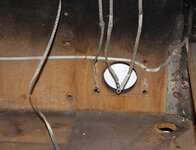
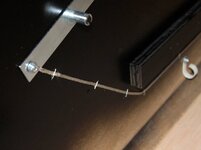
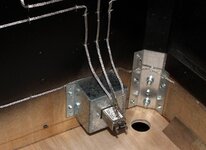
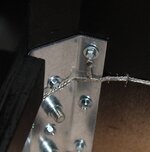
Something I did do was to solder the small earth "spurs" to loops and then to the inner leg mountings. I really didn't want to puch holes through this new stuff if I didn't need to.

E12.jpg

E13.jpg

Under the junction box and on/off switch, another spur to the top and beneath the shooter rod housing.

E14.jpg

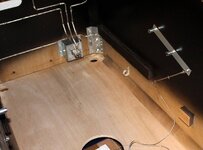
Finally terminating prettty much where I started on the left.

E15.jpg

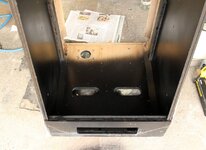
And that's where I am at the moment. I've got to cut up some perforated steel for the hole vents and speaker grilles, then glue & fix the speaker mounting.
 
Back
Top Bottom