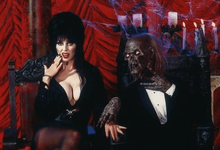
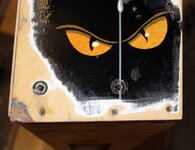
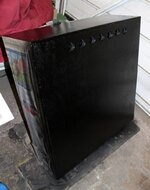
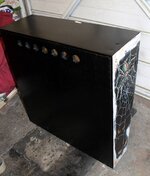
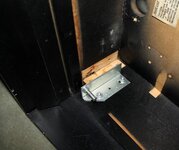
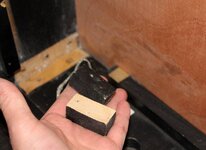
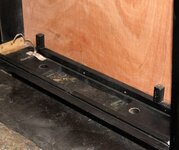
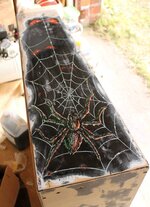
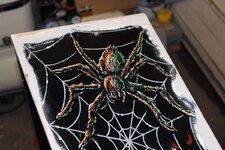
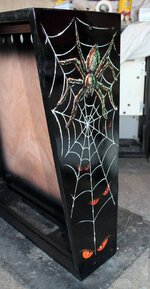
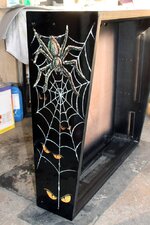
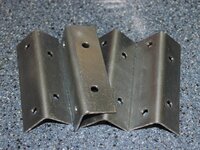
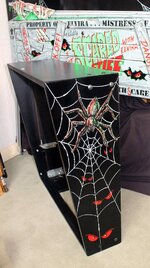
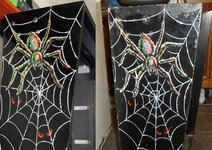
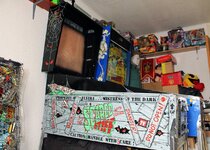
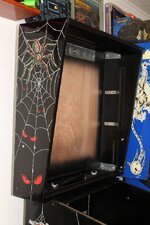
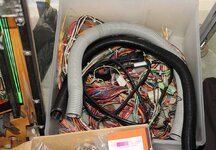
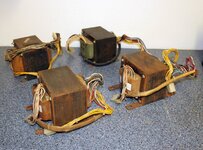
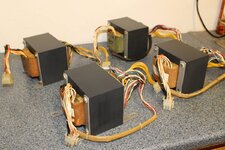
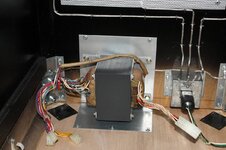
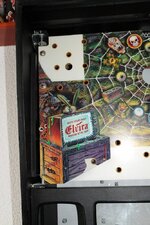
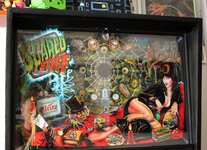
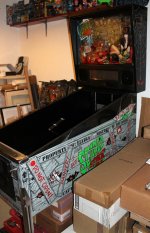
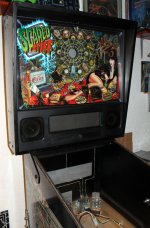
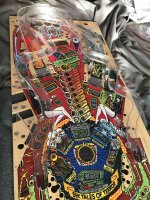
"What a huge boner-us!"

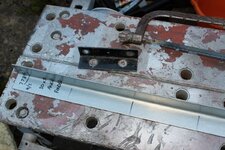
Next up, it's time to chop up some perforated steel for the cabinet speaker and spilt-beer-exits!
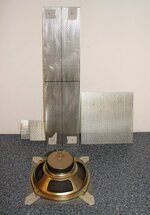
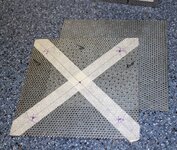
X marks the spot....
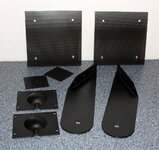
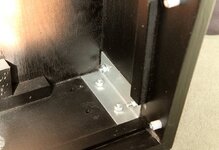
A little while later with some hinges and a pair of rear cable covers done in the usual Satin Black.
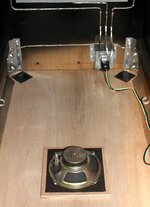
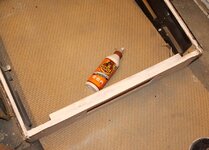
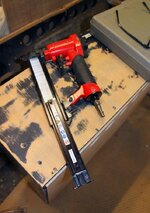
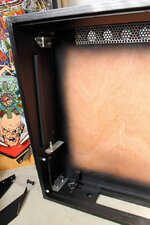
Stapled the grilles to the timber. Sounds easier than it is, get that staple misaligned and nope. Try again. Just gotta glue the speaker square down now.
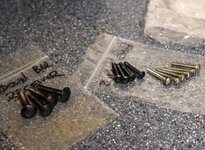
Some partially heat treated carriage bolts for the lockdown bar and side rails. A nicer way of doing it than just painting 'em.
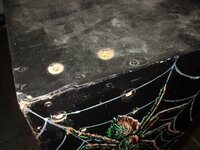
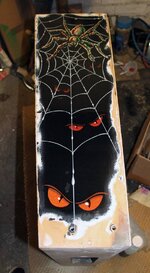
Onto the head now... yeah it's not that clever here and there... still I'll see how it goes.
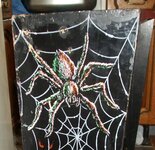
Poor touch-up's, screws holding it together (!) It's not very nice is it? No! It's a chuffin mess!
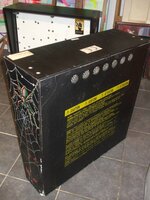
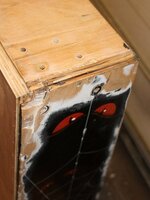
The rear of the backbox? Cracked MDF. You can't really glue it, not properly so I think I'm really gonna have to replace the back of this head. Still, it will be all ply now so that's a good thing.
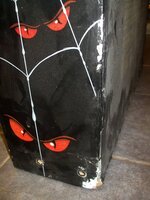
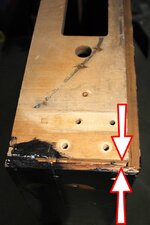
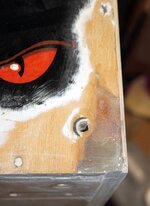
Lower corners missing and clagged with crap filler. I dunno what this is but it's cracked and drops out without hardly touching it.
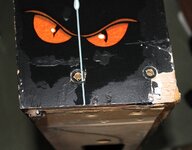
I've a nasty feeling at this rate I'm making a new head for the cabinet...
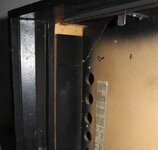
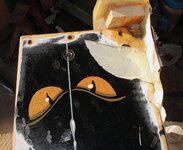
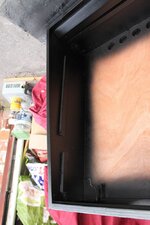
Inside the head with split MDF. Meh.
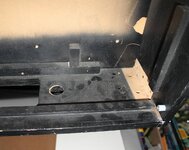
Lower right, yeah that back of this is going in the dang bin!
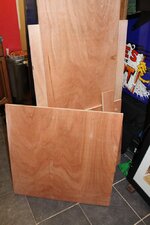
A trip to pinball parts dept. in B&Q later ....
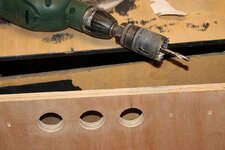
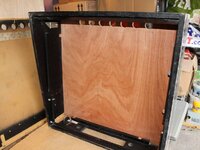
Grade AA 11-Ply timber it's not but it will be fine and a vast improvement over the factory timber.
Firing up the hole saw!
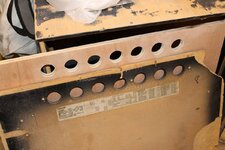
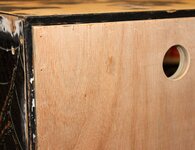
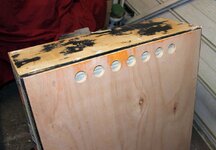
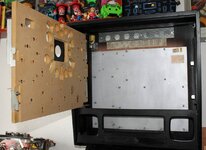
New timber drilled....
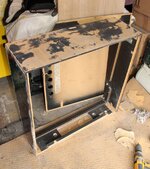
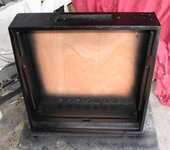
Rear of the head out. "How's the cabinet coming?" Me - Dunno, it's a bit hit and miss at the moment.
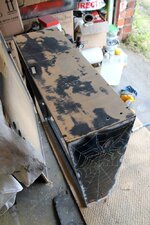
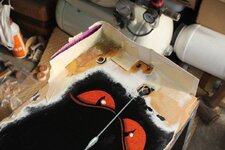
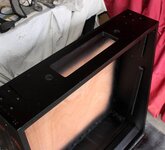
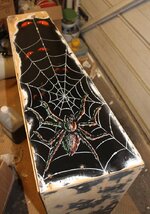
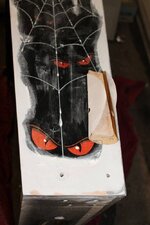
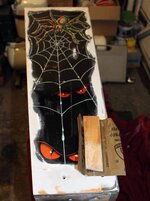
Top sanded this section is pretty much fine. A few screw holes at the moment but they're no biggie...
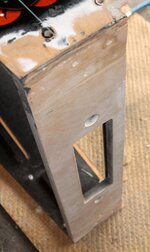
Bottom is OK too.
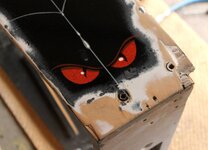
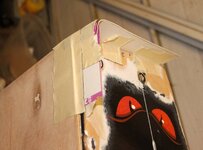
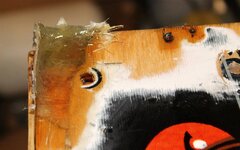
Wow that corner really is gone....
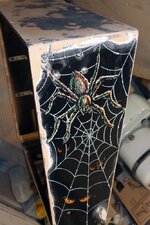
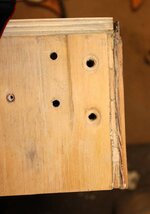
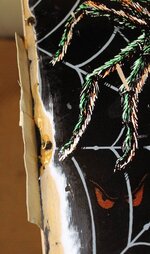
More claggage removed, the areas that were touched up by the previous owner somewhere down the line I partially feather edged.
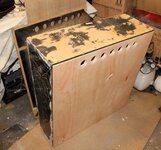
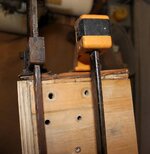
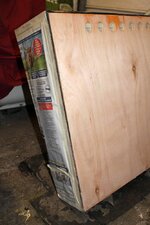
A quick trial fit of the replacement back. I maybe able to save this OK after all!
Next time, glue, nails, fibreglass resin and filler!

Next up, it's time to chop up some perforated steel for the cabinet speaker and spilt-beer-exits!


X marks the spot....

A little while later with some hinges and a pair of rear cable covers done in the usual Satin Black.

Stapled the grilles to the timber. Sounds easier than it is, get that staple misaligned and nope. Try again. Just gotta glue the speaker square down now.

Some partially heat treated carriage bolts for the lockdown bar and side rails. A nicer way of doing it than just painting 'em.

Onto the head now... yeah it's not that clever here and there... still I'll see how it goes.

Poor touch-up's, screws holding it together (!) It's not very nice is it? No! It's a chuffin mess!

The rear of the backbox? Cracked MDF. You can't really glue it, not properly so I think I'm really gonna have to replace the back of this head. Still, it will be all ply now so that's a good thing.

Lower corners missing and clagged with crap filler. I dunno what this is but it's cracked and drops out without hardly touching it.

I've a nasty feeling at this rate I'm making a new head for the cabinet...

Inside the head with split MDF. Meh.

Lower right, yeah that back of this is going in the dang bin!

A trip to pinball parts dept. in B&Q later ....

Grade AA 11-Ply timber it's not but it will be fine and a vast improvement over the factory timber.
Firing up the hole saw!

New timber drilled....

Rear of the head out. "How's the cabinet coming?" Me - Dunno, it's a bit hit and miss at the moment.

Top sanded this section is pretty much fine. A few screw holes at the moment but they're no biggie...

Bottom is OK too.

Wow that corner really is gone....

More claggage removed, the areas that were touched up by the previous owner somewhere down the line I partially feather edged.

A quick trial fit of the replacement back. I maybe able to save this OK after all!
Next time, glue, nails, fibreglass resin and filler!

