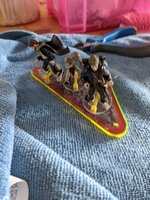
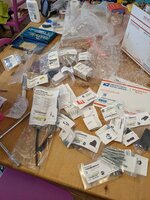
shes looking good ,nice one Chris.You could try some penetrating oil and leave it for 12 hrs before having another go ,should free it up enough.Failing that its head off the bolt underneath and tease out the whole lot.You sure like to get stuck in.Start work underneath the instruction cover (I'm sure its called something else)
Not looking too pretty
View attachment 154174
View attachment 154175
Decided to get the drimmel out for the first time, bought it for this
View attachment 154176
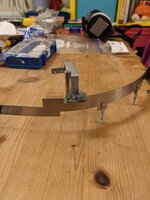
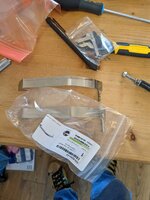
Practiced on a ball gaurd I'm replacing
Not too bad, got the ball marks off, looks a little bad bottom but that was me trying various ends and pressures
View attachment 154177
TIme for a polish, spot the polished one
View attachment 154178
FInished.
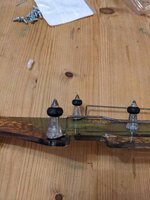
Fitted Ball kickback guard
Fitted Ball kickback protector
Polished the stuff
View attachment 154179
View attachment 154180
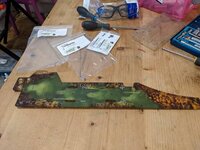
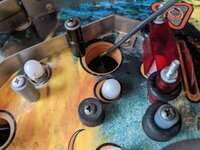
Started work on taking the sword ball lock apart.....
View attachment 154181
View attachment 154182
Cleaned the area and changed U nuts, screws, rubbers
Stuck with one bot I cant get out as previously asked for help with
Looking not to bad
View attachment 154183
Only took 16 hours labour *lol*
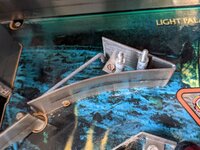
Realised I needed some other parts, bought a load more from MArco pinball and fitted teh new metal plate for the ball lock.
Order a small hacksaw from B&Q I think this mightcut the bolt off.
Ordered some rubbers from Pinball bizaar was missing some small ones.
Pinball info
You are using an out of date browser. It may not display this or other websites correctly.
You should upgrade or use an alternative browser.
You should upgrade or use an alternative browser.
Complete LOTR "One Ring Edition" translated as "lets waste money and don't tell the wife edition" fitting lots of parts, mods, rubbers, and cleaning
- Thread starter cmrl9
- Start date
Thanks, I thought of getting one, the issue is I don't have a workshop or garage, I'm doing it in the living room and I have small kids aroundA worthy project for sure. Hope you have a lot of fun with it.
If you havent heard of one before, using a vibratory tumbler or rock polishing tumbler will be very efficient for all your metal polishing needs. Just bang a load of your metal bits in it, some walnut shells (or ceramic media first if very rusty) and set it off while you get on with other jobs. Great results everytime.
They are on ebay for £50 or so.
Thanks, small hand hacksaw from b and q has worked, no damageshes looking good ,nice one Chris.You could try some penetrating oil and leave it for 12 hrs before having another go ,should free it up enough.Failing that its head off the bolt underneath and tease out the whole lot.You sure like to get stuck in.
Had a long thin end, pretty useful
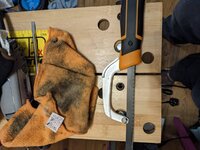
That's magic as Paul Daniels said...
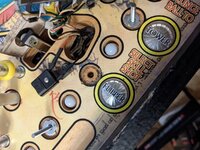
Gone,. I was lucky,
Two things I had enough space, it had unscrewed a bit but not enough for bolt cutters s, have to take these back to b and q, there was a washer so the blade didn't ruin the playfield.
Word of advice to all when unscrewing t nuts make sure your pushing it against table to keep it in whilst unscrewing
I can lend you a tumbler if you want to try it.. just give me a shout and ill drop it offThanks, I thought of getting one, the issue is I don't have a workshop or garage, I'm doing it in the living room and I have small kids around
Thanks, not sure I need it, the only parts that it would be useful for are pretty big. I've bought a fair load of new screwsI can lend you a tumbler if you want to try it.. just give me a shout and ill drop it off
Started work on the right side rail and right ball gate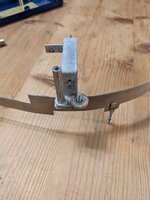
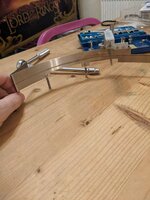
Bought a new ball gate and polished the rails
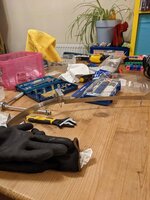
Looking polished
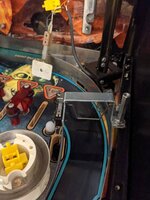
Fitted back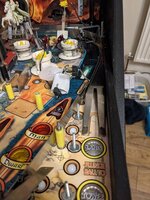
Bought some decals for the drop targets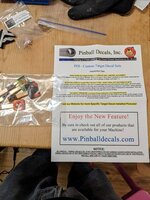
Fitted to brand new drop targets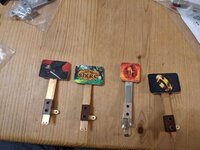
Waiting on some parts due to be delivered Monday, the stupid screw I cut off meant I can't reassemble without it


Bought a new ball gate and polished the rails

Looking polished

Fitted back

Bought some decals for the drop targets

Fitted to brand new drop targets

Waiting on some parts due to be delivered Monday, the stupid screw I cut off meant I can't reassemble without it
Attachments
Actually that top middle ball gate could do with a go, can I get back to you when I get near the part.I can lend you a tumbler if you want to try it.. just give me a shout and ill drop it off
Could always tell them its a modified demon trap and its trying to get out so it can suck the water out of their little eyes. That should have them stay well clear of it everytime you turn it on.Thanks, I thought of getting one, the issue is I don't have a workshop or garage, I'm doing it in the living room and I have small kids around
Well there a part I can't get so I might borrow the one offered to meCould always tell them its a modified demon trap and its trying to get out so it can suck the water out of their little eyes. That should have them stay well clear of it everytime you turn it on.
This weekend I have done:
Started replacing the drop targets.
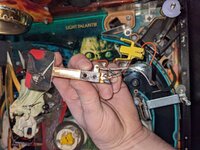
sword Target - before
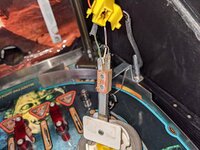
After, fitted drop target custom myler from pinball life
Ring Drop target - before
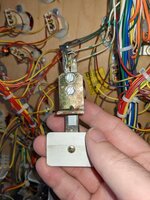
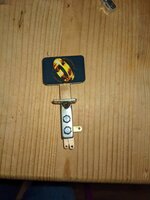
After
Bought something called a light puck for the Ring lights from pinball life £50 for a piece of plastic what the ***!
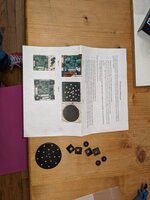
Took off the board and gave underneath a clean
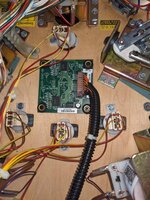
Instructions

Fitted, stops the ring lights blending
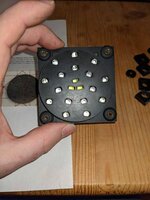
Started replacing the drop targets.
sword Target - before

After, fitted drop target custom myler from pinball life

Ring Drop target - before

After

Bought something called a light puck for the Ring lights from pinball life £50 for a piece of plastic what the ***!

Took off the board and gave underneath a clean

Instructions

Fitted, stops the ring lights blending

Eye drop targer - before - pretty bent!
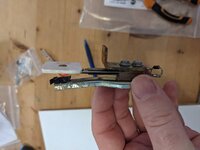
After....
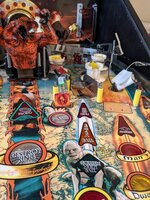
Tackled the Ring back box, what a hassle to get off, the mrs had to help
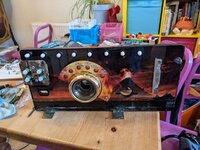
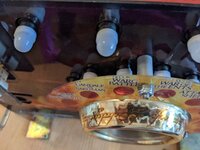
Oh dear behind it !
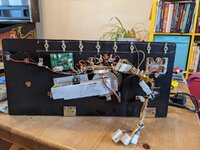
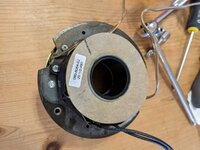
Removed the ball trough
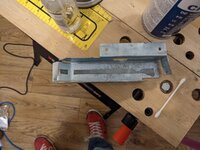
and ring magnet assembly
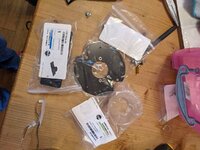
New ring parts, total rebuild
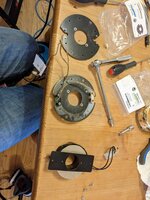
Side by side, you can see the difference with the plate
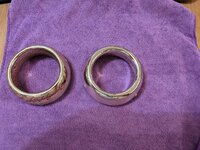
and ring
Completly re-assembled
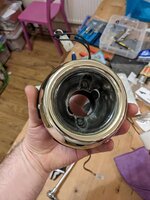
Looking clean
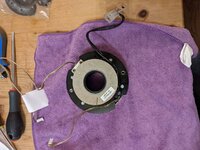
and re-assembled
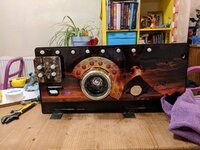
I have NOS full sticker set but with my American friend, will fit at some point
Back..
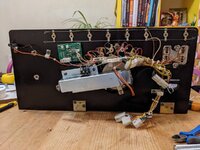
Much better although no one will see it, alot of work for a hidden part!

After....

Tackled the Ring back box, what a hassle to get off, the mrs had to help


Oh dear behind it !

Removed the ball trough

and ring magnet assembly

New ring parts, total rebuild

Side by side, you can see the difference with the plate

and ring

Completly re-assembled

Looking clean

and re-assembled

I have NOS full sticker set but with my American friend, will fit at some point
Back..

Much better although no one will see it, alot of work for a hidden part!
I now offically hate drop targets, they are such a pain to fit, had to get the mrs to hold one whilst I soldered under the table and I really hate the LOTR ring back box.
In order of hatred:
1) STTNG gun cannons, please never again, 4 hours to fully replace
2) STTNG Ball divertor maze under the playfield, I never want to see an opto again
3) LOTR ring backbox. Getting the panel off is such a pain, the thing falls over when trying to work on it (if your not careful) at least stern made it easy with the wireing unlike williams!
4) LOTR drop targets, and I still have one more to do. Difficult to soldier as they are in irritating places
Waiting on a box of parts to be devliered tommorow, had to order some more bits tonight, should be the last of the ordering (I hope) at this rate the machine will turn into a NITB.
For F***** S**** scap my previous most hated thing, it is T nuts, another on totally locked and bl***dy under the balrog motor.
I had to dismatle Balrog, I thought this would be a nightmare but it turns out stern actually thinks about repairs and puts handly molex connectors on things. Actually a lot easier than I thought.
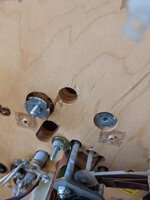
I had to cut the post out, more shopping to do, decided to overhall balrog, new new new.... next delivery
Shinny metal.....
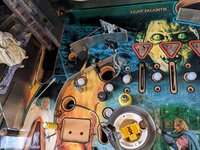
beginning to come back together, slowly, getting stuck soon as wating on parts.
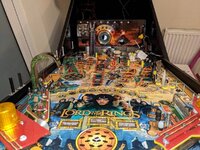
more shiny metal
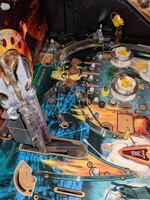
Yet more shiny metal, fitted a new blue pad thing
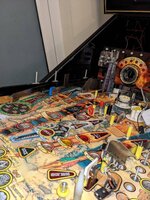
Fitted the shire playfield insert from pinball life and a cliffy protector
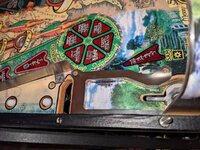
I had to dismatle Balrog, I thought this would be a nightmare but it turns out stern actually thinks about repairs and puts handly molex connectors on things. Actually a lot easier than I thought.

I had to cut the post out, more shopping to do, decided to overhall balrog, new new new.... next delivery
Shinny metal.....

beginning to come back together, slowly, getting stuck soon as wating on parts.

more shiny metal

Yet more shiny metal, fitted a new blue pad thing

Fitted the shire playfield insert from pinball life and a cliffy protector

No idea, can't turn the machine on! But will let you know and send you a vid.Fantastic mate! Keep up the good work.
I saw that 'lighy bleed' puck thing. Is it worth getting?
Great work Chris ,what is custom post fix?Also fitted some custom post fix for the centre ramp, I can see a difference, seems much stronger, doesn't have a screw or washer on the end, which was geting magnitised and sicking the diverter gate.
View attachment 154578
Thanks it's proving more time consuming than I first thought.Great work Chris ,what is custom post fix?
It basically a stronger post for the centre ramp, the original one gets bent a little. It's also designed differently.
Looks like pinball life tailored it a little
Fitted the shire drop target today
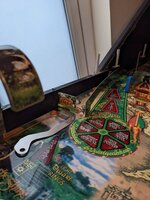
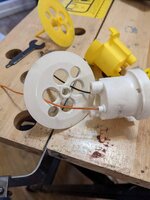
Started work on the pop bumpers, dismantle and rebuild with new parts. Little tricky to uninstall the first time. Took me a while to work out how to disamble. First time with a pop bumber, poped my pop bumper cherry
before
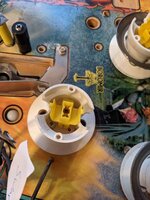
working out how to do it:
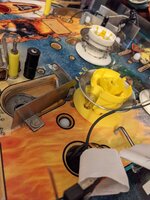
New bumper, to match the yellow posts (going for a gold theme)
For f**ks s**ke the pinball god hate me, one of the new pop bumpers metal frames post snapped when when I srewed it in.
Emergency order from pinball mania
 pinparts.co.uk
hopefully they it will arrive quickly
Snapped!
First round of fed ex covid delayed (excuss to charge priority but come 5 days late)
Various bits but got some new posts:
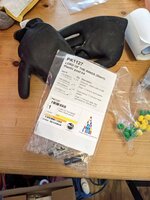
First order of rubber arrived from pinball bizaar (technically the second) but need a thrid, which should arrive tommrow
 pinballbazaar.co.uk

Started work on the pop bumpers, dismantle and rebuild with new parts. Little tricky to uninstall the first time. Took me a while to work out how to disamble. First time with a pop bumber, poped my pop bumper cherry
before

working out how to do it:

New bumper, to match the yellow posts (going for a gold theme)

For f**ks s**ke the pinball god hate me, one of the new pop bumpers metal frames post snapped when when I srewed it in.
Emergency order from pinball mania

Pinball Mania - PinParts
Find high-quality pinball parts and reliable service and repair at Pinball Mania. Get your pinball machine up and running smoothly with our expert technicians.
hopefully they it will arrive quickly
Snapped!

First round of fed ex covid delayed (excuss to charge priority but come 5 days late)
Various bits but got some new posts:

First order of rubber arrived from pinball bizaar (technically the second) but need a thrid, which should arrive tommrow
Replacement Pinball Machine Rubbers - Perfect Play
When replacing your pinball machine rubbers remember that technology has moved on a long way, Perfect Play are the next generation of pinball rubber.
You might be wondering why I have kept ordering stuff this week when I should have worked out what I needed in the first place  its a little annoying.
Basically I had some unexpected problems with screws being cut off, bent brackets and parts I didn;t know where a problem. Most of these where essential to continue, however they only cost a small amount. Rather than waste delivery / import charges (some I can only get from the US) I decided to rebuild other bits. For example Mr Balrog is now getting the VIP treatment.
Its def by the end of it be almost NITB. (from a component perspective) its costing me a lot, its now a def don't tell the wife edition!
Started work on the bumpers, Took off the figures
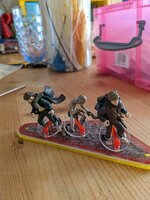
Colywobbles plastic protector s fitted
Assembled and cleaned, new plastic posts
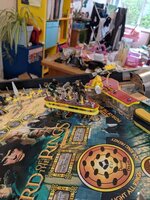
Otherside
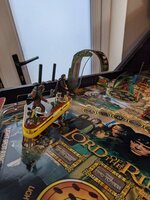
Started reassembling the path of the dead. New posts, wires, screws
Bottom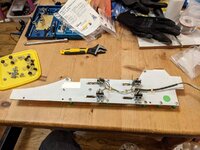
Top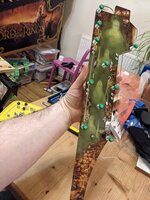
Assembled left wireframe
New arwin plastic my one was slightly cracked
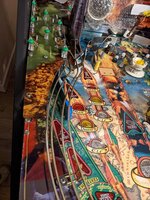
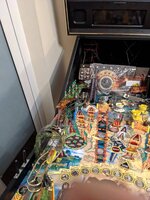
Coming together
Fitted new red plastics, rubbers, plastic posts
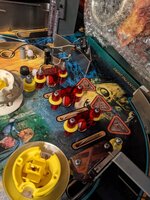

Colywobbles plastic protector s fitted
Assembled and cleaned, new plastic posts

Otherside

Started reassembling the path of the dead. New posts, wires, screws
Bottom

Top

Assembled left wireframe
New arwin plastic my one was slightly cracked


Coming together
Fitted new red plastics, rubbers, plastic posts

Help please:
Stupid question but heat shrink tubing for wires how do you fit them, Hairdryer?
I normally use a lighter

ThanksI normally use a lighter
Finished for the day, only a half day!
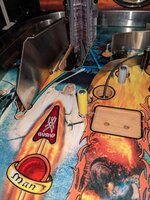
Installed all new metal for upkicker and cliffy protector
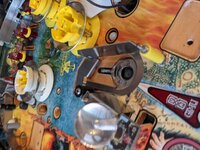
Installed clear button for UK skill post, think it looks better and a keyless lock.
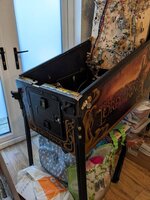
Fitted final pop bumper, thanks to Pinball Mania quick delivery
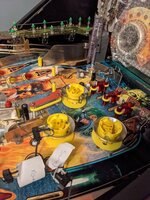
Fitted posts, problem one solved that I had to cut out, thanks to Phil at Pinball Heaven
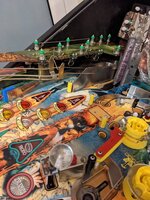
Installed all new metal for upkicker and cliffy protector

Installed clear button for UK skill post, think it looks better and a keyless lock.

Fitted final pop bumper, thanks to Pinball Mania quick delivery

Fitted posts, problem one solved that I had to cut out, thanks to Phil at Pinball Heaven

HELP Please:
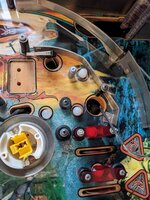
Noticed that the screws that hold the plastic and sword ramp are different lengths I stupidly didn't take lots of pics of this area whoops.
I'm guessing the longer ones are for sword, any one with a LOTR tell me which please.
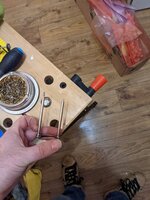
There are 10 screws that are acting as post, if you could tell me for example six has a longer screw.
Pic of the area below with my finger pointing to one of the screws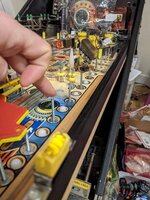


