Pinball info
You are using an out of date browser. It may not display this or other websites correctly.
You should upgrade or use an alternative browser.
You should upgrade or use an alternative browser.
Atari Asteroids Deluxe/Major Havoc/Tempest scratch build - the journey!!
- Thread starter myPinballs
- Start date
Anyone know if you can get these in uk ?
https://www.ebay.co.uk/itm/Heavy-Duty-Leg-Leveler-Mounting-Plates-Leg-Levelers-For-Arcade-Games-Set-of-4/333271579990
can’t seem to find any and thought they must be common somewhere
https://www.ebay.co.uk/itm/Heavy-Duty-Leg-Leveler-Mounting-Plates-Leg-Levelers-For-Arcade-Games-Set-of-4/333271579990
can’t seem to find any and thought they must be common somewhere
Bizarre , thought they’d be as common as pinball legs and feetI have used a piece of metal plate and drilled/tapped a 3/8 thread when I have needed them in the past on arcade cabs,I don't think anywhere in the uk stocks them
Great progress! Looking forward to seeing the paint go on Jim
you may be able to get some metric ones from somewhere in the uk,probably designed for display cabinets/furniture,but imperial size seems impossible on these shores,unless someone is breaking up an arcade cab,and you can source some second hand.Bizarre , thought they’d be as common as pinball legs and feet
USA it is then . I want new original partsyou may be able to get some metric ones from somewhere in the uk,probably designed for display cabinets/furniture,but imperial size seems impossible on these shores,unless someone is breaking up an arcade cab,and you can source some second hand.
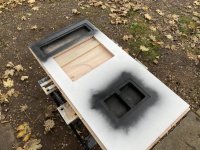
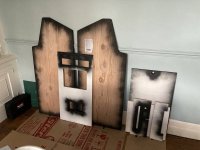
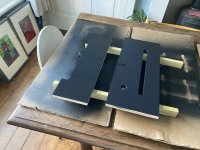
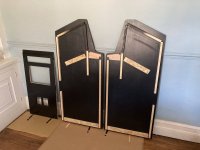
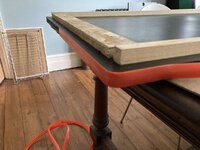
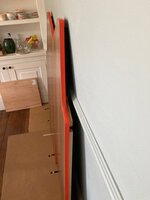
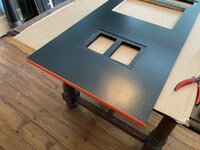
Used the gloss black Dulux weather shield on my railings outside nearly 20 years ago and not painted since, might need doing soon though but 100’ of railings is no fun. Good stuff.
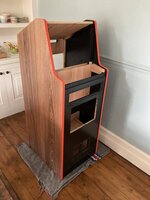
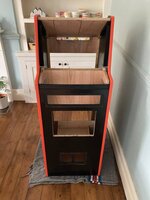
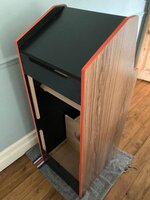
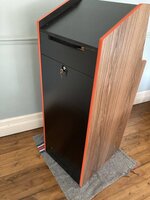
Getting there
Getting there
Used the gloss black Dulux weather shield on my railings outside nearly 20 years ago and not painted since, might need doing soon though but 100’ of railings is no fun. Good stuff.
Getting there
Yeah i tried the dulux wood & metal internal satin black first, but was too thin to be any use really. The weathersheild stuff is same colour and type but just thicker and smooths out much better.
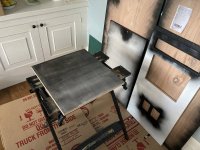
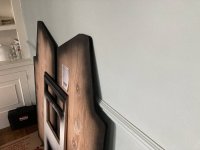
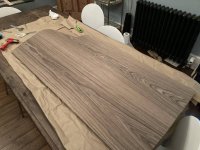
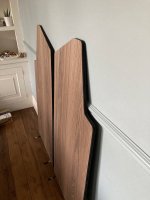
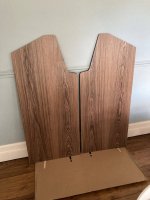
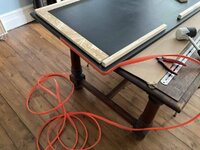
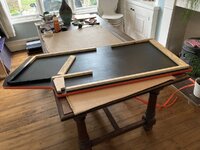
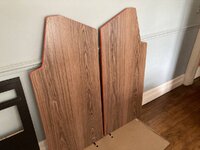
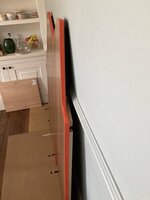
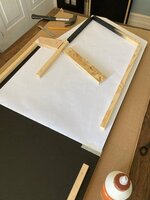
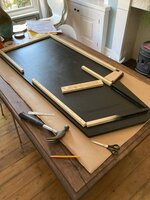
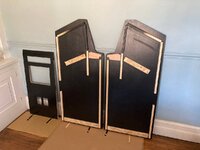
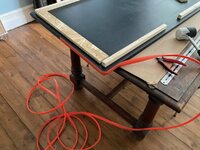
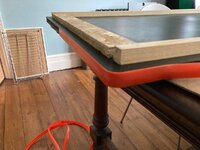
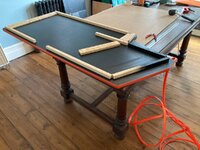
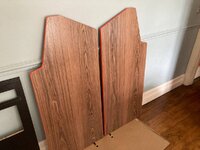
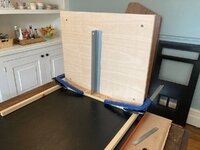
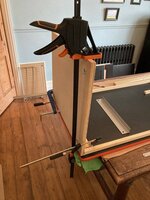
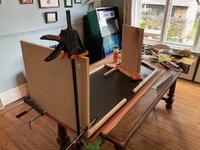
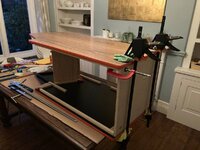
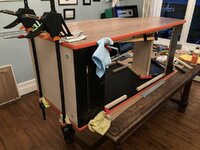
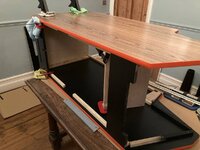
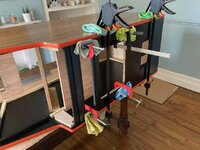
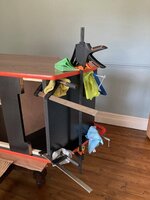
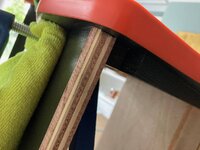
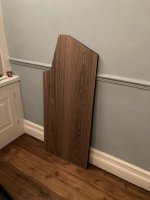
Veneer Day! (Using real american walnut sheets) This was not an easy section of the build and was something i was alittle apprehensive about. However, all went pretty smoothly.
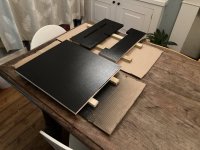
Decided to go the contact adhesive route. Which is where you apply a coat of adhesive to each side, let it dry /go tacky then bring the 2 together and bingo super high strength instant bond.
So to do this i used my dads old favourite 'Thixofix' This stuff is strong, but man its very 'fumey' so use in a well ventilated room and a mask!
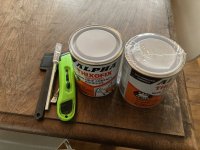
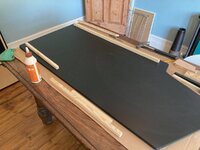
Application of the adhesive
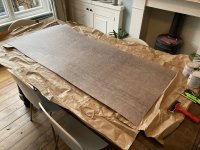
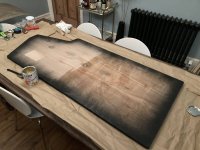
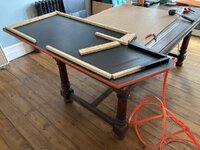
Insert dowels on top of the side before laying the veneer on top to keep them separate and allow alignment
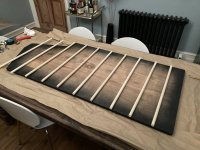
Start from the middle removing the dowels one at a time and press and roller the 2 together from the middle outwards.
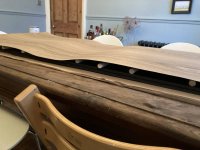
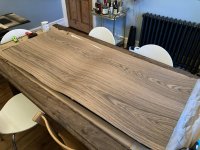
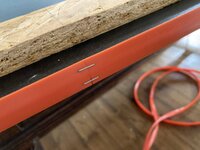
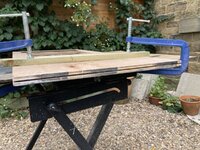
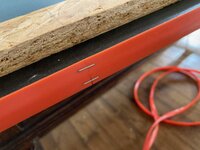
Use a router flush trim bit to trim off excess
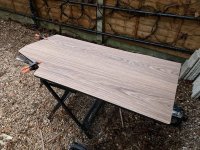
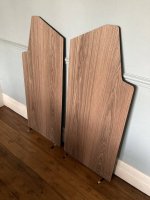
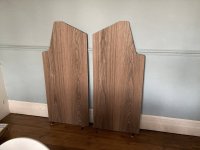
Finished result
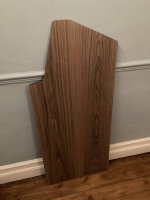
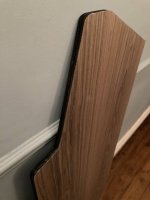
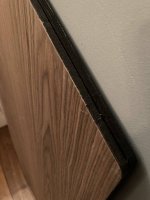
Decided to go the contact adhesive route. Which is where you apply a coat of adhesive to each side, let it dry /go tacky then bring the 2 together and bingo super high strength instant bond.
So to do this i used my dads old favourite 'Thixofix' This stuff is strong, but man its very 'fumey' so use in a well ventilated room and a mask!

Application of the adhesive


Insert dowels on top of the side before laying the veneer on top to keep them separate and allow alignment

Start from the middle removing the dowels one at a time and press and roller the 2 together from the middle outwards.


Use a router flush trim bit to trim off excess

Finished result


Attachments
Last edited:
Contact adhesive is what glue sniffers use sooo....
Used to use Dunlop contact adhesive where I used to work without ventilation the whole factory would stink
Used to use Dunlop contact adhesive where I used to work without ventilation the whole factory would stink
Just going to make an educated recommendation to others on the group if they do a project like this. You can get ply wood already veneered - by the time you add the glue and veneer cost, and the MDF together - I think it would work out cheaper to do a cab in ply.
I didnt use mdf? I used plywood. This project is about making a cabinet that matches as closely to the original as possible but with the best quality parts availableJust going to make an educated recommendation to others on the group if they do a project like this. You can get ply wood already veneered - by the time you add the glue and veneer cost, and the MDF together - I think it would work out cheaper to do a cab in ply.
I wanted to do my own veneering as I’ve never done it before so wanted the challenge plus it’s gives the most flexibility
Last edited:
Couple of Q's if i may please Jim (as in a similar boat).,... Am looking to re-veneer an old Space invaders cocktail, since the Mice/Rats got to the old one, and has multiple marks/scratches on it.... I have some Ebony veneer to go over the top.. any hints/tips on the Veneering process above what is here... anything learnt from it that you were thinking of but would do differently next time??
Thx
Thx
Couple of Q's if i may please Jim (as in a similar boat).,... Am looking to re-veneer an old Space invaders cocktail, since the Mice/Rats got to the old one, and has multiple marks/scratches on it.... I have some Ebony veneer to go over the top.. any hints/tips on the Veneering process above what is here... anything learnt from it that you were thinking of but would do differently next time??
Thx
Nothing much else to add really. I used the contact adhesive route with dowels for creating a gap for alignment then take your time. Also use contact adhesive (thixofix) in a well ventilated room, it stinks and will give you a headache if not!
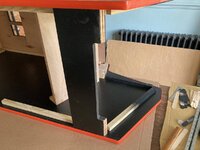
Recreating and matching the original Atari assembly process. Very happy with the results so far. I'm being too neat though for a authentic glue approach. I shouldn't have wipe up the excess in the joints, but the oct just wouldn't let me leave it like that!!!! ha ha ha
These are the battons and joints on each side panel ready for when you assemble the front, top and back together
The DesignJet printer is also coming in handy for alignment templates
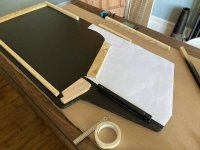
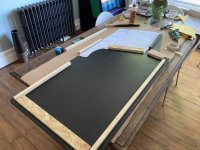
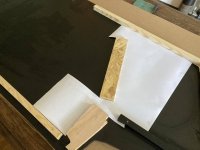
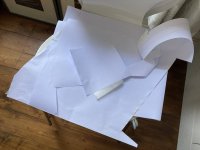
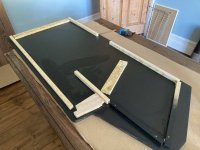
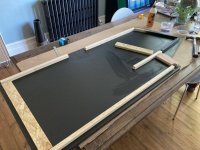
These are the battons and joints on each side panel ready for when you assemble the front, top and back together
The DesignJet printer is also coming in handy for alignment templates


Tomorrow i have some parts coming to build a new version to original specs of the atari power brick. A scratch build within a scratch build! I want to maintain the original connections and output ac/dc voltages but thinking of building a new unit to do it. It will still connect upto a regular ar2 power supply board to.
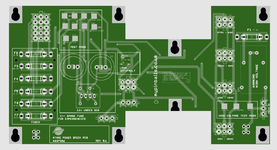
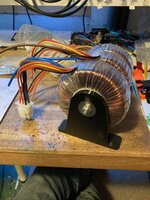
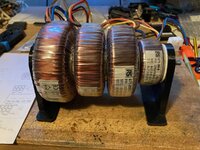
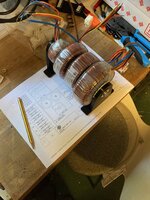
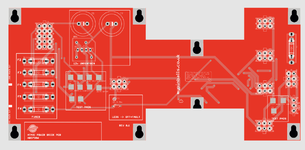
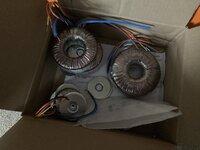
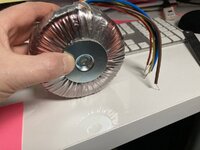
Here are a few pics of my plan to make a new atari power brick. The plan is to have a series of toroidal transformers on a horizontal rack to power the required voltages. Each one will plug in to a pcb which will house the connectors for the harness, fuses, caps, test points, leds, line filter etc
Early prototype pcb
Transformers.
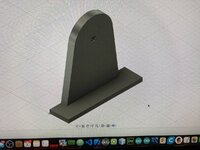
Rack mount brackets
Early prototype pcb

Transformers.


Rack mount brackets


