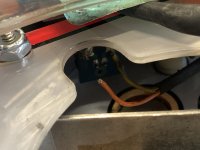
Fitted new board pins and connectors to j115 and j120, even though it had been changed to molex they still burnt out. Back to IDC and full LED’s.
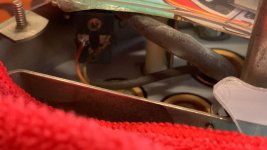
Looks like it’s had all the big caps and voltage regulator changed recently due the the jumpers, need to hot glue the caps as a bit loose.
New menu switches fitted as volume/down didn’t work which was pretty annoying after it was turned up! (switch kaput)
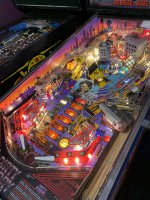
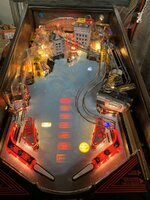
Ramps cleaned and flame polished.
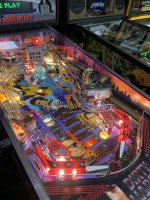
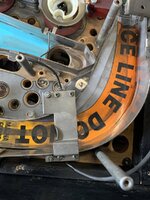
Playfield sliding mech fixed was missing the pivot nut so put a new bolt in as well. Sooo annoying when you get a pin like this.
Somebody sprayed black paint around the edges of the whole cab so removed most of that
Keg run out so had to pick one up today as well, priority job
Also how to have fun with a parking warden(not me)


Easy way for that parking warden thing to back fire on them if the traffic warden just called their bluff and ticketed the car, that way they have to deal with the hassle of appealing the ticket.


 I got them from Retro Refurbs before they stopped posting to the UK (or at least it becoming a major hassle).


 , incredible work


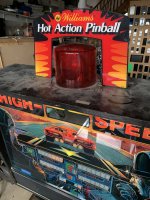
 the SSE comes with Topper.