What's new
Pinball info

Register a free account today to become a member! Once signed in, you'll be able to participate on this site by adding your own topics and posts, as well as connect with other members through your own private inbox!

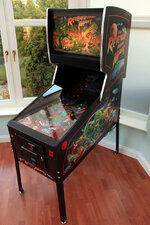
Complete Revenge From Mars - High End Restore

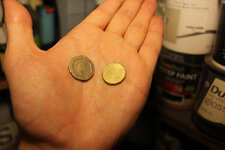
Opened a can of whoop ass on the coin door today. It's unbelievable what was wedged down that coin chute, bits of old newspaper, cardboard, a toothpick and FREE money. Well, it was only 20p and 10cent Euro, but still....
farm9.staticflickr.com_8779_17249087885_e7cf855099_c.jpg

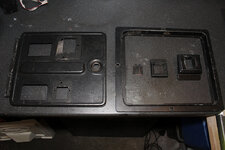
Didn't take too long to get the tatty mess all stripped down ready for stripping and repainting:
farm8.staticflickr.com_7593_17249095615_ce0b197b80_c.jpg

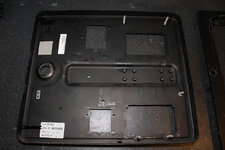
The back of the door is actually nice so I'm not going to touch it. That will clean up lovely and the scratches around the lock can be touched in. I have some kinks to straighten out as well:
farm8.staticflickr.com_7679_17062874539_9e4fc016ac_c.jpg

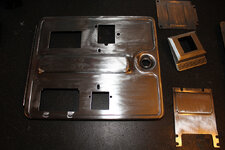
Goodbye old paint, didn't need you anyway:
farm8.staticflickr.com_7692_17041657617_3c79272c45_c.jpg

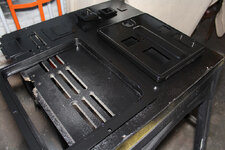
The first, light coat, of my satin black base is on. I'm looking for imperfections but it all seems fine:
farm8.staticflickr.com_7636_16628877063_b7224400a2_c.jpg

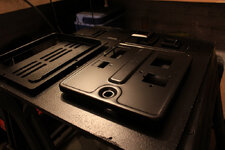
After 3 light coats, waiting 20 minutes between each, the last coat is touch dry and ready to be baked on with the hot air gun. I heat them up and keep touching the underside, once it's a bit too hot for fingers then I'm done. A nice tough, smooth, satin finish is left ready for the next step:
farm9.staticflickr.com_8775_17248519621_63dc4f8039_c.jpg

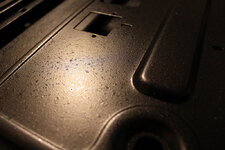
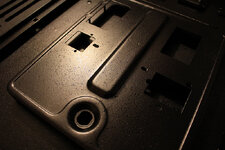
Now for the fun part - doing the glossy speckles. This is the hardest thing to get right, and it's also the hardest thing to photograph. I've done a couple of passes so far:
farm8.staticflickr.com_7642_17248516831_83a4568a06_c.jpg

A closer look at those speckles:

farm8.staticflickr.com_7586_17061512550_6c5b6521bb_c.jpg

Will see what it looks like when properly dry and in the daylight tomorrow. It may need some further tweaks.
 
Where did you buy your cabinet decals? @PeteB

I got them from Pinball Spare Parts Australia as they were the only people I could find who had them at the time, but BoP now have them in stock: http://www.bestofpinball.de/catalog/product_info.php/products_id/4067

how did you strip the paint?
looks very nice

The cabinet or the coin door? For the cabinet heat gun and scraper. For the coin door it was a combination of blast cabinet and the stripping wheel mentioned in an earlier post.
 
Last edited:
Really nice work Pete. This thing is going to look amazing when you've finished.

I only wish I had the patience (and skills) to do a restoration like this myself. But I haven't! Looking forward to seeing the end result.
 
For the coin door it was a combination of blast cabinet and the stripped wheel mentioned in an earlier post.

Any idea what media you used?
I have one in work they use for a non paint stripping job.
I tried it but found it super slow to remove paint.
Im assuming its the media.Aluminum oxide i think
 
Really nice work Pete. This thing is going to look amazing when you've finished.

I only wish I had the patience (and skills) to do a restoration like this myself. But I haven't! Looking forward to seeing the end result.

Thanks dude! :) It sure is slow and frustrating at times. Doesn't help that I'm working on 2 other pins at the same time.

Any idea what media you used?
I have one in work they use for a non paint stripping job.
I tried it but found it super slow to remove paint.
Im assuming its the media.Aluminum oxide i think

I'm not sure what it is, it's been in there a while but I will double check. As long as the pressure is set high enough it should rip paint off in an instant. It's usually what I use for removing rust.
 
That's looking great @PeteB - how do you do the speckles, and will you paint over them too?

..and, did you have to get rid of dints in the metal - if so, how did you do that?
 
That's looking great @PeteB - how do you do the speckles, and will you paint over them too?

..and, did you have to get rid of dints in the metal - if so, how did you do that?

The speckles are just a finishing touch once the satin base coat is done. Take some black gloss and press the nozzle very lightly so the paint starts to spit and splatter. I like hold the can at a distance of around 2 feet. Just keep going over it until it looks right. Getting it to spit like that takes practice but once you've mastered it is easy. The difficult part is getting even coverage and knowing when to stop. There's no other coatings after that.

It looks much better now it's dried. Will update with photos later.

The dents weren't too bad, just a few kinks in the outer lip of the door. Pop it in a vice, take a hammer, and giving it some lovin'.
 
  • Like
Reactions: JT.
Still slaving away on this (inbetween mashing it to death and actually enjoying the game), but it's all about tying up loose ends at the moment.

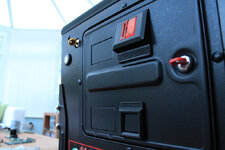
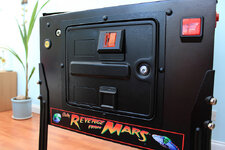
Here's what that refurbished coin door looks now it's installed:

c2.staticflickr.com_8_7733_17325780882_5831fd75e9_c.jpg

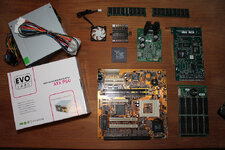
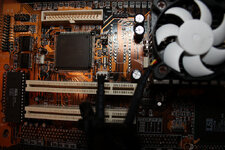
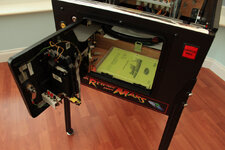
Stripped the computer box down completely. Cleaned it all. Replaced both batteries on the motherboard AND prism card, and now have all my new parts laid out for reassembly, including the 256MB RAM upgrade. Please ignore the Power Supply for reasons I will get to in a moment:

c2.staticflickr.com_8_7672_17139850448_7e5c8d934c_c.jpg

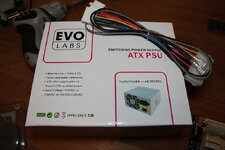
Ok, so I spotted this ATX power supply on eBay for £12 free delivery and thought it might be worth a try at that price. Although the sticker on the back says 230v it actually supports any input from 110v to 240v and automatically switches. I picked up a cheap ATX to AT adaptor for £3 in an attempt to keep everything as close to factory as possible, as it has wires with spade terminals ready to hook up to the reset switch. However this failed miserably...

c2.staticflickr.com_8_7745_17325768952_35b5f57444_c.jpg

Despite the fact that the PSU works and supplies power, it ultimately failed due to the differences between ATX 1.0 and ATX 2.0. This is something I've only just learned. The motherboard receives power, LED's on the boards come on, fans spin up but the system will not boot. At first I thought it was a problem with the ATX to AT adaptor cable but having tried going direct into the ATX socket it still wouldn't work.

The old motherboards in Pinball 2000 require a negative voltage of -5v, it's the white wire which is found on AT and ATX 1.0 power supplies. However, ATX 2.0 power supplies do not have this, so they won't work.

I've put my old PSU back in for now. I'll be buying a replacement from myPinballs who has some new working power supplies.

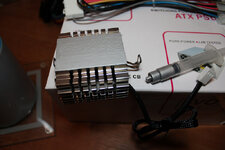
Continuing with the rebuild, the old heat sink can be reused, it just needs a new fan. Here after being cleaned I've put a very thin layer of Thermal Paste on it to help with heat transfer between the CPU and the cooler. This is something they never bothered to do back in the days of 1999 computers:

c2.staticflickr.com_8_7752_16707391733_5f466d7ece_c.jpg

The original fan was connected directly to the power supply, which is absolutely nonsensical when there is a CPU fan socket on the motherboard to properly control it:

c1.staticflickr.com_9_8744_17301676496_1ed37a0a49_c.jpg

Brand new Skip Ramp installed and thanks to @replicas for doing the rivets for me:

c1.staticflickr.com_9_8847_17348975429_5da580d111_c.jpg
 
Did the original power supply have an IEC monitor passthrough and does it need one?
 
The original does have one, but it's not needed.

Unless you plan on putting an LCD monitor in, then it's rather handy. But I'd rather let seagulls peck out my eyeballs than install one of those.
 
I love me some sexy LED/LCD monitors in any other situation but they look turd in Pinball 2000 games. They don't have enough contrast to make a convincing peppers ghost effect with the playfield glass.

I'm not really into video arcade games but I would imagine they look turd in those too.
 
I don't really have a problem with the contrast/reflection on mine but I do find the pixelation a bit nasty.
 
Can you see the monitor outline and the background black areas?
 
I don't think so, I can see as much reflection of the black wood surround as I can of the monitor black. I don't have an original monitor to compare with though.
 
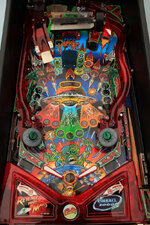
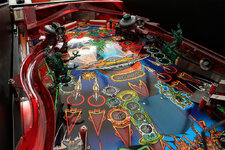
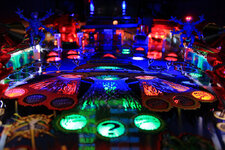
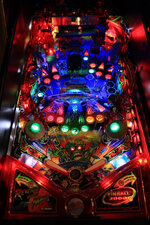
It's been a while, so where are we up to with this restoration? Well, it's finally finished.

Last update was about the computer unit and power supply troubles. I have a friend sending me a new (original style) PSU so that's covered.

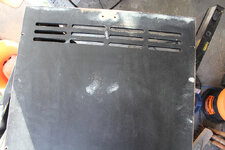
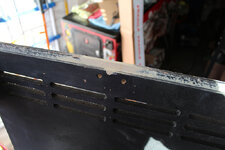
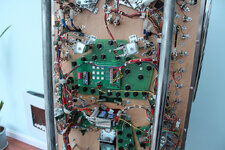
I managed to get the back panel repaired, so saved me having a new one cut:
c1.staticflickr.com_9_8762_17625742314_65d39065d6_c.jpg

That lip was quite hard to fill right and sand, but with a bit of persistence I got there in the end:
c1.staticflickr.com_9_8824_17625749094_a17084eb06_c.jpg

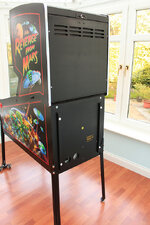
A coat of paint later, installed with new locks, and it's looking fabulous:
c1.staticflickr.com_9_8772_17619598103_9eb327d0b7_c.jpg

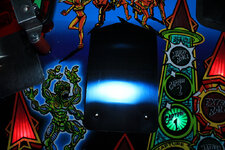
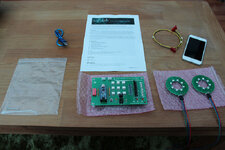
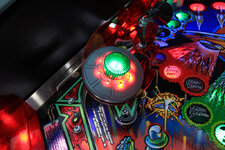
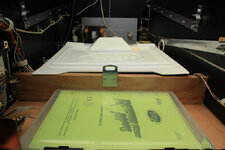
The RGB saucer mod from myPinballs finally arrived:
c1.staticflickr.com_9_8804_17625585064_47a83bbdfa_c.jpg

It came with very clear instructions but to be honest, the whole thing is so well designed it's an absolute doddle to install anyway. I kept my original saucers:
c1.staticflickr.com_9_8808_18060466350_0e49045dcc_c.jpg

The under sider:
c1.staticflickr.com_9_8756_18249500111_0f301b6936_c.jpg

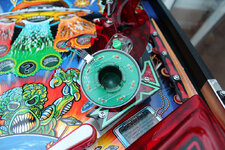
Finished. Looks beautiful;
c4.staticflickr.com_8_7771_18060444190_ff690dc5bc_c.jpg
 
That's it all done. Finished. Complete. It feels like it's taken forever, but I took my time because I wanted it to be right - look right, and most importantly play right!

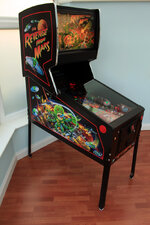
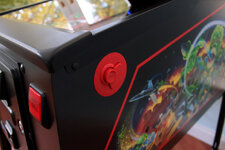
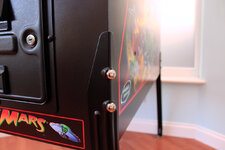
Here's a few photos of this sexy beast shot under some soft natural daylight:

c1.staticflickr.com_9_8893_18052185628_31c9fa0885_b.jpg
c1.staticflickr.com_9_8872_18052168418_44544a84ed_b.jpg
c1.staticflickr.com_9_8784_18052216128_f9f727d914_b.jpg
c1.staticflickr.com_9_8819_18052368140_c82d9f886d_b.jpg
c4.staticflickr.com_8_7795_17618250114_4cd6eec8fe_c.jpg
c1.staticflickr.com_9_8784_18240813155_9a008c0115_c.jpg
c1.staticflickr.com_9_8786_18240773695_a8230284ea_b.jpg
c2.staticflickr.com_8_7769_18236798892_9b4f6f07c0_c.jpg
c1.staticflickr.com_9_8852_18236683042_fe42d75831_c.jpg
c2.staticflickr.com_8_7792_18213861206_acf0c540e3_c.jpg
c1.staticflickr.com_9_8800_18213874136_3b4db32492_b.jpg
c1.staticflickr.com_9_8877_18052286750_95cd8b3905_b.jpg

If you would like to see more, I've created a full album of photos for the finished game at https://www.flickr.com/photos/toucheduk/sets/72157653648074022
 
Last edited:
Wanna see how well it plays? Here it is getting mashed by yours truly:

 
Congrat's Pete - I've enjoyed this log and learnt a lot with the information you've shared - can smell the minty fresh from here :clap:
 
Thanks guys. As one finishes, another one starts. Seems I have a backlog of projects to get through.
 
Back
Top Bottom