Ashbo
Site Supporter
So carrying the batten from this post here: https://www.pinballinfo.com/community/threads/mishmash-self-build-let’s-make-a-pinball-machine.50005/post-451003
Thanks to Alan for letting me loose on his baby. I promise not to let you down sir.
Picked up last weekend and I've had a bit of playing the game, and some furtive and ginger pokes and prods to see what she is made of.
I have to say it's a monumental effort that has got her this far and hats of to Alan for producing a working game, from scratch. It's brilliant.
So, what next? It wouldn't be a shop log without a list, so here goes ....
So, this weekend the plan is to add in some test functionality to reduce the need for swapping modes in code, compiling, uploading and testing. I'd like to use one of the unused switch column/row combinations to scroll through the machine states Alan has already programmed. I'd also like to do the same to turn all solenoids off or on. Basic, but as this is a new project for me, essential to ensure I start to learn how she works.
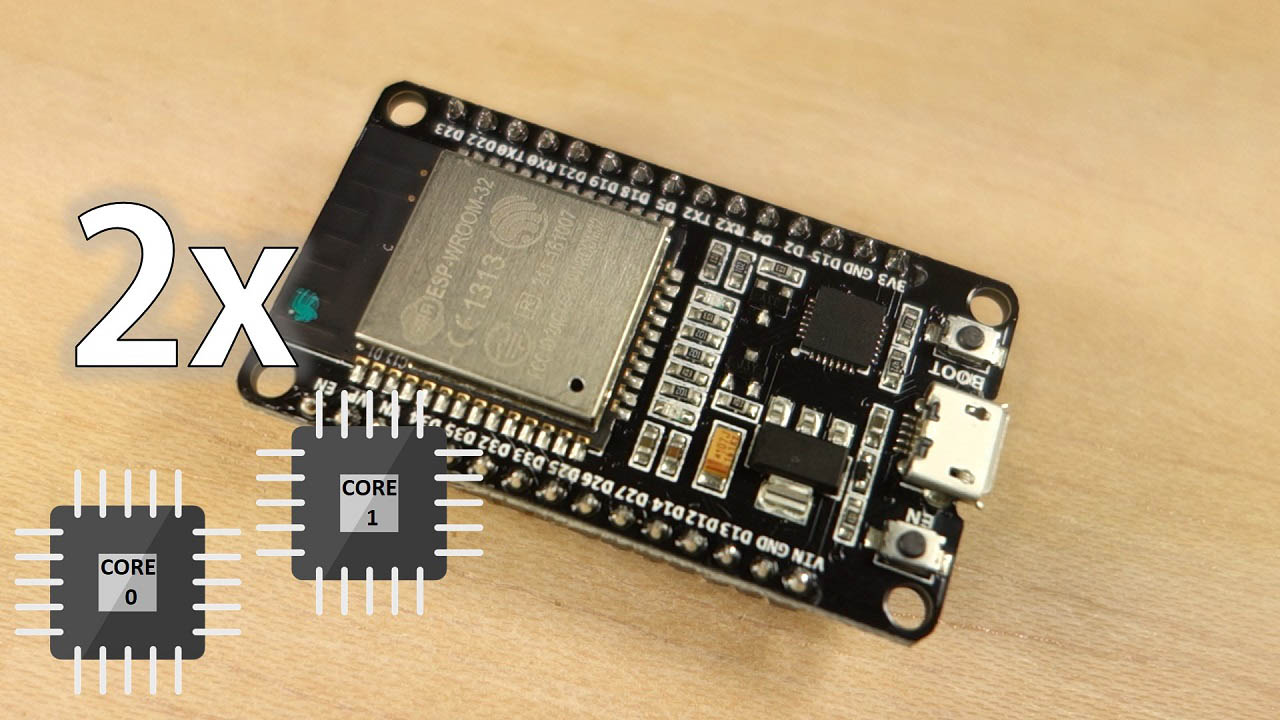
If that's easy, I may look at implementing some kind of WiFi and webpage on the esp32 to control or monitor over the air.
Useful links.....
Let's create some classes to make the code easier to handle once it gets big on me

 arduinogetstarted.com
Esp32 web server... maybe
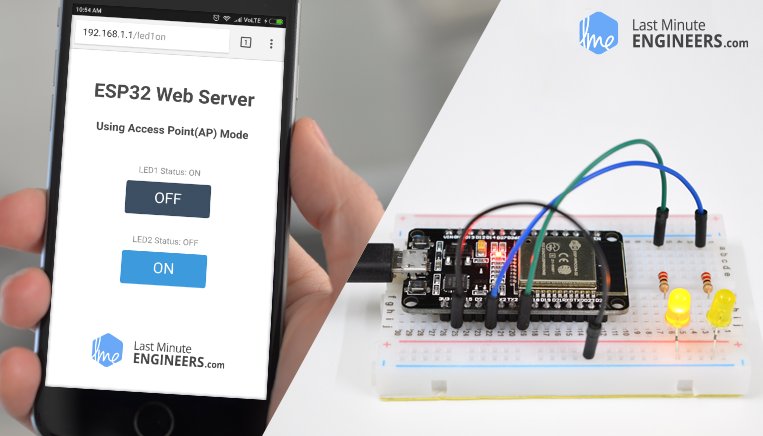
 lastminuteengineers.com
Thanks to Alan for letting me loose on his baby. I promise not to let you down sir.
Picked up last weekend and I've had a bit of playing the game, and some furtive and ginger pokes and prods to see what she is made of.
I have to say it's a monumental effort that has got her this far and hats of to Alan for producing a working game, from scratch. It's brilliant.
So, what next? It wouldn't be a shop log without a list, so here goes ....
- Dig into the code, understand and document what's there (underway).
- Dig into the physical build and document what's there (underway).
- Formulate a new code that replicates what's good in modern single layer playfields....that is, easy achievable objectives that get progressively harder (underway).
- Plan further code developments (not started)
- Plan physical developments (not started)
- Plan electronic developments (adding additional sound options). (not started)
- Plan cosmetic developments (consuming thoughts, but nowhere near started)
So, this weekend the plan is to add in some test functionality to reduce the need for swapping modes in code, compiling, uploading and testing. I'd like to use one of the unused switch column/row combinations to scroll through the machine states Alan has already programmed. I'd also like to do the same to turn all solenoids off or on. Basic, but as this is a new project for me, essential to ensure I start to learn how she works.
If that's easy, I may look at implementing some kind of WiFi and webpage on the esp32 to control or monitor over the air.
Useful links.....
Let's create some classes to make the code easier to handle once it gets big on me
How to create Class and Object on Arduino IDE | Arduino FAQs
How to create Class and Object on Arduino IDE? I want to do OOP (Object Oriented Programming) on Arduino.
arduinogetstarted.com
Esp32 web server... maybe
In-depth: Create A Simple ESP32 Web Server In Arduino IDE
Learn to create simple ESP32 web server in Arduino IDE as a Access Point (AP mode) & Staion (STA mode) with Detailed Code Explanation.
Last edited:
")