OP
OP
Ashbo
Site Supporter
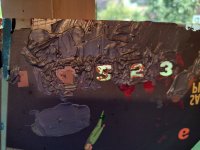
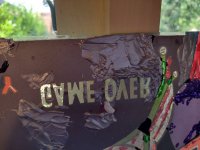
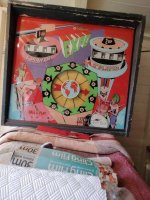
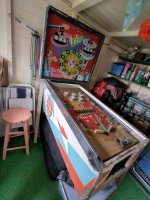
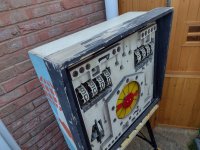
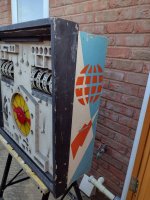
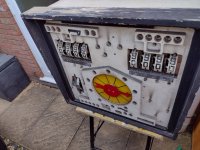
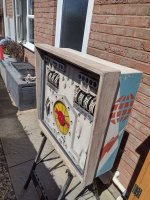
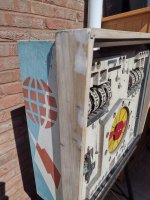
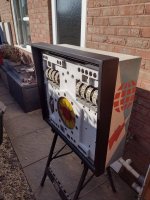
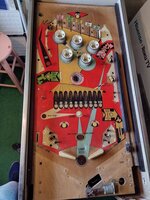
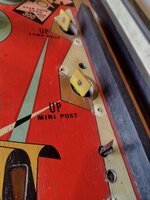
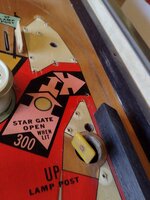
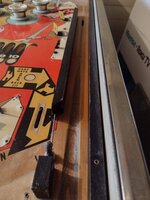
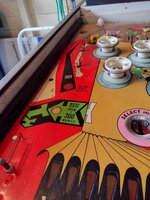
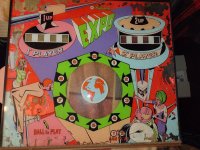
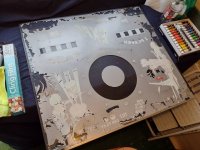
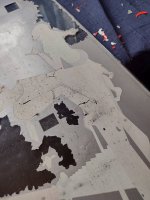
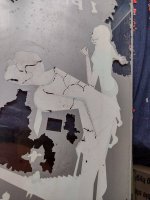
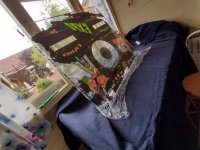
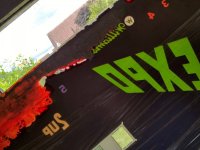
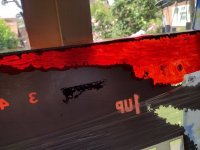
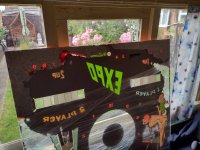
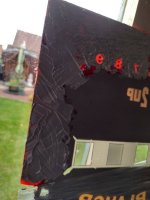
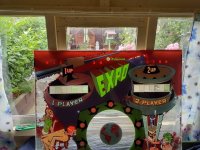
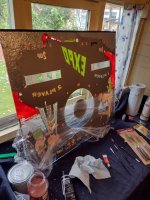
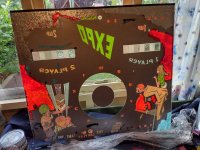
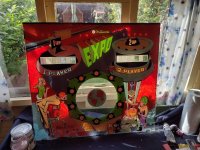
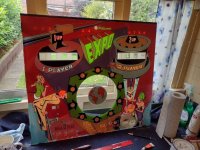
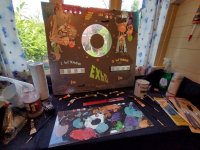
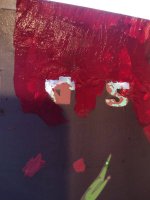
Paints delivered, date set for this weekend...can't wait.That back glass is a good candidate for a decent repair as the paint lifted areas are opaque and mainly flat blocks of a basic colour to the front - these are the easiest to touch up.
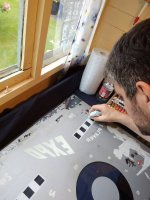
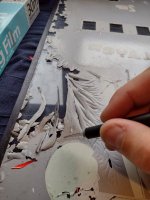
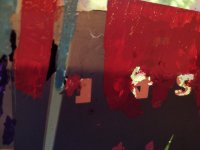
I tested mixing Acryics on the front of the glass, let dry for true colour then paint on back and seal over with silver acrylic. It's very forgiving process as you can even scrape it off the back of the glass and redo if necessary. I followed techniques from http://www.pinrepair.com/restore/index1.htm#touch
Good luck it should come up nice and save a repro if you're not doing a minter job
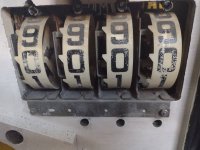
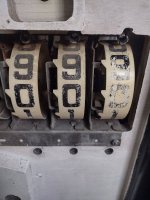
View attachment 140248


")
")