Ashbo
Site Supporter
This will be my first ever shop log, first EM machine owned and first attempt to bring a pin back to life.
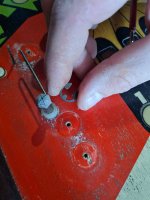
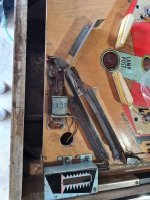
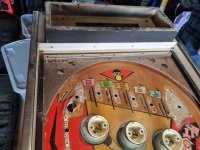
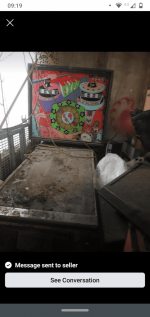
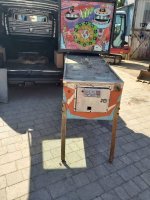
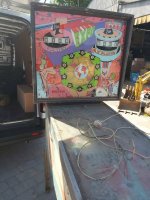
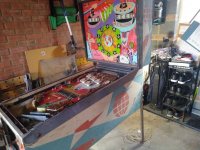
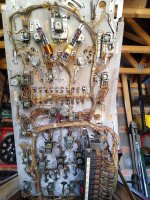
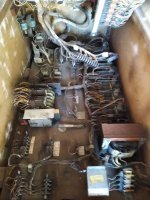
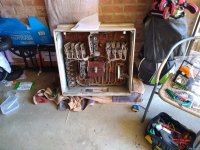
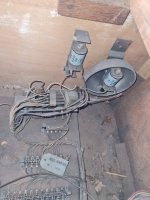
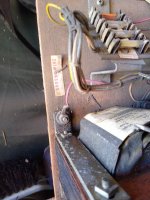
This Williams Expo spent 20 years in a dry and water tight barn and apparently worked 5 years ago when powered on.
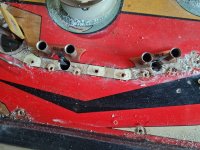
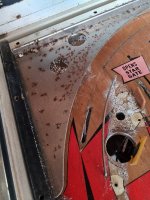
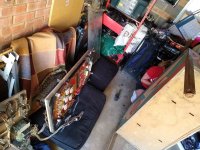
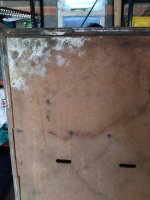
She is very dirty and mouldy, but does look mostly in tact.
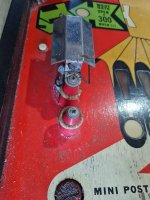
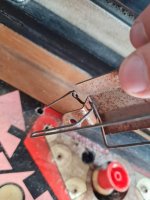
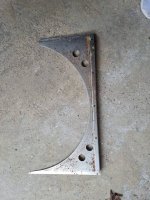
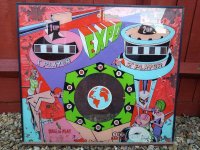
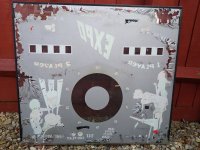
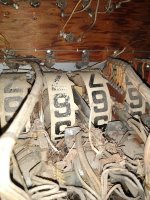
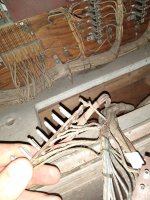
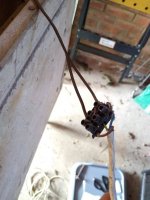
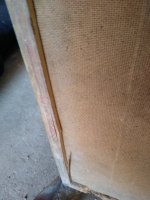
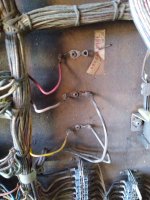
The back glass is peeling very badly, the back left leg is bent badly and I did remove what looked like an attempted sparrows nest from the player 2 score reels.
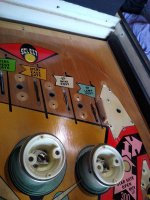
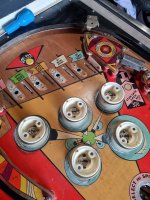
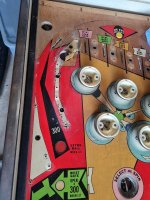
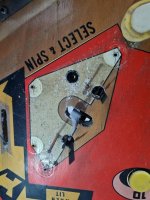
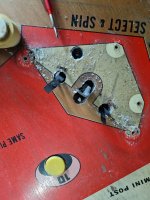
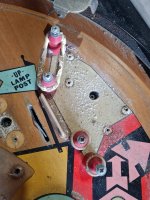
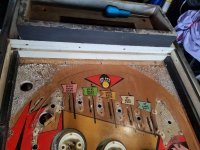
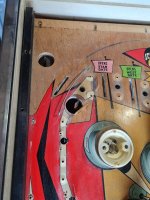
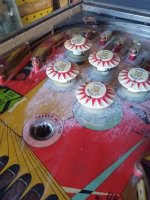
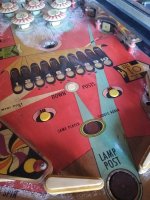
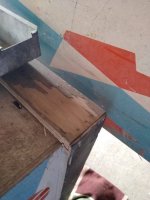
Underneath the mould, the playfield looks ok for a 52 year old, but I expect to get my paint brushes out to delicately restore the artwork here.
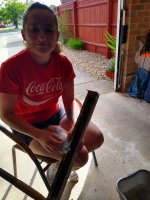
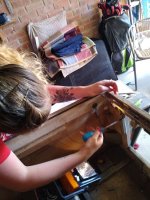
I will be helped by my daughters and my father so hopefully a real family effort. It will be a few weeks before we get started as we have a virtual pin project to complete first but we will update this thread with our progress.
This Williams Expo spent 20 years in a dry and water tight barn and apparently worked 5 years ago when powered on.
She is very dirty and mouldy, but does look mostly in tact.
The back glass is peeling very badly, the back left leg is bent badly and I did remove what looked like an attempted sparrows nest from the player 2 score reels.
Underneath the mould, the playfield looks ok for a 52 year old, but I expect to get my paint brushes out to delicately restore the artwork here.
I will be helped by my daughters and my father so hopefully a real family effort. It will be a few weeks before we get started as we have a virtual pin project to complete first but we will update this thread with our progress.
Attachments
-
 Screenshot_20210612-091950.png95.9 KB · Views: 78
 -
 IMG-20210613-WA0002.jpg111.8 KB · Views: 74
 -
 IMG-20210613-WA0001.jpg99 KB · Views: 70
 -
 IMG_20210613_162818632.jpg168.4 KB · Views: 67
 -
 IMG_20210613_162814225.jpg105.3 KB · Views: 62
 -
 IMG_20210613_162812621.jpg87.6 KB · Views: 65
 -
 IMG_20210613_162807786.jpg107.1 KB · Views: 67
 -
 IMG_20210613_162804351.jpg100.8 KB · Views: 77
")


")