What's new
Pinball info

Register a free account today to become a member! Once signed in, you'll be able to participate on this site by adding your own topics and posts, as well as connect with other members through your own private inbox!

Complete Terminator 2 Restoration

Looks really good Ant, a real transformation seeing everything coming shiny and new!

Can I ask a couple of Qs on your cabinet re-decal?
I presume the wet method is using a water/washing up liquid mix which lets you reposition the decal slightly if it needs a tweak, then squeegee the liquid out? When you trim the decals is it just a case of using a steel rule a couple of mm in from the edge of the cabinet and running a stanley knife down it?
I'll be doing my WW decals soon and just want as much info as possible before I dive in and do it!

Cheers,
Ben
Thanks Ben.

This is the first pin I’ve restored but I’ve fitted a few new decals to some arcade cabs and I’ve used both the dry method and wet method in the past and the dry method IMO is too risky.

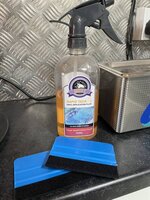
Ive previously used some water and a bit of washing up liquid, but for my T2 I tried out a product I bought from a local signage company. Supposedly it’s what they use in the trade when applying signage to vans etc.
553C158F-0D05-44D2-AB06-09EA2AC46789.jpeg

Basically I lined up the new decal and double checked I was happy with the placement and then weigh one side down. I just spray the area down and apply to new artwork, repositioning if needed and then squeegee all the excess liquid out.

Once fitted I immediately use a metal rule and trim a couple mm off all the edges before the glue has time to really dry.
 
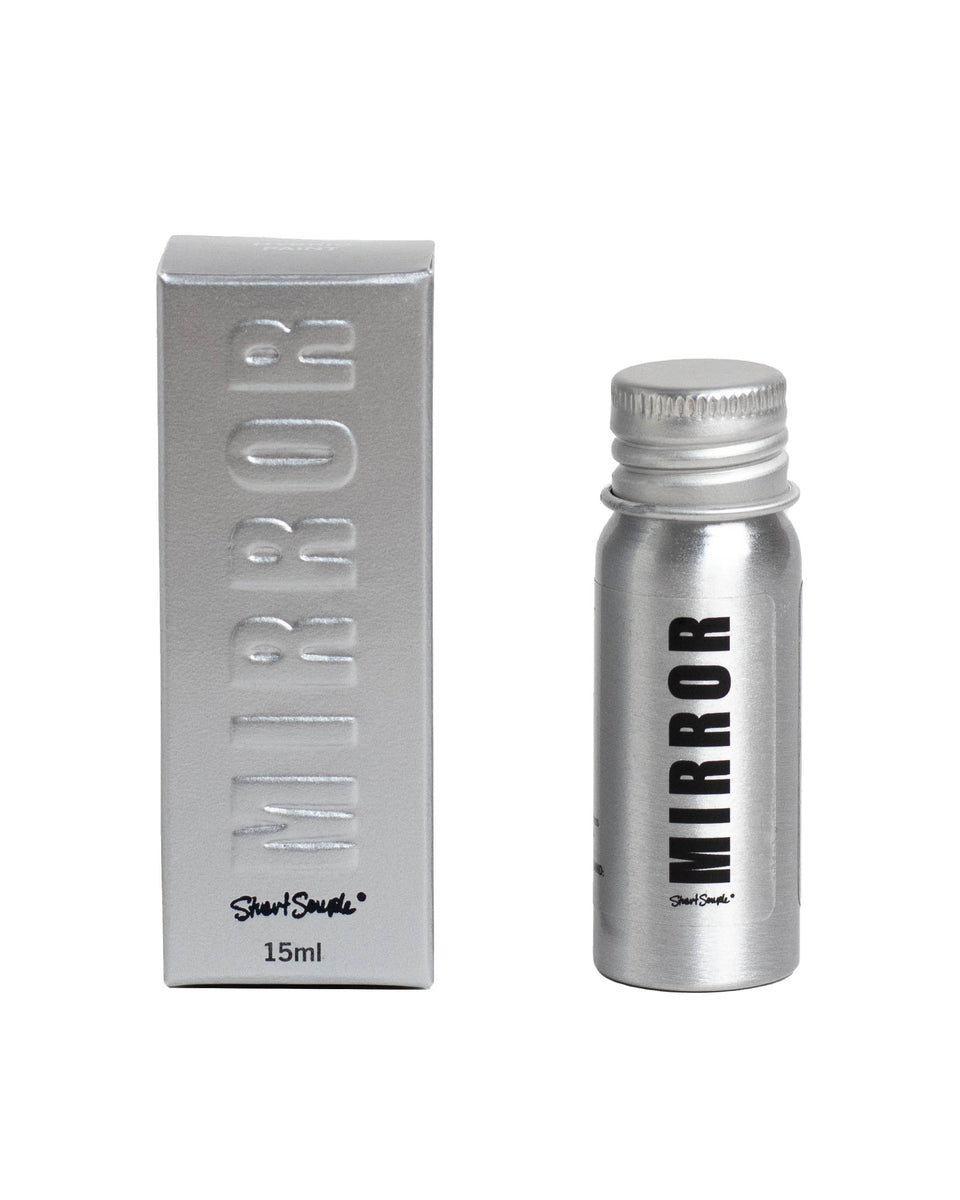
Fantastic. Look forward to seeing what you come up with. Keep in mind there are now some amazing chrome paints available that you could use in the sculpt. These guys have a good rep


I've also used the culture hustle product and while not as good as advertised is still the best I've found for diy


Happy to assist with any lighting and electronics you need for it.

Whatever you end up doing make sure it's reproducible as I'm sure you'll have people interested (especially if it's good!) The mod scene is great and the more people doing weird and wonderful projects the better. Rock on 🤘
Not used the chrome paint - but their Black 2.0 is pretty impressive - sooooo black.
 
Basically I lined up the new decal and double checked I was happy with the placement and then weigh one side down. I just spray the area down and apply to new artwork, repositioning if needed and then squeegee all the excess liquid out.

Once fitted I immediately use a metal rule and trim a couple mm off all the edges before the glue has time to really dry.

Thanks for the tip, I'll get some of that fluid and give the wet method a go, I was all ready to do it the dry way but after your post I've changed my mind!
 
Happy to assist with any lighting and electronics you need for it.

Whatever you end up doing make sure it's reproducible as I'm sure you'll have people interested (especially if it's good!) The mod scene is great and the more people doing weird and wonderful projects the better. Rock on 🤘
Thanks mate, I appreciate that.

I did actually looking into some spray Chrome last week, only the stuff from B and Q and I wasn’t keen on the finish.

I did find a Spray Chrome Company based reasonably close to me in Kent, that I was going to get a price from but I’ll all try your recommendation as well now 👍🏻
 
Thanks for the tip, I'll get some of that fluid and give the wet method a go, I was all ready to do it the dry way but after your post I've changed my mind!

No problem mate. 👍🏻
Definitely the wet method, it’s much more forgiving.

Another thing I did when trying to line it it all up was to use the torch on my phone to shine through the over hang edges of the decal so that I could see where they lined up to the cabinet.
 
Thanks mate, I appreciate that.

I did actually looking into some spray Chrome last week, only the stuff from B and Q and I wasn’t keen on the finish.

I did find a Spray Chrome Company based reasonably close to me in Kent, that I was going to get a price from but I’ll all try your recommendation as well now 👍🏻

Yeah I've never had any luck with any of the rattle can jobs.
 
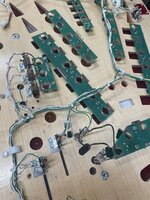
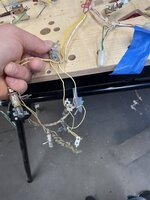
I finally removed the light bulb harness and put that aside, which only left me with the switch harness on the old playfield.
DAEBC127-8E38-4A37-9A71-47765BBDDF90.jpeg

My original plan was to not replace the switches or coils but I thought if I’m going to all this trouble and expense, why bother putting back 30 year old parts on a brand new playfield.

The next job was to remove each cable tie from the switch harness and clean the wires thoroughly before transferring it over.
48A1C3B7-61E0-4E65-945F-B540B017D5EB.jpegI placed the harness on the playfield before installing the new switches as wanted to make sure I put everything back in the right place, but like people have said in past, the harness basically falls back into position straight away and you then only have to refer to your photos to double check.
So If I was to do this again I would replace all the switches whilst the harness was still on the bench before moving it over.
 
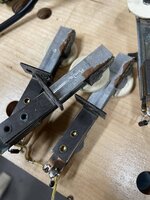
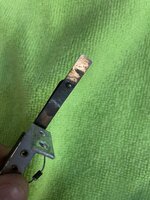
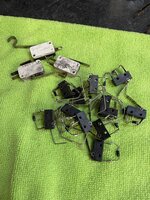
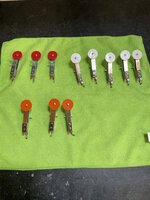
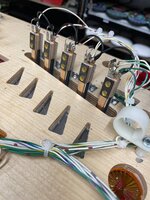
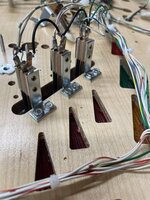
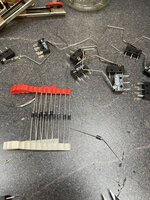
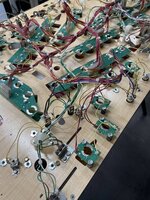
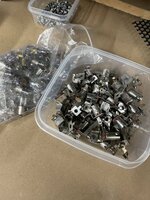
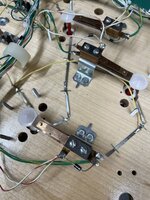
Next job was to remove and replace all the old switches and diodes. I’m glad I did this as they weren’t in the best condition.
5C475EED-81F4-4449-B748-8BE31D5D1E25.jpeg89F7C519-B43F-4982-A7C7-0FD38DF65431.jpeg3CF305DA-F67A-4DEB-AAD2-E52C3BBB4386.jpeg47F28CA4-C9ED-42D1-857D-705DBD3BC3F0.jpeg1C52D798-2726-4725-8987-A93D1EEE75AE.jpeg

After double checking all the connections and could fix everything down and move onto the next job……………..Which is to spend hours cleaning and de-soldering the light bulb harness 😬

F94953A9-9FA5-4F31-AD55-F03929D52927.jpegD163321F-F192-4C2F-B433-30DF72DEBB6D.jpeg5CA0169F-D88E-43C1-A4FE-F37D55D8172B.jpeg120A166D-1B7C-44A4-8D1C-66E093E22CE9.jpegB48044BE-EFE6-4B4A-825A-30780FC5E36D.jpeg
E0D9CF60-12AB-4CEF-8140-495A7F0AC064.jpeg87335C37-834B-46C1-AEE5-133B566A4A48.jpeg9786BD28-0B7B-4F59-A72E-224BD47899F4.jpeg
 
Last edited:
After finally finishing the cleaning job on bulb harness this week, I
gave all the lamp boards as good scrub down as they were covered in dirt and dust, before fitting them to the new playfield.

E32ACDE4-1D39-4EC0-9A36-9285134F3D32.jpeg
F04C03DA-27D0-4B36-AFF2-55C121E440E9.jpeg

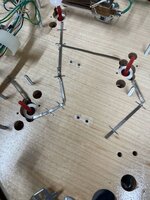
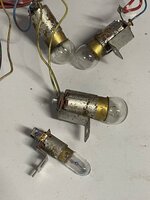
Next I installed new pop bumper bulb sockets and stapled them into position using my reference photos.

80E0FCAE-C9AD-48A9-B46F-5F67B15792B5.jpeg

I then pre-drilled all the dimple marks on the playfield, making sure not to go all the way through by placing some tape on the drill bit to act as a stop mark 😬.
I had read that some repro playfields have loads of missing pre-drill marks or there in the completely wrong location. Overall the placement on this one was very good and there was only 3 that were missing.

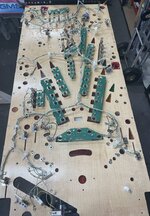
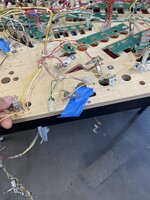
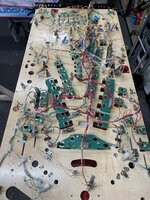
Once this was done I transferred the entire bulb harness which still had the old sockets attached, across to the new playfield and placed everything roughly in position.
I then proceeded to spend most of the with replacing the 42 lamp sockets and lamp boards as the original ones had seen better days, before screwing everything in place. This job took me a while!
Again I should have done all the de-soldering and soldering jobs when it was still on the bench, which is what I’m planning on doing with the coil harness.
E501B238-6601-4847-8BFC-755F801BCE89.jpeg
212453AC-BADC-4A53-82B2-ADEDBC17EB1A.jpeg3AF61B81-3EBB-4175-AF5D-9720BEC30116.jpegB4004004-2027-4A6A-B603-18883A024025.jpeg

A4C292AB-FA51-4CCE-9C58-7655FD97E112.jpeg

EEA92C5B-4363-40DA-BC25-22041E4EBE2E.jpeg

The last job before moving on to the coil harness was to finish soldering the wires to the lamp socket legs on the pop bumpers

A0B589D4-0AC5-4E46-B6DB-777BD91DBB57.jpeg66B9ADFC-443A-4AF8-AF9B-58421BD0360C.jpeg
 
Last edited:
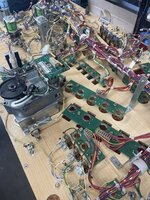
Terminator 2 has the playfield general illumination entirely connected up with insulated wires, as did Funhouse. Which I appreciated when I fitted out a new playfield. On older (and not much older, as I recall) games, the G/I sockets are wired up with braid stapled to the playfield, and the wire harness connected where handy.
 
Last edited:
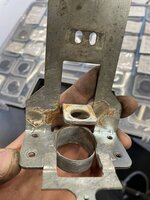
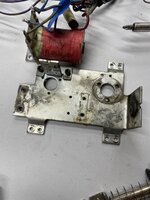
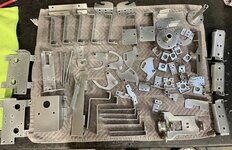
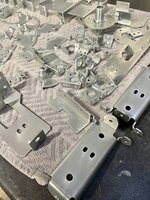
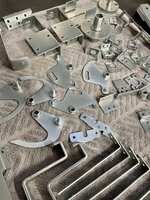
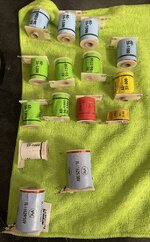
I collected all the plating parts yesterday, which was perfect timing as I should be finished with fitting the new coils this weekend so can start installing all the metal work to the playfield. They look
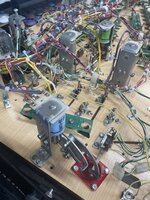
so much better than how they did before.

I can see a light at the end of the tunnel now for the underside of the playfield swap and can finally move onto fitting the new ramps and plastics 😀

84A6C0C0-F275-4463-81F9-EBAD3AF9D85B.jpeg
07C40C12-402C-451A-98BB-16B3346FF8E2.jpeg
9BCBB2C4-0480-46D9-8480-A619893C9B8F.jpeg41469CB0-C036-4352-9B0A-CA03F885FD96.jpegC373EECE-88C0-4658-AB03-BC0ECC46D794.jpeg08841D44-E3BD-4826-AD5A-945CB4B0D4CD.jpeg
 
Wow, metal work looks like new!

How much did it cost to get it all plated?

I was really pleased with how it all came out.
It cost me £100 which wasn’t to expensive in my opinion when compared to what my chrome plating will cost.

I can see now why so many people go with powder coating, it’s so much cheaper. I dropped off a load of parts to the powder coaters last week, and they quoted me £80.
Is that all for replating, enjoyed the shop log, wish I had the space to try a full restoration, the T2 will look amazing when done.
I would put a pinsound in it, the original sound track they have is great 🙂
 
Is that all for replating, enjoyed the shop log, wish I had the space to try a full restoration, the T2 will look amazing when done.
I would put a pinsound in it, the original sound track they have is great 🙂
Thanks mate. Yeah that was for all the parts that I wanted zinc platted. I used a local company to me who are also going the chroming fit me as well.

I’m definitely going to put a pinsound board in. That and a colour dmd are the last 2 parts I need to order.
 
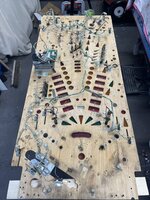
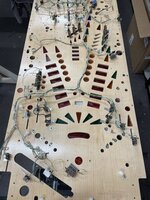
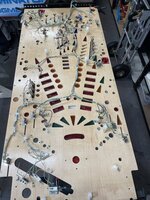
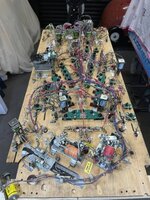
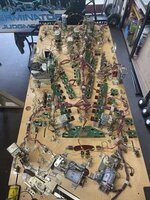
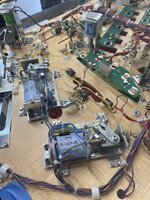
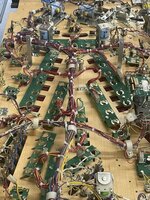
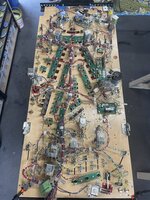
The underside of the playfield is now 99% finished. Just need to bolt on the PF hangers and install the bulbs. I’m so glad I went overboard on taking reference photos, as I’d be in real trouble if I didn’t 😬.

Next jobs are to start with the top of the playfield, finish assembling the back box and hopefully most of the powder coating and chrome parts should be ready this week so I can also start to slowly put everything back together.

Before
6C686162-26F0-4722-BB64-2663CE25D38C.jpeg
After
E56CAD5B-C31F-474B-927F-BEED7EC05CA5.jpeg0E82F80A-DE27-4330-97C7-8AE96896F8C3.jpeg5F8FFED5-610E-4E6E-BFFD-12C078220B84.jpeg316713F6-7194-4D27-ABE8-2410C1D02928.jpegCC22D7C3-F6F5-4353-A9B2-9D07741C1D44.jpegCC2F010B-E487-4F23-A552-4F75E52A4C7D.jpeg
 
Hello, Ant,

Do the flippers have the 'new' pattern flipper links, with the older (and correct for T2) conical compression springs, No. 10-376?. I thought those two don't work well together. I disliked the new pattern link, and intended to continue using the older type and the conical spring, but newer games with their factory fitted new-type links chewed up the spring. When the new link was replaced with an old type during servicing, the spring was unaffected.
 
Last edited:
Do the flippers have the 'new' pattern flipper links, with the older (and correct for T2) conical compression springs, No. 10-376?. I'm afraid those two don't work well together. I disliked the new pattern link, and intended to continue using the conical spring, but newer games with their factory fitted new-type links chewed up the spring.
Thanks for the heads up Jay.
I believe the one I took off had the conical compression springs and the new flipper links but without the little spring as used on the slightly new releases?

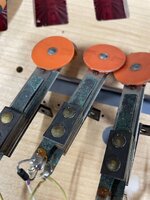
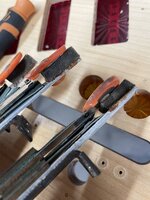
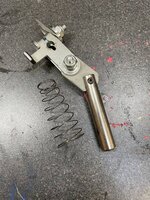
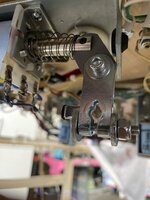
This is what I took off and what I fitted from the rebuild kit. Is this right?
Would you recommend removing the conical spring and go with the newer style set up with the link and small spring?
DB83CA6D-6C99-498D-857B-6195368C5591.jpegAE1293EC-E8E5-4E45-A6B4-9BBF58A29138.jpeg
 
I wasn't entirely sure with the flipper assembled, but that is the new type link, introduced AIR (wrongly) on Hurricane. It's meant to be used with the external spring, between the plate on the linkage and the EoS mounting spur. I took against this set-up straight away, and continued using the conical spring and older type link. White Water reverted to this for the upper flipper, as there wasn't clearance for the spring plate. The external spring is the same as used for drop targets; it's not renowned for that, and I didn't like its action on a flipper, either. T2 or the following Bally game would've been the final games with the older spring, and the pointed flipper link. As far as I could tell, the further-forward 'shoulders' of the new link over-compressed the spring, leading to breakage.

Actually, I've been slightly misleading - Williams policy was not to change more than one item at a time. So in fact it's the new spring (not really so new, though) that would've debuted on Hurricane, the Fliptronic solid-state flipper drives on Addams and Getaway, and the new link on a later, but still early, Fliptronic equipped game.
 
Last edited:
Do you have a photo of the older style link? Can you get these on there own? as that’s what I don’t I have.

If not, Im guessing I should remove the conical spring and fit the external spring., so that I go with one or the other instead of a mixture of the 2 set ups?
I believe the external spring is the set up on my other Bally/Williams games.
 
Love following this restoration, looking fantastic.
tempted to do a full shop on my white water.
 
As I see it, your options are to update to the external spring and discard the conical ones, or obtain the older link and have the choice of using either spring, or even both.

The older link is a bit thinner than the new one (which I remember now could jam the linkage when updating an older game), with distinctly straight edges narrowing towards the plunger end. The manual for T2 shows it quite well, pulled out of both the plunger and crank; other manuals e.g. Black Knight 2000 have the plunger and link shown in a separate box, but the sloping edges aren't so clear.
 
Last edited:
As I see it, your options are to update to the external spring and discard the conical ones, or obtain the older link and have the choice of using either spring, or even both.
Thanks again for the info, I really appreciate it. I’ve already got spare external springs, so I think I’ll go that route and see how it goes 👍🏻
 
Okay, Ant,

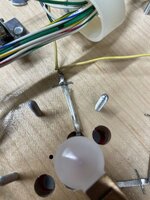
Looking at the re-assembly pictures again, I've just noticed a common trap you may have fallen for, or maybe repeated. The thin washers on the rods of the jet bumpers belong above the metal linkage, at the top of the threaded section of each rod. It seems counter-intuitive, but it is the correct location. Apologies if the ones visible are additional ones, btw.
 
The thin washers on the rods of the jet bumpers belong above the metal linkage, at the top of the threaded section of each rod. It seems counter-intuitive, but it is the correct location.

Thanks again Jay! I’ve just checked my reference photos I took when I disassembled everything and it looks like I repeated someone else’s mistake 😂. These are the little things that you learn for the next one 👍🏻
 
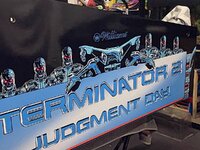
I’ve been working on the cabinet a bit more over the last couple of days.

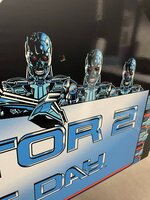
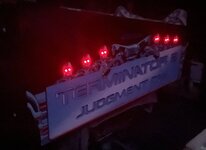
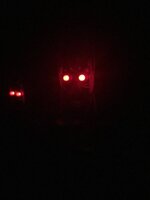
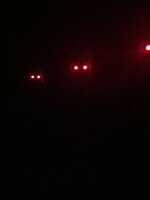
As the game will be placed on its own in my my games room when completed, I decided to install led in the eyes of all the T800’s on both sides of the cabinet to try and get the iconic look of the glowing red eyes from the films.

Due to the amount of wires, the plan is use a a small power distribution board that has an adjustment screw so the brightness can be turned up or down if needed. Power to this will come from a separate power board for that will run all the mods.


04CB9BF5-EC73-426B-A830-6DAC3F7C8167.jpegD9ADB155-6948-41BC-BF92-66EAA2D66919.jpeg1DDACB5C-0A61-4E54-8B9B-9E409BCBB5B3.jpegAB8E0A30-51B0-497C-AD99-02AEADC67758.jpeg237055FE-334C-4AFE-A777-D428E6DDB2C3.jpeg724DEBFD-244A-4CCF-80F8-951A74A17135.jpegC0B01E8F-0721-4B6E-934E-8DE7FB5F7659.jpeg
 

Attachments

  • E031C936-12D9-4CCE-BB12-14B6A668E2C4.jpeg
    E031C936-12D9-4CCE-BB12-14B6A668E2C4.jpeg
    21.4 KB · Views: 4
Back
Top Bottom