Pinball info
You are using an out of date browser. It may not display this or other websites correctly.
You should upgrade or use an alternative browser.
You should upgrade or use an alternative browser.
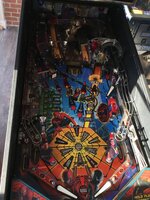
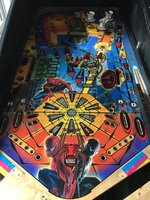
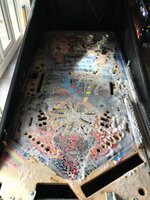
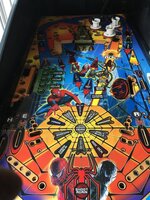
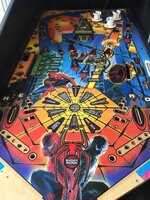
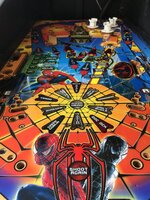
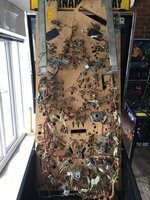
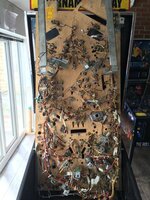
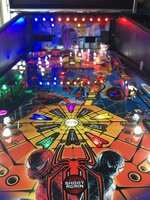
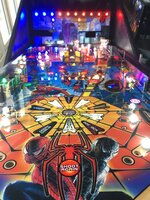
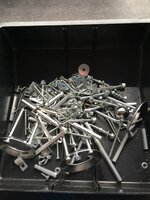
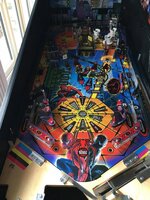
Complete Spiderman workshop
- Thread starter chris b
- Start date
That's enough for today back to it tomorrow
just hand polishing chris
That's it I've decided when I do get to my IJ I'm wheeling it round to yours for a two day stay while I do the cab!!just hand polishing chris
 Great work Chris
Woah good stuff Chris. Whenever you sell games I see you offer an as-is and a workshopped price so I appreciate the time and effort that goes into that, well worth the extra money to have it done expertly. Most of us have neither the tools, materials, skills, experience or time to do it half as well as you.
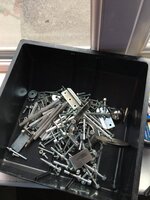
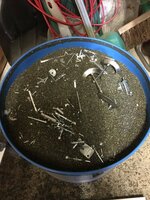
How are your hands not covered in cuts and scratches? Typically what gets replaced? Do you use powered screwdrivers and nut drivers? What do you clean the topside plastics and ramps with, that tfr (never seen that mentioned before) stuff? Dishwasher? Toothbrush and washing up liquid?
Looking forward to the next instalment. You could make expert videos of the process and put on YouTube or even sell them, saddos like me would love to watch.
Last edited:
Very impressive work.

This is a great learning tool, thanks for sharing this with us Chris. I'm now learning how to shop a pin correctly. I can see Rosie getting some of this treatment soon, she's had a bit of a clean but I only stripped 1 area at a time.
I'll struggle with doing 1 pin but it looks like your shopping 3 pins at the same time! Well done
I'll struggle with doing 1 pin but it looks like your shopping 3 pins at the same time! Well done

I'd never use power nut drivers. Just as easy to have a ratchet socket driver and no chance of slipping and breaking something. You definitely need the right tools.
I find the hardest part is trying to remember where everything goes back. I try to take as many pictures as possible.
I'm currently looking into playfield restoration. Filling, sanding, airbrushing, fine detailing and clear coating.
Any tips on this @chris b ?
I find the hardest part is trying to remember where everything goes back. I try to take as many pictures as possible.
I'm currently looking into playfield restoration. Filling, sanding, airbrushing, fine detailing and clear coating.
Any tips on this @chris b ?
I'd never use power nut drivers
You'll be surprised how quickly you'll change your mind on this after doing a few games. For stripping a game down it's so much quicker to use a power driver

I can just imagine them flying off everywhere and rounding half the bastardos off. I have a game to strip down soooo i will retract that statement and give it a goYou'll be surprised how quickly you'll change your mind on this after doing a few games. For stripping a game down it's so much quicker to use a power driver

I tend to use a power nut driver for removing but use hand tools to replace/tighten.
obviously you need a variable speed driver not just a binary on/off type
obviously you need a variable speed driver not just a binary on/off type
Try and get a sh1thouse donor playfield of any old game first that is completely shot. You can then hone your skills without worry.I'd never use power nut drivers. Just as easy to have a ratchet socket driver and no chance of slipping and breaking something. You definitely need the right tools.
I find the hardest part is trying to remember where everything goes back. I try to take as many pictures as possible.
I'm currently looking into playfield restoration. Filling, sanding, airbrushing, fine detailing and clear coating.
Any tips on this @chris b ?
When you mix your paints, test them on an OHP transparency laid on the playfield. Don't forget they change colour as they dry. If you are touching up an area that is down to the wood, put some white paint down before you do the colour work.
I can just imagine them flying off everywhere and rounding half the bastardos off.
On most SS games (80's on) you should have no problems unless it's been exposed to the elements. You have to be a bit more careful on the older stuff (mainly EM's) as there's been more time for corrosion to set it. Zacc EM's are notorious for having **** metal used for playfield posts for example. I sheared a few off when I restored my old Aerobatics and that was using hand tools and being super careful.
Thanks Andrew. Been looking into it for awhile now so done plenty of research. Wouldn't let myself loose without practicing plenty of times first.Try and get a sh1thouse donor playfield of any old game first that is completely shot. You can then hone your skills without worry.
When you mix your paints, test them on an OHP transparency laid on the playfield. Don't forget they change colour as they dry. If you are touching up an area that is down to the wood, put some white paint down before you do the colour work.
What you basically have to do is build up the paint below the level of the existing clear coat. Then clear coat it on top above and rub it back down. All of course without damaging the surrounding playfield.
Should be good fun.

Thanks for posting this Chris, looking forward to the next instalments
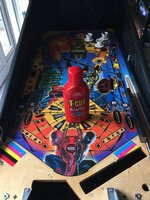
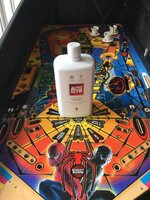
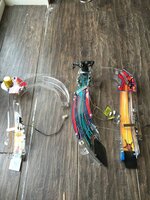
Nice to have so many replies so i will try answer a few questions first dan my hands are always cut to bits lol as for the plastics ramps ect again tfr i will post a pic at a later date of the bottle
i always use a power driver its just a cordless drill with adjustable speeds and tightness settings this saves loads of time mainly on the underside of the playfield
darren i dont really get involved with playfield repairs sorry i cant help there
i always use a power driver its just a cordless drill with adjustable speeds and tightness settings this saves loads of time mainly on the underside of the playfield
darren i dont really get involved with playfield repairs sorry i cant help there

