With that cap changed and voltages all re-checked and looking good it was time to put the new Alltek CPU board in. Yay ! :bounce: Exciting !
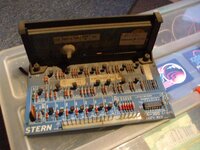
Heres a look at it again

Its a nice piece of kit, about half the size of the original board, all modern higher spec surface mounted components, chips socketed. There a re a few things to select on the board before installing.
You don't need to add any game roms as the board has one ROM that covers a whole range of classic Bally and Stern games. To set the board for the game you require you manually set the 'Game Select' dip switches (bottom of board to left of ROM) to a the correct positions, unique to each game. These are listed on the instructions.
There are 2 jumpers/links - top left in photo - that are to do with the clock speed, these have 2 possible positions depending on whether its a Bally game or a Stern game. These were set to Bally so I had to move both to select Stern.
Finally there is the bank of dip switches ( on the right of the board ) for all the various game options ...hi scores, number of balls, replays, extra balls etc etc. These are all listed in the game manual. I basically looked at the important ones for now and will worry about fine tuning game rules later.
There is also a handy 'Self Test' button on the board (right side), which basically does the same as the button on the coin door ......gets you into game diagnostics. And a 'Clear' button for completely wiping the memory for a fresh boot if you are changing between games.
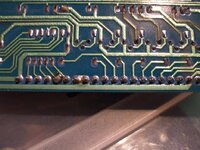
Here it is side by side the old one ...and a closer look at the dip switches


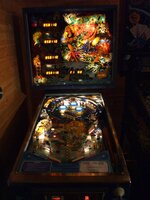
So time to cross fingers, install and fire it up :biggrin1:, you can see it takes up about half the space on the mounting rail as the old one.


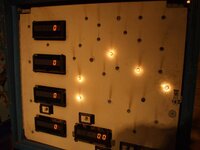
Annnnnnd ...it booted up first time no probs ! Boom ! :rockon: (not literally thank god) there are 3 handy LEDs on the board - the top one is CPU Self Test , on booting this flashes a certain number of times accompanied by 7 'bongs' to let you know everything is fine. It then glows dimly once booted. The middle LED indicates any over voltage issue - so should remain unlit. And the bottom LED shows there is +5v to the board is good.
You can also see along the bottom all the test points conveniently grouped together.
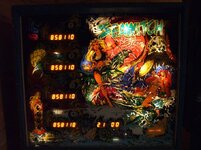
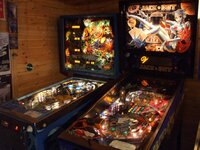
And the good news on booting is all the displays show some signs of life ! Though some are flickering on off etc, will look at that. And the playfield springs to life with feature lights all dancing on and off in attract mode - though lots of the bulbs seem either blown or flaky sockets. Still - beginning to look like close to playing a game :biggrin1:


")
")


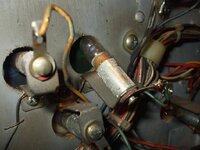
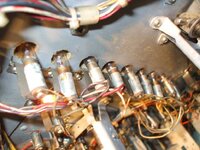
 .....I did my research and it was highly recommended that the C23 capacitor on the solenoid driver board was more than likely past its sell by date and should be replaced.


 arty:
arty: