What's new
Pinball info

Register a free account today to become a member! Once signed in, you'll be able to participate on this site by adding your own topics and posts, as well as connect with other members through your own private inbox!

Mini Shop Jobs - SURFER, CFTBL, Other

First weekend of Christmas break has begun for me. I don't have to go into the office until January 4th. That means I can do some catching up and finally start getting my Surfer back together. I spent the day polishing metal in my basement. It made a mess, and took forever to wipe up the metal dust, but I finally got it looking good enough to re-assemble.

Note on vinegar. I won't be using this method in the future. While it did remove the rust, it tarnished the metal. I spent more time trying to get it shiny again than I would have if I had just wire wheeled it. Oh well. It was worth a try.

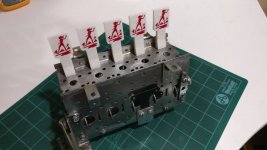
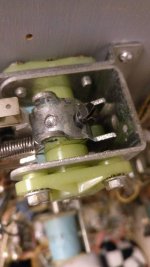
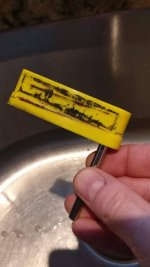
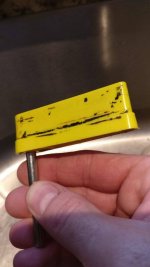
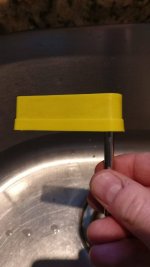
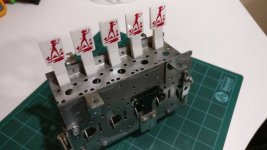
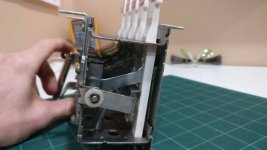
Here's what the bank relay looks like now.
1.jpg 2.jpg

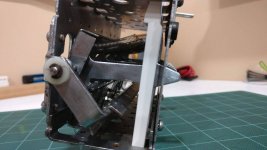
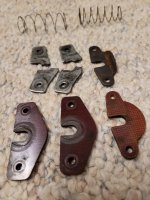
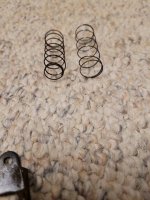
New springs on the drops and on the arms. The springs that were originally installed were all the same. I have the correct ones installed now.
3.jpg 4.jpg

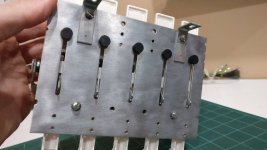
Here's the back. It got a coat of wax along with some of the other pieces of metal.
5.jpg

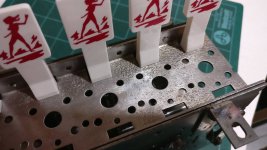
Here's the top. As you can see, the metal is still pitted. I wasn't able to get the pitting out as it's just too deep. I was able to remove the rust and get it shining again. I've added a bit of wax to keep the rust under control.
6.jpg

Tomorrow we head out to the tree farm for our Christmas tree, so I don't know if I'll be able to re-install it back into the pin. Getting the tree tends to wear me out.
 
Last edited:
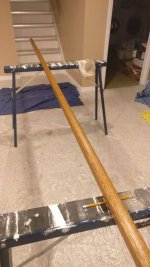
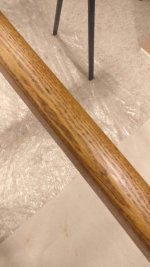
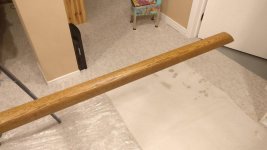
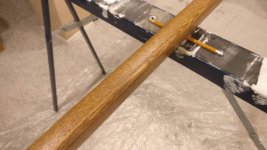
No pinball updates. Working on getting my baseboards and casings back up. While I'm waiting on delivery, I pulled the handrails off the stairs. I sanded them down, and applied some stain that was leftover when they redid my floors. The handrails (banisters) have probably never been touched since the house was built back in 1968. 50 years and they finally get a smoothing and a makeover.

2.jpg 1.jpg

3.jpg 4.jpg

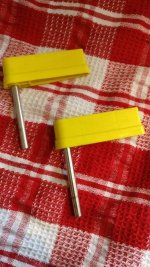
Oh, and I guess I have a minor pinball update. I removed the right flipper from my Surfer. It's time it gets a makeover too. The left flipper I already rebuilt, but the right I was waiting on. Honestly, I just wanted to play the game for a while before removing it. I had just fixed up the rollovers, and drop targets and missed playing it so I was waiting.

I started playing, and I don't know if it was just in my mind or what, but the right flipper definitely felt sluggish and weak compared to the right. So out came the right flipper.

5.jpg

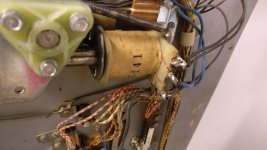
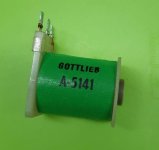
The coil is original. It has a brass sleeve inside it. I had to hammer the brass sleeve out. It took a good 10 minutes to free it. The coil doesn't look like it's swollen or damaged but it's served it's time so I ordered a replacement. Either way, I needed a new sleeve for it and I didn't think the new plastic one would slide in easily so I just ordered the entire thing. Here's the coil I ordered.

6.jpg
 
Alright, it's been a long time since any updates. Sorry!

Finally got my second SURFER flipper rebuilt. It came out really nice. Installed into the game and tightened down the set screws to the flipper pawl. Played a game and noticed the left flipper was just a wee bit out of alignment with the right one so I lifted up the playfield to adjust it. And then this happened...

1.jpg

FUUUUUUCK!!!!

So I tried drilling out the set screw but after 5 minutes of drilling I didn't make much of a dent. I ordered some screw extractors from Amazon. They are supposed to be here tomorrow. Thankfully the other set screw came out with out much effort. I won't lie, I prayed that the head wouldn't snap off the second one. While researching the replacement part number I found a bunch of posts and wiki repairs basically saying these set screws are all garbage and that they should be replaced with Allen screws. So I removed the two set screws from the right flipper as well. Luckily these didn't snap. Now I just need to find replacements.

More updates...

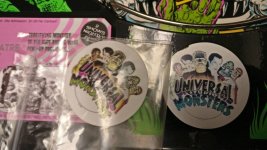
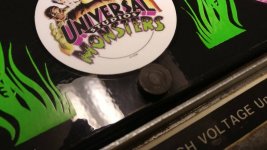
I received a new Monster sticker for my Creech. Really nice one! Here's a side by side comparison of my old one and the new one. I honestly had no idea the one on my apron was so bad but it really stood out when I compared the two!
2.jpg

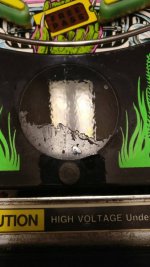
And here is the old sticker removed. I'm using Goo Gone to remove the residue. This is after about 5 minutes of removal. No, I still haven't got rid of that overhead light fixture. Soon I promise!
3.jpg

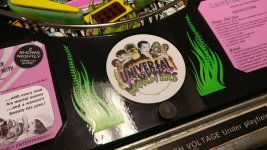
Here is the new sticker applied. Lining it up wasn't too bad. I had the shadow of the old sticker to help with positioning. Plus the new sticker has a little numeric code centered at the bottom to help with lining it up perfectly.
4.jpg

5.jpg

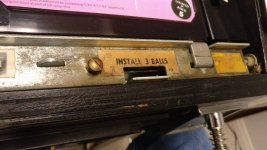
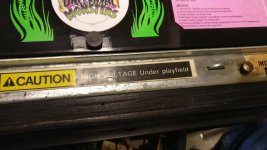
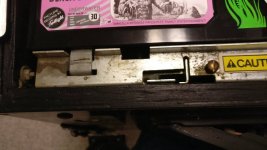
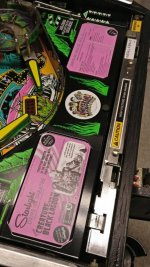
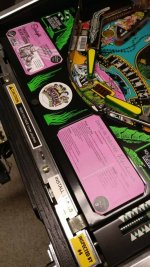
And while I was at it, the one thing that was still driving me nuts about this nearly perfect Creature pin was the lockdown mechanism. Every time I pulled off the lockbar I had to look at that dirty lockdown mech. Gross stickers, faded stickers, torn, dirty, and just unsightly. I don't know about you guys, but I have the glass off my pins a lot. I would guess I have the glass off every couple of days. Not to wax, although I do do this, but just to tweak something, remove dust off something, or work on something I've been meaning to fix or clean up. So I see the lockdown mech a lot. I couldn't stand it any longer.

I have never worked on a lockdown mech, so I wasn't sure how long this was going to take. Fortunately its a stat holiday here in Canada, so I dove right in! Removing it wasn't that bad. 3 nuts and 4 set screws and out it came. Here's how it looked before I shopped it.

6.jpg 7.jpg 8.jpg

And one more...

9.jpg

I took the brass wheel to it for about a half hour. Then went over it with a clean brass wheel, and polished it more with Flitz. This combo has really been working for me so I've continued on with this method.

I already had bought new stickers for the backbox and apron (see my earlier posts), and the lockdown mech stickers were ordered at the same time. Sometimes I do manage to think ahead. I also took a toothbrush and some ISO to the ground braid that runs just underneath the lockbar mech. It was covered in years of dust, debris, and filth. Anyway, after about and hour it was cleaned up. Here's how it came out.

10.jpg

11.jpg

I think it looks pretty awesome! Especially with the new stickers, and the new Monster sticker and my custom 'hot pink' apron cards! The only dirty spots left to be cleaned up are the service arms that hook into the lockdown mech, but I'll save those for another day.

Oh, and there were a couple other things I did today that you might be able to spot in the photos if you have a keen eye! If not, I'll post another update soon and reveal what I did then. So suspenseful!!! Ha ha!
 
Last edited:
Alright, here's one of the other things I was working on. Flippers got a deep cleaning. I know most people would just replace these, but there's nothing wrong with them other than they are covered in old rubber that seems to be baked on. I absolutely cannot stand seeing old rubber poking out from under the rubber that is installed on flippers. It's just gross.

Here is a close up of my flippers prior to me working on them.
1.png

Here's what the flipper bat looked liked when I took it out of the machine and removed the rubber. Any of you familiar with this crud already know how difficult it is to remove. It's impossible to hand clean.

2.jpg 3.jpg

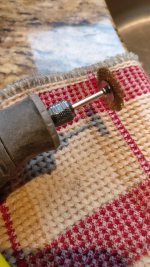
So once again I busted out the brass wire wheel, but this time Dremel sized. I bought these ****ty little Dremel wheels from Amazon. They are absolute garbage at high speeds. Great for spinning brass wire bits into your skin like little acupuncture needles but not great for any deep cleaning. SAFETY GLASSES ARE MANDATORY with this dumbass thing.

5.jpg

You don't need to apply much pressure, but some is needed. I had the Dremel set to "6", but I don't know how many RPMs that equates to. Flipper bats with this kind of crud are normally impossible to clean. Most people just replace them, but it's difficult to get parts in Canada. They are available, but COVID is making it difficult and then I want to make sure the Williams W is stamped in the proper orientation on the bat and not reversed as well. This usually requires calling the vendor. Anyway, it's just a hassle and cleaning the bats with the Dremel took maybe 5 minutes per bat. Here's how they turned out.

4.jpg 6.jpg

Practically new right? A little bit of time and patience and I just saved myself $12USD plus stupid shipping costs to Canada, not to mention a 3-4 week wait for delivery.

Here's the part number from Marco. This one has the W oriented properly. It's also OUT OF STOCK (one less hassle to deal with).
https://www.marcospecialties.com/pinball-parts/20-10110-6

Here's the other part number, with the W oriented incorrectly. I don't know why they even sell these.
https://www.marcospecialties.com/pinball-parts/20-9250-6

Here's the final money shot. Flippers cleaned up, aligned properly (thanks to my daughter for her help with this) and new Super Bands installed. I had Glow In The Dark on the flippers before, but the glow really doesn't do anything unless you have black lighting, so it just ends up being a muted green. Boring. The Super Bands are much nicer. I've corrected how the rubbers are sitting on the bats now too. In the image they are riding up high. I've correct this since the photo.

7.JPG
 
A couple updates.

First, Surfer. I have this one back together and it is playing great. This pin taught me a lot, but it's time to let her go. I have decided to sell her. $1200CAD or best offer. No bites yet. I'm not in a rush to sell so I'll wait. If summer gets here before the pin sells then I'll probably start working on redoing the cabinet. I've always wanted to give it a try and the cabinet definitely needs some TLC.

On to Creature... My right pop bumper wasn't firing, so I lifted the playfield (nice shiny lockbar mechanism now) and adjusted the leaf switch. It was better, but still wasn't great. The coil fired without any issues, but there just wasn't a lot of chaos happening up there. At least it seemed less chaotic.

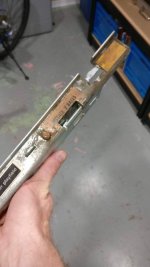
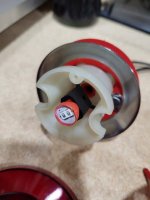
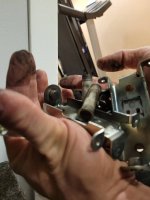
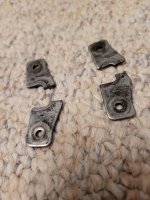
I decided to remove the pop bumper mech underneath and found this.
1.jpg

So, I decided to check the left pop as well.
2.jpg

So far I'm two for two here. I wonder if the third one is also broken? Nope.
4.jpg

That part doesn't look right. Surprisingly, the odd part out was the one pop that was firing the best. Looks like someone made a repair in the past with whatever parts they had in their toolbox. The springs were different as well. The one on the left is tapered.
5.jpg

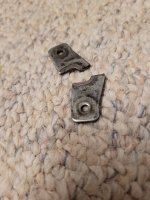
So, I'm sure you all know how this goes by now. Pinball in general is like a tap that just won't shut off. Removing everything on the bottom of the playfield of course meant that this happened...
6.jpg 7.jpg

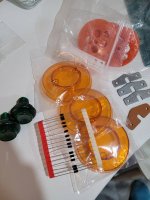
Which of course led to a parts order. I think I'll see if amber looks nice instead.
11.jpg

Nope. It didn't. My daughter voted for the original red caps/skirts. The main reason she cited was due to the red silicon cap on the JACKPOT LED in the snackbar sign. Fair enough. Yes, I know a lot of you use teal.

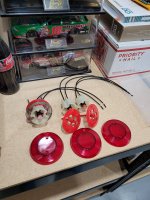
Since I have the pops out I might as well outfit them with LEDs now...
10.jpg

Of course the LEDs wouldn't fit under the caps unless I removed the domes. Hopefully the LEDs aren't too bright when they go off. I'll test them first.
9.jpg

Assembly.
8.jpg

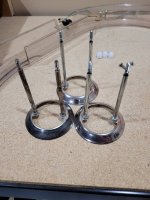
And like always the old rings get a good polishing with Flitz. I really wish I had discovered this stuff years ago! One ring still needs to be polished in this photo.
13.jpg

Back in the pin. Tomorrow, I'll get underneath the playfield and get it re-assembled.
14.jpg
 
Last edited:
Nothing like a fresh sets of pops. You won't believe how powerful they'll feel after this!
 
How are your lights wired up because they didn’t have them originally. Too hard to change the bulbs on site with the ramps in the way.

I wired mine up to flash with the pops but some just have them lit all the time. What have you got?
 
I'm not sure yet. I'm leaning on going this way.
https://pinside.com/pinball/forum/topic/cftbl-pop-bumper-mod#post-290729

For the above, I like the patterns that happen during attract mode, but I'll have to see how flashy it is during a game. If I go this route I'll wire it so that the lightning bolt opposite the pop is the one that flashes.

@Calimor What way did you wire it up? [EDIT] I see you connected to flash with pops. How did you wire?
 
Last edited:
@Calimori the korn website a lot of these pop bumper mod posts reference is gone. 404 error. Where do you have everything grounded to?
http://www.thekorn.net/cftbl/howto.html

I would like to avoid using terminal blocks. I'm not a fan of the look. I'll probably just solder right to the triangle board and add a resistor inline to tone down the brightness.

I see you're tapped off the coils, so yes that would definitely need heavy resistors.
 
Finished rebuilding my pops on the weekend. Cleaned off all the carbon. We've all been there.
1.jpg

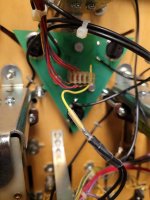
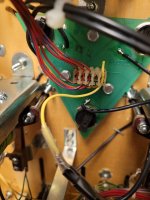
Here's how I wired the pops from underneath the playfield. I'll try the pops out for a bit and see if want to keep it this way.
2.jpg

3.jpg

Here's a video link so you can see what it looks like. Pops only area.
https://photos.app.goo.gl/sm95brw1aJLrhjqt5

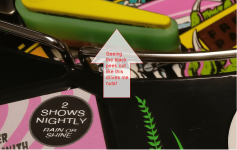
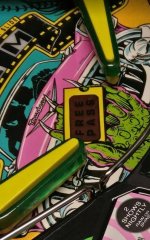
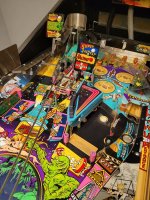
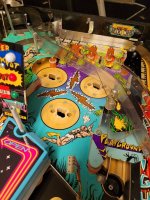
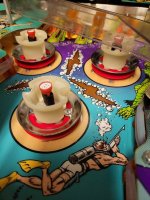
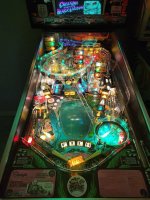
Here's a top of the playfield photo. The green is a bit washed out from the camera. You can see the pops lit in the back corner. One is blocked by the snackbar sign.
6.jpg

Short video.
View attachment 5.mp4

Pops are firing really well now. I have them tightened up, but not so close that they want to misfire from a good nudge.
 
Back
Top Bottom