Bobbdobalina
Site Supporter
I’ve never married and never will!
And that’s the frustrating and sad thing, you work hard for everything and then get told the ex wants half! It’s just wrong on all levels.Divorce is a swear word in my house, split with my wife nearly 8 years ago. Gave her the luxury villa which I paid for before marriage, I was also mortgage free before marriage, She put zero money into the marriage. So! now I’m going through the divorce and have just filled in the E form which you have declare everything including my pinball collection.
She wants half of everything now. I’m battling cancer and now battling for what was mine for 33 years my Home, marital home for less than 9 years.
Im sure the pinball machines is the last of his worries.
My bro had just finished building a dream home (£2.5mil) for his family in London and she kicked him out and has been after everything else he worked for, I can’t believe what the barristers are chargingAnd that’s the frustrating and sad thing, you work hard for everything and then get told the ex wants half! It’s just wrong on all levels.
 Nightmare for him, lost his kids as she turned them against him. Nightmare!
17 years with me other half and she's finally given up askingI’ve never married and never will!

I’m never ever getting married after reading this thread.

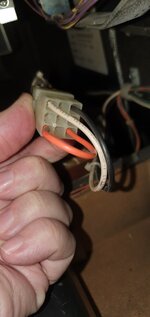
Check the voltage has been switched to UK.Gary,
Lower cabinet main serial number sticker states it was made for Germany and coin door sticker serial number matches the lower cabinet serial number so coin door is original. 2 slots have Euro denomination and one has DM so clearly still on route and updated when euro arrived.
When you find them all let me know what you have and prices for the parts you have. I don't think I have the hang up plastics.
Paul
My Creech is the same, 2 euro slots and a DM slot.Lower cabinet main serial number sticker states it was made for Germany and coin door sticker serial number matches the lower cabinet serial number so coin door is original. 2 slots have Euro denomination and one has DM so clearly still on route and updated when euro arrived.
Looks like it has been done already. 1=11, 3=9, 7=10 when reading left to right then top to bottom with locking tab of jumper plug at the bottom.Check the voltage has been switched to UK.
Looks correct to me. 1= black 7= white and 3 jumpered to 9. Same as my creech and as per p11 of schematics for early wpc games which only jumper for 230v and don't differ between 220v and 240v unlike later wpc95 games.My Creech is the same, 2 euro slots and a DM slot.
Looks like its been jumpered for 230/240?
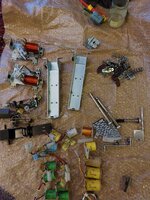
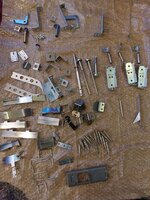
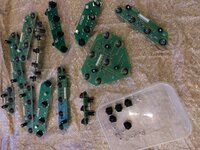
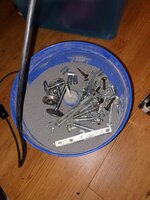
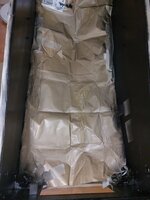
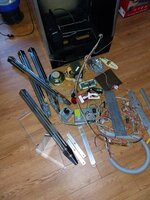
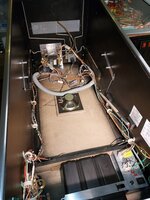
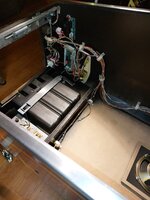
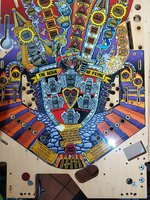
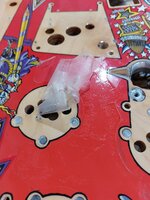
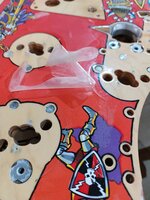
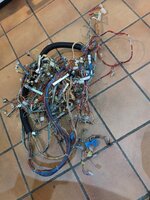
Now you're in DEEPLooms now stripped from playfield