Not pinball related, other than the LED strip could be used in nodding pinballs.
I started with a basic IKEA table.
Then cut out the middle, as shown
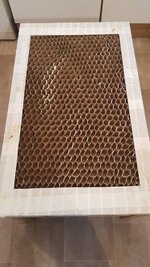
Whi knew it was just filled with cardboard?
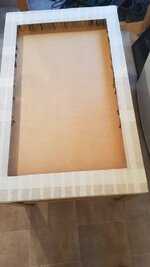
Then, and I can't stress this enough, remove all the dust created. It's essential.
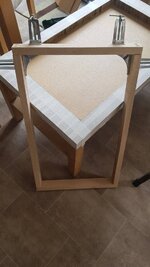
Then an internal frame needs building.
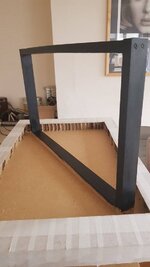
And painting black. The major mistake I made in this whole project was buying the wrong thickness wood. It should have been 38mm x 25mm, but I mistakenly bought 45mm x 25mm. This will impact later on.
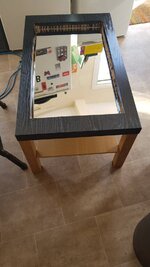
Then a mirror goes inside.
I got a company to cut to size an acrylic mirrored sheet. (Both price and delivery time were impacted due to the current demand for sneeze guard plexiglass sheets.)
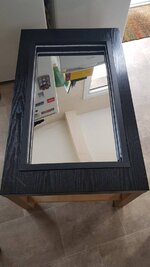 Frame then goes inside, after a hole has been drilled in the side of the frame and a corresponding hole in the base of the table.
The LED strip is then put around the inside, and the power cable pushed through.
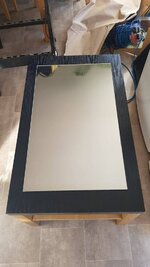 Then a one way mirror is placed on the top. I had the same company cut me an identical sized sheet of clear acrylic. I bought some one way mirror film and used that to get the one way mirror effect.
The most important part of the whole process is ensuring that everywhere is as dust free as possible.
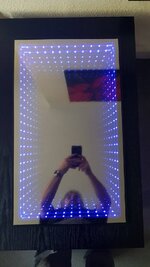
Finally, turn on.
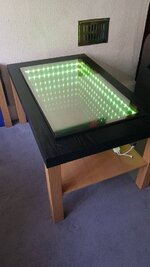
I started with a basic IKEA table.
Then cut out the middle, as shown

Whi knew it was just filled with cardboard?

Then, and I can't stress this enough, remove all the dust created. It's essential.

Then an internal frame needs building.

And painting black. The major mistake I made in this whole project was buying the wrong thickness wood. It should have been 38mm x 25mm, but I mistakenly bought 45mm x 25mm. This will impact later on.

Then a mirror goes inside.
I got a company to cut to size an acrylic mirrored sheet. (Both price and delivery time were impacted due to the current demand for sneeze guard plexiglass sheets.)
 Frame then goes inside, after a hole has been drilled in the side of the frame and a corresponding hole in the base of the table.
The LED strip is then put around the inside, and the power cable pushed through.
 Then a one way mirror is placed on the top. I had the same company cut me an identical sized sheet of clear acrylic. I bought some one way mirror film and used that to get the one way mirror effect.
The most important part of the whole process is ensuring that everywhere is as dust free as possible.
Finally, turn on.


 No idea what happened to it.