What's new
Pinball info

Register a free account today to become a member! Once signed in, you'll be able to participate on this site by adding your own topics and posts, as well as connect with other members through your own private inbox!

Complete IMDN Iron Maiden Pro - Cleansing of the Beast

Fubar

Site Supporter
Joined
Feb 5, 2020
Messages
1,715
Location
Cambridge, UK
Alias
Thomas
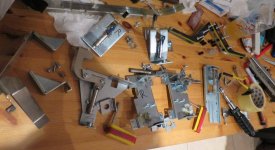
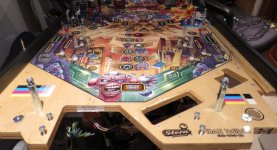
So I've been playing this a lot (it was my only pin for a while), and now that I finally got another one to satisfy my daily cravings, I can take this one offline for a good clean. Get all the mechs cleaned up, shiny ramps, etc.

I've condensed most of the pictures in the first 3 posts:
  1. (this post) Disassembly
  2. Cleaning & maintenance [link]
  3. Reassembly [link]
Figured I'd start with the bottom half as it's the first bit to come out of the cab. Got lots of pics for reference, will keep them for before/after comparisons later on. Just one for now :)
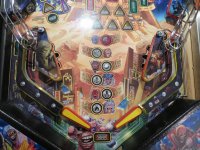
IMG_3581.JPG

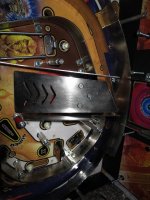
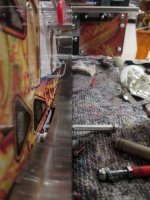
Getting the trough and autoplunger assemblies out was a bit of a faff as the playfield support got in the way. I'll try to find a better way when I put them back together.
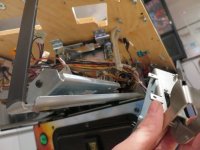
IMG_3588.JPG

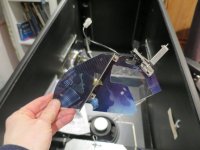
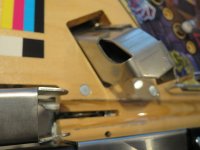
When removing the trough, be extra careful here !! The ball guide at the end of the eject is very sharp and will scratch the playfield as soon as it starts moving. It needs a good file before it's allowed back in there!
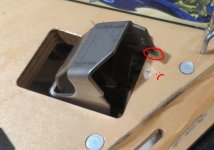
IMG_3599.JPG

Other bits came out with no problems
bot_assys_before.jpg

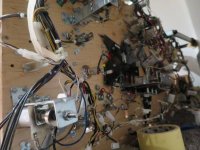
Ghetto dangling coils :D As you can see some of them are a bit sooty and all will get new sleeves...
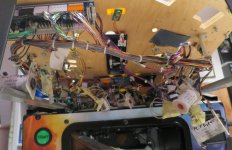
bot_under_coils_dangling.JPG

Things were going fairly smoothly...
bot_stripped.JPG

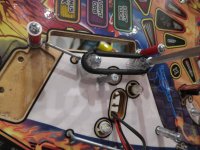
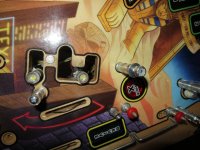
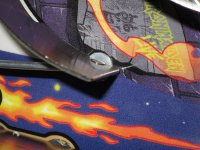
...until I had 2 bad surprises 😢 Only spotted these after removing plastics, not terrible I guess. Will try the dabbing/IPA method to paint the playfield. Also needs a thin washer added in each case I think.
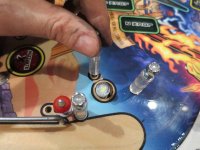
chip_shooter.JPG chip2b.jpg

Oh well let's distract ourselves with a game of "Spot the Difference"...
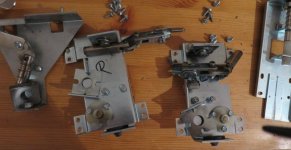
flipper_assys.JPG

Funnily enough, the flipper worked just fine even though the eos switch wasn't triggering.

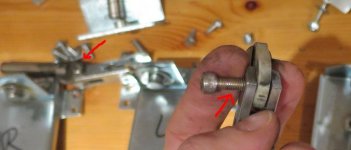
Moving on - this hex screw connecting the plunger always has its thread chipped away which introduces slop grrrr.... It's not as bad as my spiderman was, but still is there any better replacement - something without the thread in that area? Only 50p I guess...
flipper_bolt_wear.jpg

Enough for today - played a few games against the BK (got pummeled lol). Next task will be getting all these mechs clean and out of the way, then I'll be taking the playfield out to do the top half.

In the meanwhile I've started a shopping list at pinparts.co.uk.... I'll post it once I know everything that's needed.


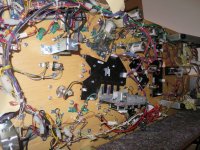
Got the playfield out of the cab with the help of my beautiful wife (not pictured you animals!) - piece of cake! The most difficult part was unplugging the RJ45 from the playfield node board.
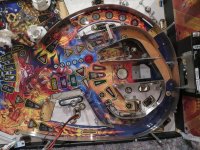
IMG_3620.JPG

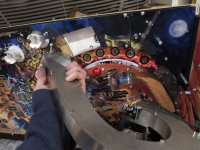
The ramps have this bolt under the entrance - nice design imo, keeps it nice and secure.
IMG_3627.JPG IMG_3628.JPG

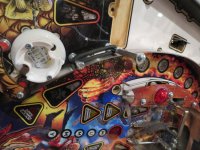
There's a rubber there! Right pain to change, unsurprisingly it hasn't been upgraded to the red silicone ones like the rest :p
IMG_3633.JPG

Taking the plastics off was a breeze - this was literally the most difficult bolt to get to.
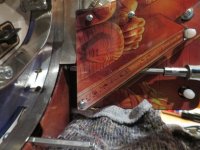
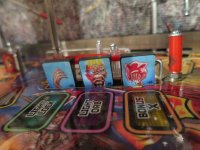
IMG_3636.JPG

Mmmm.... Geometry....
IMG_3637.JPG

...and with the ball guides off. Good news - no more bad surprises! :clap:
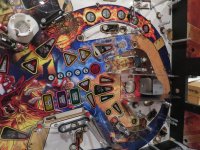
IMG_3638.JPG

BTW these ball guides take up a ton of space... I wonder where I could put them out of the way?! :D
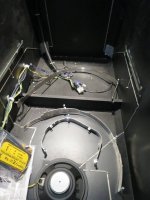
IMG_3653.JPG

Think I'm done stripping for now. Also took all of the mechs/assemblies out - drop targets, up posts, pop bumpers, etc. (forgot to take pics, will do this weekend) - for some reason I find pops really obnoxious to work with.

Placed my order with pinballmania - got new sleeves for all the coils; bushings, plungers, stops, springs for the flippers; skirts, spoons for the pops; new star posts for the slings, and uh random bits and pieces I don't remember now :) Time for bed!
 
Last edited:
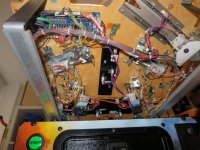
Now the less-fun part, cleaning everything up...

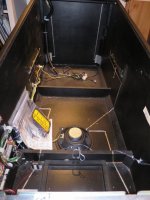
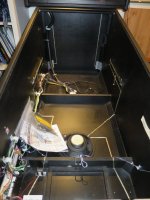
Let's start with the cab - just needed a good wipe & hoovering. Before/after:
IMG_3659.JPG IMG_3660.JPG
("Like new - goodie bag still stapled in.", he says :p)

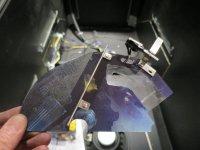
Next: polish all the plastics - used water and Novus 1. Don't use IPA on the bottom side because it will remove the print. Here's one particularly nasty example which turned out well:
IMG_3634.JPG IMG_3675.JPG

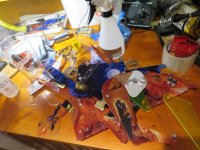
Spent an hour videochatting with my Dad whilst polishing a pile of plastics...
IMG_3657.JPG

The playfield was also quite dusty (and I've ordered a replacement for that rubber!!):
IMG_3640.JPG

Doing 3 passes on the playfield: first with diluted IPA to get most of the muck off. Second with Novus 2, scrubbing hard, until a fresh wipe doesn't come back black. Last pass will be with pure IPA to remove any residue. (But probably after I've reinstalled the ball guides.) Before/after:
IMG_3652.JPG IMG_3658.JPG

One area where I'm not sure what to do is where the big center ramp starts - the metal has dug into the playfield and dirt's pretty wedged in. Tried scrubbing with Novus 2 and my nails, but it won't budge. I'm a bit afraid that going at it with something stronger will just worsen the damage, where it doesn't really matter anyway (invisible once ramp is installed). Suggestions gratefully received :)
IMG_3661.JPG

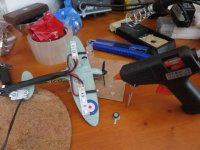
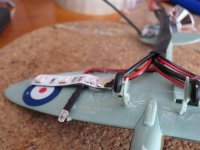
And since I had the soldering iron under the playfield to get the pops off, I decided to sort out that plane mod which was installed using croc clips :rolleyes:
IMG_3673.JPG IMG_3674.JPG

I'm trying my hand at polishing, gave all the metal parts a good scrub - currently at medium grit, will need one more pass with the fine grit. Ramps are a pain, won't be able to achieve full coverage with my ghetto setup. Ball guides OK, but in hindsight I should have probably sanded the deeper marks out first with some coarser grit. Oh well, next time. Haven't finished yet, so just one pic for now - will update once done :)
IMG_3655.JPG


Kept procrastinating when it came to cleaning the trough. And omg was that thing filthy! Wipe after wipe just came out black, the worst being that small welded plate on the kicker assembly 🤦‍♂️ Resorted to hitting it with 2000 grit sandpaper to try and unlodge the dirt, think I got most of it but eventually decîded to call it a day on the basis that it was quite shiny indeed.
IMG_3690.JPG

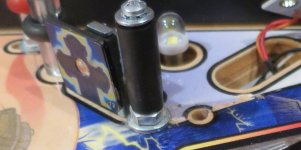
Oh well. In the interest of making my balls last longer (because no one likes pitted balls), I also gave the bumper rods a good polish...
IMG_3693.JPG

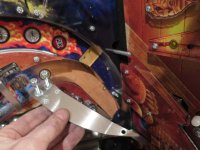
...aaand hit this ball guide with a file to round the edges (junction between right orbit and inner loop).
IMG_3692.JPG

The autoplunger got the same treatment - always thought that thing was super sharp and would accelerate ball wear, so worth 5min with a file and finish with 600 grit.
IMG_3708.JPG

Finally, I managed to break the nicest toy when taking it apart :( Luckily it was an easy and discreet fix.
IMG_3704.JPG IMG_3705.JPG
 
Last edited:
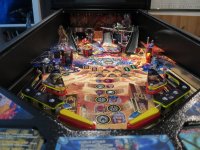
Putting things back together is the best bit (obviously). I got some new bits, mainly coil sleeves and flipper parts as required (the plungers and stops were badly mushroomed). Oh and skirts, because we all love skirts.
IMG_3677.JPG

Having polished all the metal bits, those go in first.
IMG_3684.JPG

Shiny! 🌟
IMG_3682.JPG

Still waiting on the bolts for the flipper assemblies, so started putting the others back in - drops, up-posts, bumpers...
IMG_3686.JPG
IMG_3694.JPG

Pops back in - got new spoons and fiber links. Brackets look quite shiny still, and no signs of mushrooming on plunger or stop.
IMG_3703.JPG

Finally it was time to put the playfield back in the cab
IMG_3709.JPG

Bolt on the remaining assemblies... The trough needs to go in before the autoplunger. Then there's a really annoying nut to put in grrrr.... anyway managed it in the end! :)
IMG_3710.JPG

And she's ready -- or is she?! (another game for you to play)
IMG_3711.JPG
 
Last edited:
It's incredible really how modern, HUO games still cop such a battering and get dirty over time. I think every other shop log I've seen the game would have been routed at some point in its past.

Shame about those chips. 😕 What's the method you're referring to?
 
Shame about those chips. 😕 What's the method you're referring to?
The idea is to dab the playfield with a marker pen, then quickly wipe it with some isopropyl alcohol. This taints the wood slightly - repeat until the correct hue is attained. To be absolutely honest, I've never actually tried it, so I'm pretty nervous! These little marks are probably a good place to start though - very small and out of sight 😇
 
The idea is to dab the playfield with a marker pen, then quickly wipe it with some isopropyl alcohol. This taints the wood slightly - repeat until the correct hue is attained. To be absolutely honest, I've never actually tried it, so I'm pretty nervous! These little marks are probably a good place to start though - very small and out of sight 😇

Sounds sketchy :)
 
Good effort on the clean 👍
Yeah shame about the chips 🙁
Out of interest I do remember a debate a while ago on the forum about the difference between purchasing HUO and non HUO. I think, in general .... routed would likely favour the above playfield outcome vs HUO.... (at least with a certain batch of pins with hooky PFs)
^^^^^^ 🧐
 
Pooling and chipping is common on IMDN I believe. Mine was fine when I got it but over time it developed pooling around quite a few posts and the ball guide on the lower left leading to the spinner was digging into the clear. I ' ironed ' the pooling back down with a vinyl repair heated iron and fitted mylar rings and washers. Sadly, a few years on and Stern are still making the same errors, my main bugbear being the knife edge ball guides that dig into the playfield and cause chipping. My Avengers pro has small chips/lost artwork at the antman ball guide and the guide alongside the Thor captive ball. If anyone's got Avengers I suggest you have a close look at these guides and raise with washers as required.
 
Pooling and chipping is common on IMDN I believe. Mine was fine when I got it but over time it developed pooling around quite a few posts and the ball guide on the lower left leading to the spinner was digging into the clear. I ' ironed ' the pooling back down with a vinyl repair heated iron and fitted mylar rings and washers. Sadly, a few years on and Stern are still making the same errors, my main bugbear being the knife edge ball guides that dig into the playfield and cause chipping. My Avengers pro has small chips/lost artwork at the antman ball guide and the guide alongside the Thor captive ball. If anyone's got Avengers I suggest you have a close look at these guides and raise with washers as required.

For such a simple fix its a travesty that this isn't done during the build - but let's not open that can of worms!
 
Honestly I wouldn't be surprised if many HUO games out there developed similar playfield marks but just no one noticed them. In my case, I only saw them once I'd taken most of the gubbins off.
 
Honestly I wouldn't be surprised if many HUO games out there developed similar playfield marks but just no one noticed them. In my case, I only saw them once I'd taken most of the gubbins off.
It could possibly happen to many with such a strip down. Hooky PFs such as IMDN with some pooling and digging at the guides. Soon as you start lifting the apparatus, the art and clear lifts with it 😬
 
It could possibly happen to many with such a strip down. Hooky PFs such as IMDN with some pooling and digging at the guides. Soon as you start lifting the apparatus, the art and clear lifts with it 😬
In my case the damage was definitely already there before I started stripping. I will be extra careful when doing the upper playfield now though!
 
Looking for a decent replacement for that annoying flipper screw, I've only found this - looks like it will do the job, but a bit pricey at £3 each! Edit: won't do the job - diameter is too large.


Not found any other place in the UK which supplies something equivalent - any suggestions? (My backup plan is to just go with the original threaded bolt but it's a bit crap.)
 
Last edited:
Looking for a decent replacement for that annoying flipper screw, I've only found this - looks like it will do the job, but a bit pricey at £3 each!


Not found any other place in the UK which supplies something equivalent - any suggestions? (My backup plan is to just go with the original threaded bolt but it's a bit crap.)

£3 or original threaded bolt[emoji848] Please don’t go with the latter!


Sent from my iPhone using Tapatalk
 
Can you put a bit of superglue or lock tight in the thread when reinstalling ?
Don't think that'd last very long.

£3 or original threaded bolt[emoji848] Please don’t go with the latter!
But I need the money for pinball machines dude!! :D Seriously though I agree it's not that expensive, more of a matter of principle not wanting to pay 10x the price for a bolt lol. If I don't find anything else I'll grab a bag of these - they will serve in any stern machine.
 
Don't think that'd last very long.


But I need the money for pinball machines dude!! :D Seriously though I agree it's not that expensive, more of a matter of principle not wanting to pay 10x the price for a bolt lol. If I don't find anything else I'll grab a bag of these - they will serve in any stern machine.

It’s doesn’t look like a standard bolt so £3 is fair enough. Start a just giving page and see if you can raise the funds [emoji6]
Seriously though, it’s 3 quid to get a pin part back to new - stop being tight.


Sent from my iPhone using Tapatalk
 
It’s doesn’t look like a standard bolt so £3 is fair enough. Start a just giving page and see if you can raise the funds [emoji6]
Seriously though, it’s 3 quid to get a pin part back to new - stop being tight.
Back to new would be 50p (per flipper) for the crappy threaded bolt that Stern use - this is a major upgrade, i.e. better than new! :D
 
The idea is to dab the playfield with a marker pen, then quickly wipe it with some isopropyl alcohol. This taints the wood slightly - repeat until the correct hue is attained. To be absolutely honest, I've never actually tried it, so I'm pretty nervous! These little marks are probably a good place to start though - very small and out of sight 😇

When you said dabbing/IPA method I thought you meant a beer towel with Timothy Taylor on it!
Glad you cleared that one up
 
Yes that’s the one
That's my issue though - stern's design is a bit crap because the thread inside the bushing wears out quickly, and no one likes sloppy flippers. Hence my (arguably frivolous) quest to find a better fastener for the job!

Anyway, I have just seen that Andy's closing his shop for a month at the end of the week, so I've only got 2 evenings left to finalise my shopping list 😲 To the mancave!!
 
First post updated with some pics of upper playfield strip. Need to add a couple of underneath the playfield, and all the mechs I took out, but it's too late for today :)
 
After taking an evening off (happy wife, happy life), I made progress with cleaning everything up. Waiting on parts to start putting the mechs back in.

Edited 2nd post with some pictures of the cleaning (boring bit). Hopefully next update will involve some reassembly :)
 
@Fubar - after looking at your fantastic work on this thread, you are more than welcome to come and give any of my pins a good cleandown! Nice work...
 
Back
Top Bottom