What's new
Pinball info

Register a free account today to become a member! Once signed in, you'll be able to participate on this site by adding your own topics and posts, as well as connect with other members through your own private inbox!

Complete Funhouse

My ball lock contraption thing is also mashed. Quite often a well struck clean shot in the lock somehow gets round the lock and back out the other side. You can buy these new.

Huh that's interesting to know, my FH also suffers this problem (a hard shot straight up the centre and the ball will just fly over the lock and out the side - unless a ball is already there).
 
There is apparently another cure for this. The previous owner of my machine had two broken lower flipper bats, presumably to take the sting out of certain shots ...


image.jpg
 
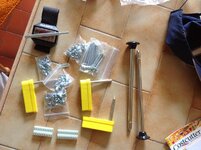
More parts and @cooldan magnetic screw grabber thing .....

image.jpg

I know that the molex connectors are better, i have the crimping tool, but this thing has worked for 25 years with inferior idc ones. Given i am led-ing it and the modest amount of home use it will receive, these connectors will do

Also, i didn't fancy having to deal with molex and the "loops" that one of these connectors has
 
@Archyta5 @Spandangler

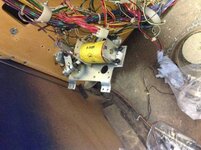
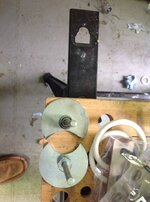
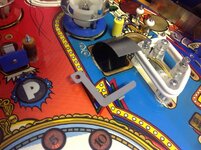
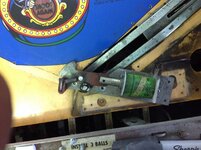
Been busy rebuilding flipper mechs today. The ball lock disc is effectively attached to a 4th flipper mech with single coil, and usual bushing through the playfield. The disc rotation is done by the flipper cam/ link connected to the plunger

So when it "locks" a ball, the only thing stopping the ball rotating and thus forcing its way past this disc is the return spring. I have not dismantled mine yet, but the return spring is actually quite tight

A weak return spring, wear to this disc, or the disc being at the wrong height will definitely increase the chances of failed locks
 
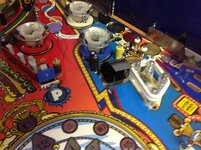
Replaced a few worn out parts. The lock is a pig of a job. It is buried well below the ramp making adjustment tricky. But you can remove it without needing to remove the ramps.

It is also quite sensitive to the angle you set it at relative to the flipper based mech below. Tested it with the lane guides back in, praying I do not need to do this again for a long time

image.jpg

Wear on the old versus the new. Hoping the new part cures the periodic lock and release problems ...

image.jpg

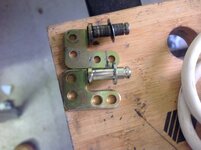
Ball kickout shaft was loose, well worn, washer almost worn through, naturally soaked in oil ...

image.jpg

Mirror drop was repaired in the past. Crude but effective. I feared the bolt head would damage pinballs, and the the visible part was rather crude in appearance. Replacement part available so more money sunk into this game

image.jpg
 
image-jpg.19360


Re. the '4th flipper' unit, aka ball dispenser; I used to pinch that bracket back when I worked as a serviceman, substituting an older type, by then unusable as a flipper bracket due to the 'short' EoS switch mounting.
 
Last edited:
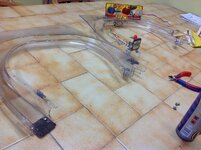
Old ramp was salvageable. Chunks out and cracks on the entrance. Mild damage to the exits too. So a new one goes in which is made of thicker material.

Gave the wires a bit if a clean with isopropyl alcohol. Spot cleaning of visible metal (brackets and posts) and ball contact points (gates, microswitch) with autosol and dremel

Hoping that the new ramp fits without too much trouble.

Playfield absorbing its second coat of guitar wax now whilst the tumbler does its thing on the ball shooter housings
image.jpg
 
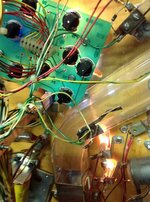
The lighting in the middle playfield just didn't look right. The light board beneath the playfield was misaligned, about 0.5 cm to the left of the dimples, so the inserts were quite subdued

So i removed the board, carefully cut the corner off it with a dremel so it could be located nearer to the subway, then replaced it on the dimples. Much better now
image.jpg
 
Promise I'll post your bits tomorrow mate. They are at least packaged and ready to go!!

My new eyes closed plunger snapped yesterday :-(. But I'm so proficient at stripping Rudys head down now I had the head out, stripped and an old plunger re glued in and back together within 40 mins.
I think it was snapping due to extra strain on it due to the eyes open coil being at a funny angle because the end stop bracket was missing. I had one in stock so put that in when it was stripped.
Seems to be working ok for now.
Bloody thing.
It pays to have a few parts in stock for his head.
 
Largely put this back together. Awaiting the new steps ramp. Otherwise all working.

Blue standups either side of the ramp faded. The other square standups did not. Cleaned them all with novus, then ipa to remove tesidue. This is quite common actually. Someone changed the laws of physics so rectangles fade but squares do not

Cleaned slingshot switches with dremel, solvol autosol, then ipa to remove residue.

New rubbers. Leds throughout playfieldand gi. Kept incandescent for backbox flashers and condom bulbs.

Flipper rebuilds

Cliffys doing their thing ....

image.jpg image.jpg

Thorough clean of metal in the ball trough area, this was filthy ...
image.jpg

The twin shooters gave this game problems, as the left hand one was terribly misaligned leading to damaged steps ramp entrance and damaged black shooter shroud where idiot had used pliers in the past to "help" this issue. I measured the distance between the shooter lanes and the distance between the holes in the cabinet for the shooter housings and these were identical. So it was a playfield alignment issue. The shooter was still striking this shroud despite the pliers job. Hammered out damage on the hidden side to remove shooter hits and plier damage, sprayed black acrylic paint.


image.jpg

I then bent the playfield bracket that goes into the lockdown bar to better align the playfield, both shooters now finally properly aligned.

The steps diverter above was sticking. Thorough clean, deburring of split pin rivet that actually turns the guide with dremel, polish with dremel, sorted it. Working 100 per cent now
 
Thanks Dan. I now have it level. And the game finally plays properly. I need to adjust all the switches, pops, eos, slings, tilt .... to get it playing how i like it. So i am going to see how i get on with it. If i really, really, addams family, like it - i might decal it. Otherwise will touch up the bashed head.

De-filthed ball trough. Some tarnish left but unless its on the ball track, i have left it
image.jpg

I need to get some decent apron cards ...

image.jpg

There are so many layers of clear plastic in this that a good clean makes a huge difference, i have not cleaned the steps ramp and associated paraphernalia yet , awaiting new one ...

image.jpg

This area cleaned up particularly well ...

image.jpg

Rudy now working 100%

image.jpg
 
Last edited:
Looks good mate. You'll have a tidy little FH at the end of it. Well considering what you paid and what you'd pay for a really nice one.
Noted your plastic set purchase mate. Thankfully my admin is up my **** and i haven't sent yours yet
 
Everything in this game had a film of dirt. It meant that it just looked so flat. Every bulb was brown, the flash bulbs looked nicotine stained, the wireforms were grubby ....

I polished the mylar with a mop on a drill and novus 2. Used ipa and magic eraser to get the worst of the ball swirls. Four coats of wax ....

I was worried about the bubbling mylar on some inserts. But now the rest of the game is clean, shiny, leds, new rubbers, new star posts, new flippers, new ramp, new plungers, i polished all the screws and plastics, polished ball guides ......... the general shine makes the insert mylar issue far less apparent

I have tried some very closely matching arcylic paint on a section of the the head, that would be next for the tidy up work
 
After a modest pause:oops:, i am back on with funhouse. In addition to summer holidays, I was procrastinating over the right decals and cliffys/ making cliffys myself for the new ramps. And wanting to test out doing a decal job on my shadow's head

The new Phoenix Arcade decals look superb (but took nearly 4 weeks to arrive). The blue is a slightly different shade, so the peugeot ingido blue paint that perfectly matches my existing paint may not be a close enough match now. Will have a ponderimage.jpg

Having successfully experimented by decalling my shadow's head, I am moving onto the funhouse head, then cab.

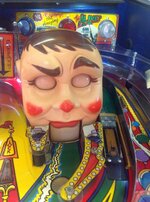
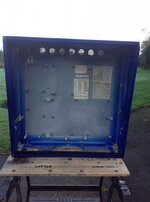
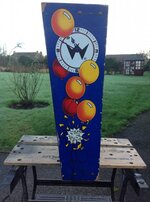
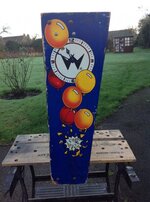
Head is a mess. I did test touch ups the front with paint only as i was considering keeping this as a garage player, but it has turned into a full refurb job.
image.jpg

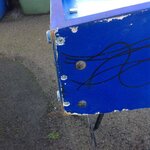
The rest of the head was untouched, but revealed various crappy paint jobs, rusty bolts and shabby repairs
image.jpg
image.jpg
image.jpg

Repair job to the corner, filler will hide all this ...

image.jpg image.jpg

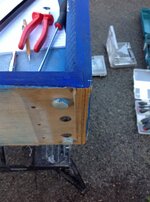
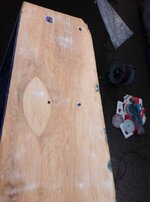
40 grit left it looking like this when i stopped. Be careful not to overdo it with aggressive sanding media. Also note the rubbish wood used ...image.jpg

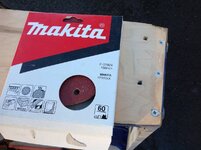
Funhouse did not produce any goo to foul the sanding discs. None have been ruined in getting it back to raw wood on the main three surfaces. Shadow ruined 2x 40 grit to reach the same point

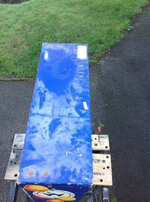
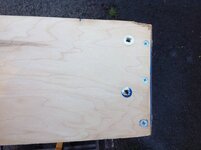
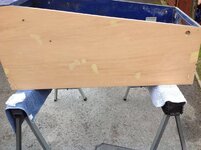
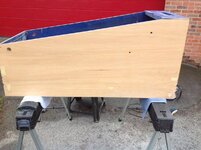
Then 60 grit. I learnt on my shadow that it is best if you can fully sand out the dimples caused by the bolts. I did this with 60 grit on my orbital sander, using it completely flat against the surface of the wood. A good discipline is that if you go through the first thin layer of ply, I think that it is time to stop sanding. But this is all a balancing act. A decal wrinkling on an old bolt dimple will look very much worse than losing a fraction of a mm of wood ...image.jpgimage.jpg

I also learnt on my shadow that you should sand as little as possible before moving to the next grit whilst being very careful to avoid rounding any corners,so always keep the sander flat on the main surfaces of the head. Use hand sanding blocks on the bevelled edges (see above- it is still blue)

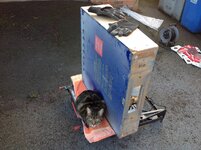
The cat is double checking the finish ...image.jpg
 
Last edited:
this is a great project! I am watching with interest! Funhouse always look fresh after a redecal!

keep up the good work matey!

Dunc
 
Thanks for the kind words. I see the pictures and wonder why I bought this example !
 
Probably the same reason as me mate. When I bought mine in May there hadn't been a funhouse for sale (apart from minty restored super expensive ones) for months and months, maybe even a year. Since I got mine there have literally been about 10!!!
 
Impressive, most impressive. After seeing your Vector, I know how good this is going to look. :)
 
With banzai done and bk2k only requiring minor tweaks and, critically, a sunny day, i have returned to funhouse. Would like to get the decal job done before the league meeting in early feb ...

Backbox metalwork tumbled, dust removed with ipa and a wipe ...
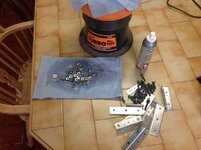
image.jpg

Playfield remarkably heavy. It just feels wrong/ precarious/ inviting chaos removing it. Given the dust associated with sanding, you might as well remove the bass speaker, transformer, flipper wiring as well as it only takes an additional 5 mins .....
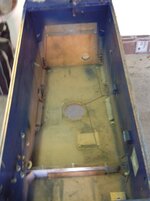
image.jpg
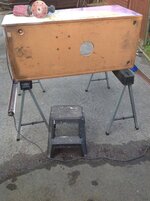
Sanded outside to avoid copious amounts of dust fouling my workshop. I rested funhouse on these stands, when i hit bare wood, i then rested it on bath mats to avoid damaging the surface I had grafted to create ....
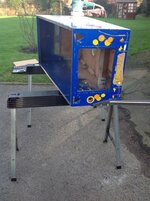
image.jpg
I also used a step on this job ...image.jpg
Funhouse fades miserably. Not as bad as williams indiana jones or fish tales, but it still suffers, especially when some fookwit tries to colour it in with a fookin crayon ...
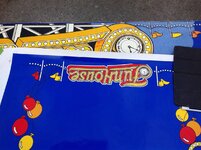
image.jpg

My sander does not have dust extraction, so will never be as efficient as one that does. Dust mask and ear protection are essential. To get to this place took about 2.5 hours. I use vibration reduction gloves as a friend has whitefinger. Believe me, you do not want this damage to you circulatory system. 40 grit, then 80 then 120 then 180 then 240 ...
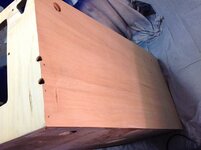
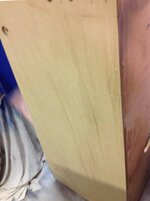
image.jpg image.jpg

The left and right sides had negligible damage, other than the leg gouges. As they are so big, you can easily and invisibly blend in your work. I am using stern hidden leg plates to deal with this as it is tragic when you see new decals wrinkling. I am not a stern fan, but these leg plates stop the legs from touching the cabinet so properly preserve you new decals. So I doff my cap to stern on this one

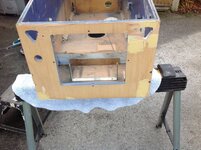
The front panel suffered by far the most damage, and requires careful filling. Like a dentist, you need to dig a bigger hole than the actual damage to make sure the filler has something to grip. So i will gouge it to provide a better key. The leg plates, damage at the bottom edge and damage around the right shooter are the issues here ...
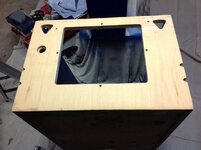
image.jpg

But the cabinet as a whole , despite its size, is a fraction of the job that the head is. In my experience, cabinets suffer far less damage than heads as they are obviously narrower. The head has narrow "walls", very sharp and pronounced right angle corners, painted areas on show, plenty of captive bolt dimples due to past over-tightening ...... Filling and painting the head is an absolute pig of a job.
 
Last edited:
i always enjoy the presentation of your posts, David.
keep doing what you do, it's good stuff. i always learn something new, every time, and even though i will probably never go to the lengths you do in restoration, i can appreciate that it's probably quite satisfying.
 
The front had received a bit of a damage, but not bad really. The ball shooters must have been overtightened a some point as the original decals were trashed here. This was the final straw and why i bit the bullet and decided to decal it ,.,

image.jpg

The sides only had one blemish (apart from the leg gouges). The other areas of filler are all down to small knots holes that were filled at the factory, this had shrunk in a few places, so I topped it up.image.jpg image.jpg
 
Back
Top Bottom