What's new
Pinball info

Register a free account today to become a member! Once signed in, you'll be able to participate on this site by adding your own topics and posts, as well as connect with other members through your own private inbox!

In Progress Fish Tales Shop Log

ronsplooter

Site Supporter
Joined
Jul 21, 2011
Messages
6,492
Location
Nottingham
Alias
Chris
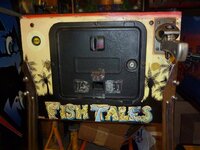
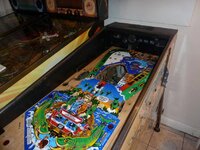
Seeing as I've got some time off work over Christmas I thought I should start in on my latest project....the bargain Fish Tales I picked up from Keith in Burton. This one needs a fair bit of work so I'm thinking this is going to be more of a long term project than some of the others :D

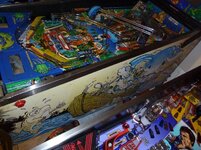
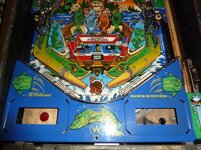
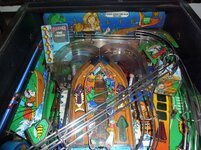
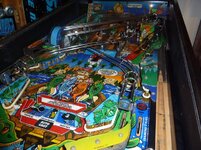
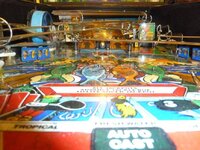
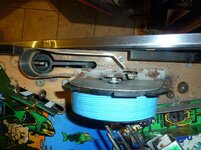
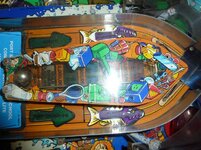
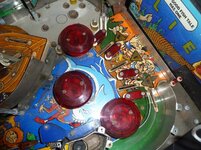
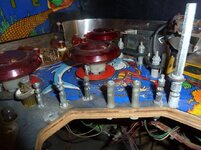
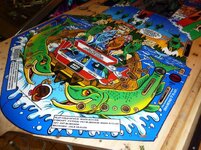
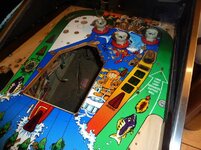
It's got the usual fade on the cab and it's pretty battered as well. The pf has got a full mylar on it but over the years it's cracked and come away in places so at first glance the pf looks f*cked...I'm hoping that underneath the mess it's actually ok. It's missing the fish topper although this doesn't bother me too much at this stage, depending on how far I go with this project I might look for a replacement. The usual sling and boat plastics are damaged (although the others are all in good nick, just very dirty) and will need replacing. It looks like a game that hasn't been cleaned for many years and needs a lot of tlc.

On the good side however, it plays a great game even in this condition and everything works. I'm going to work on the pf and mechs first and see how good I can get them before before deciding whether to drop some cash on decals and do the cab too. Here's some pics of the game as it's sat since I got it with me having done nothing other than play it so these are the before shots :D
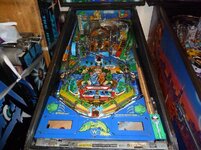
P1030252.jpgP1030253.jpgP1030254.jpg
P1030255.jpgP1030257.jpg
P1030258.jpgP1030260.jpg
 
I ****ing love Fishtales! Gotta get me another one. I think with pinball, you've gotta go there to come back. I'm now on my second BoP and WW and I'll definitely be having another FT. You don't know what you've got until its gone.
 
There's a fantastic amount of crap on there - just now tearing down my Cyclone for it's PF swap and there's not that level in dirt!! Where on earth has that FT been?
 
This is one of the dirtier ones I've done although a lot of it seems to be surface muck....I just think it's never been cleaned in its life ;)
 
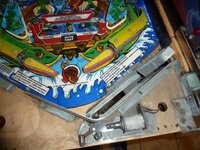
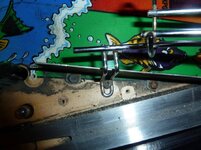
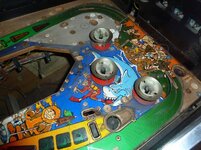
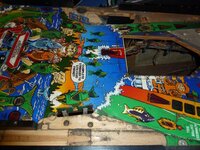
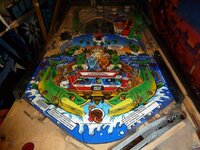
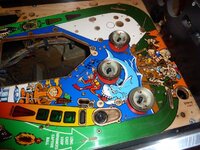
Here's some pics from a few days ago with most of the stuff off the top of the pf so I can see what I'm working with...

P1030460.jpgP1030461.jpgP1030463.jpg
 
Nothing cleanses the soul like removing dirt from something you care about.

Great pictures by the way, what are you using to take them? Do you shop them with the playfield in the machine or do you take them out?
Good use of the kitchen surfaces as well. :)
 
The camera I'm using is a Panasonic Lumix DMC-TZ9. I have got quite a lot of stuff all over the kitchen at the moment so will have to have a tidy up today ;)

I leave the pf in as I don't have a (or have space for) a rotissarie so leaving it in just makes it a lot easier to work on. When I get round to doing the cab on FT then the pf will come out but my plan is to shop the game first and see what I end up with before going to the extra expense of doing the cab....a lot will depend on how nice I can get the pf.
 
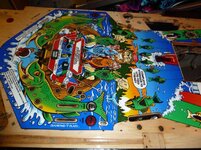
I think I've finally managed to get all of the mylar and glue off the pf......

P1030583.jpgP1030584.jpg
P1030585.jpgP1030588.jpg

What a bitch of a job!!!!!
 
Nice work mate. Did you freeze spray it. I've never had the courage to try it. Although all 4 of my pins have mylared pf's!!
 
Tried the freeze spray method but it didn't work because the mylar had cracked all over so it made it come off in little chunks rather than big pieces. Went with the hairdryer in the end and it came up ok except in the odd area. Getting the glue off after has been the bigger pain.
 
Think I'll just leave mine how they are. My mate used a hair dryer but it removed all the artwork off the inserts.
Ive got Maplins label remover which is good stuff. Smells good too!
 
"Ive got Maplins label remover which is good stuff. Smells good too!"


Watcha Gaz hope you are not drinking the stuff ?
 
Yeah I think the hairdryer is only ok for diamond plate pf's, I wouldn't use it on anything older. I used Goo Gone to get the glue off plus a lot of time and messing about :frusty:
 
I've not posted anything on this for a while, too busy playing IJ :D I'm very slowly working my way through cleaning the various mechs and I've started to get the pf looking half decent. The new cab decals arrived this week but I'm going to get more done on the pf and bags of parts before I start on any serious cab work (got to get the cab to my Dad's for this anyway). I'll take some new pics over the weekend :thumb:
 
$699 +$179 for the "mini playfield" - Owch!

Saying that (and currently doing my TAF) it's totally worth it!! :)
 
A part of me would like a mint pf but it's just not worth it, especially with the rate I'm going through games at the moment :)
 
What you need for FT then? I think i have most of the PF stuff other than the Autocast and the back LIE plastic....

Be quick tho as i'm contemplating a clear out :)

I have all the wireforms and most of the plastics etc....
 
I'll have a look through all the bags of bits and see what's not in the best shape and let you know :)
 
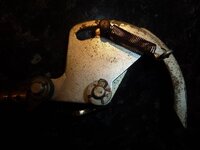
Hadn't made much progress on FT recently but managed to spend some time cleaning more parts this weekend and I'm nearly ready to start work on the cab :) Had a box full of new bits turn up the other day so I've got new sling and boat ramp plastics and a shiny new boat ramp. I've also gone with blue pop bumper skirts and tops as I think this will suit the pf better than the red. I've also been to the model shop and got some paints do I can do touch ups on the pf....I'll take some pics when I tackle that :rockon:
 
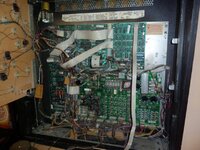
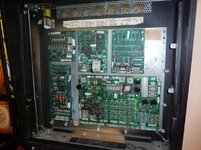
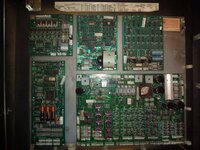
So I started on the cab teardown today. I need to get the head and cab stripped out and moved over to my Dads where there's space to do all the prep work and re-decaling....today I worked on getting the head emptied and off. Here's what I had to start with.....

P1030706.jpg

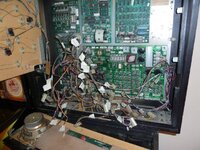
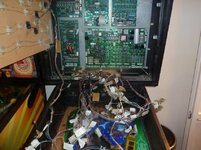
First thing was to get all the connectors and wiring loom off and out of the way in the bottom of the cab. I used masking tape and a permanent marker and labelled each connector as I removed it with the number of the connection on the board where it attached (J120, J204 etc).

P1030717.jpg P1030723.jpg

Next step was to remove the back box lamp board and finally take the head off the cab....

P1030727.jpg P1030728.jpg

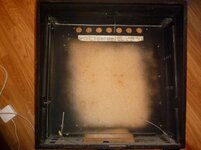
With the head laid on the floor it was really easy to strip all the remaining parts out of it. First I removed the boards and their metal backplate, then the knocker, mesh, lamp board bracket and head bolts. The head is now ready to go to my Dads, cab up next....

P1030731.jpg P1030741.jpg
 
Back
Top Bottom