Pinball info
You are using an out of date browser. It may not display this or other websites correctly.
You should upgrade or use an alternative browser.
You should upgrade or use an alternative browser.
In Progress Dr Who Project - no 82
- Thread starter myPinballs
- Start date
Dr who is a classic another chris b bargain
Hope this thread has been useful for people and shows how you can get a project game working in a few days with just the parts I offer as spares. There's nothing like fixing a game up and getting rid of those faults. Give it ago next time you see a project come up
My electronics spares list is here:
http://www.pinballinfo.com/communit...pinballs-consolidated-and-updated-list.32898/
My electronics spares list is here:
http://www.pinballinfo.com/communit...pinballs-consolidated-and-updated-list.32898/
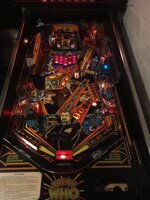
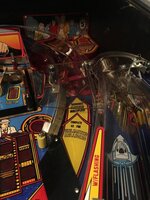
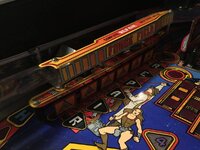
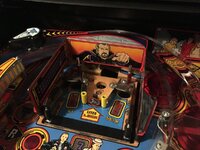
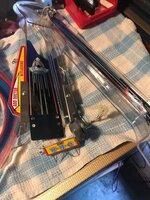
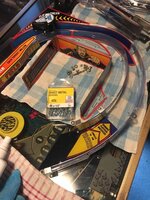
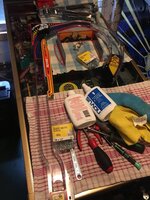
Did some more work on my Dr Who this weekend. Have been giving the playfield a quick re-rubber in white and fitting a new ramp set from phil at PH. Great quality ramps  The playfield itself wasn't in too bad shape so didn't need anything more than a re-rubber and the screws and nuts replacing before fitting the new ramps.
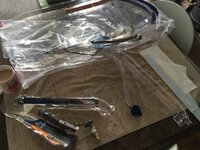
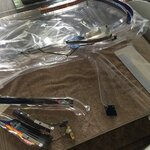
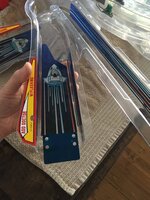
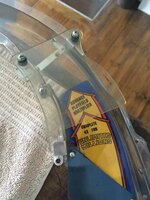
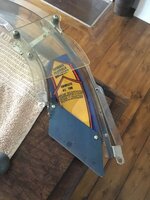
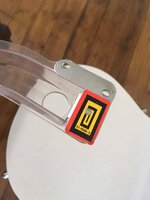
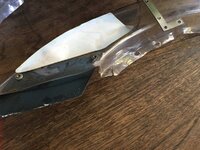
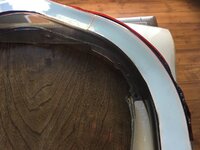
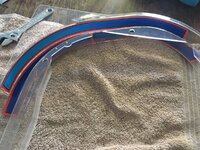
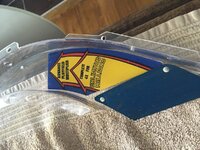
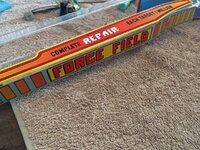
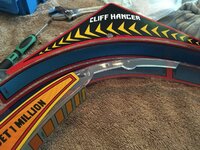
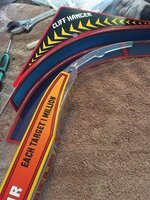
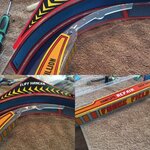
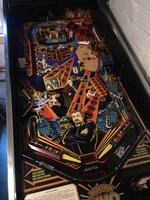

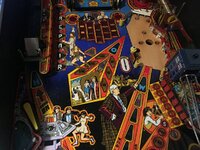
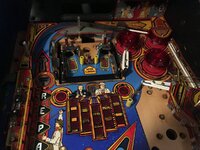
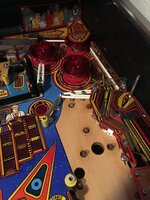
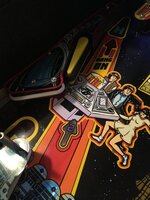


Wow looks great Jim, definitely a candidate for new decals as will be better than new by the time you're finished....
Ps. Dibs!!
Ps. Dibs!!
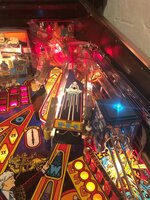
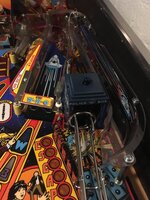
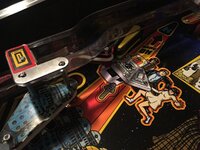
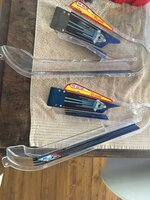
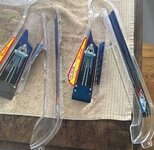
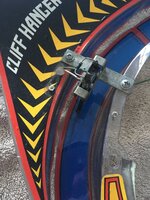
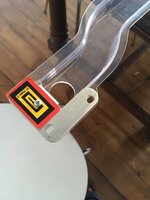
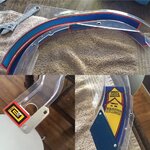
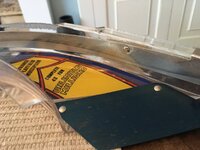
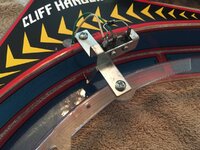
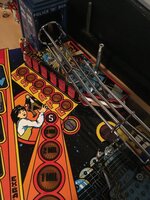
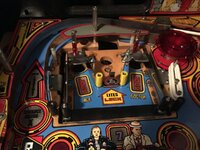
Some more pics of the ramp replacements. New ramps don't come with the metal brackets riveted for the optos etc so theres some tricky work to do. The bracket on my main ramp for the optos was rather tarnished so i decided to resray it gross red to match the other decals and then riveted it back in place after making a small wood and metal packing block to hold the rivets in place whilst i secured them. Not an easy task and one that required a lot of patience!
Here's the results
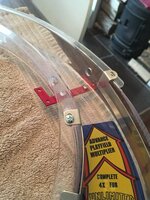
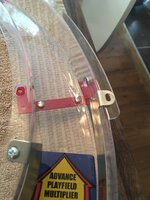
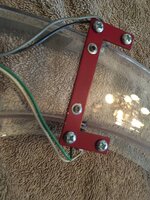
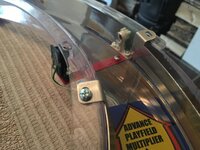
Just got to reinstall both ramps now and i'm done for awhile
Here's the results


Just got to reinstall both ramps now and i'm done for awhile
Great work Jim DW will look very nice along side your GB!! You'll have to let me know what you think to the decals coming your way when you get them 


