Pinball info
You are using an out of date browser. It may not display this or other websites correctly.
You should upgrade or use an alternative browser.
You should upgrade or use an alternative browser.
In Progress Dr Who Project - no 82
- Thread starter myPinballs
- Start date
Your 82nd pin?
Your 82nd pin?
Yes
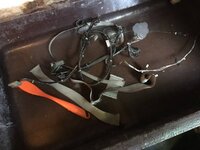
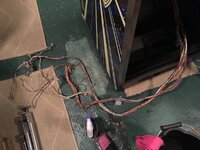
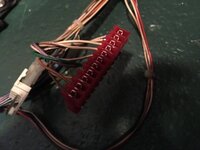
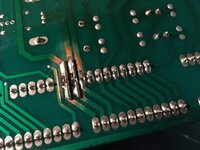
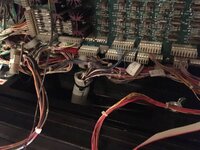
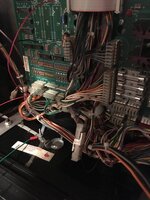
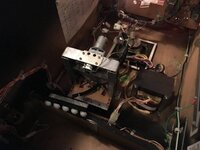
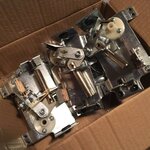
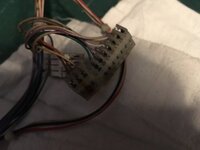
Waiting for the cleaned cabling to dry so taking a look at the gi connectors. The backboc one needs replacing
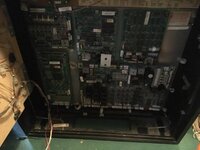
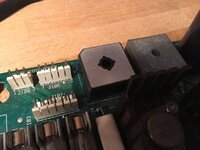
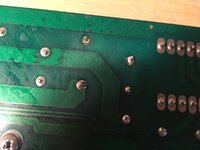
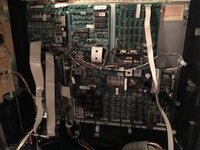
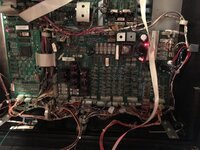
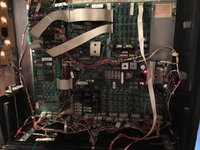
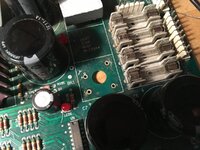
Also taking a look at the power driver board at this point. Good to drop it out and inspect. I noticed it is the only pcb that doesn't match up serial wise and when initially testing the game before moving an up kicker coil was weak so 50v bridge section needs looking at.

Also taking a look at the power driver board at this point. Good to drop it out and inspect. I noticed it is the only pcb that doesn't match up serial wise and when initially testing the game before moving an up kicker coil was weak so 50v bridge section needs looking at.
Maybe in the future. At the moment I'm just getting it working 100% to play and use for board testing. fixing the faults is something that I love doing and one reason why I offer electronic spares for others to get stuck in toGood thread as I will be starting mine soon hopefully! are you fitting new cab decals?
Maybe in the future. At the moment I'm just getting it working 100% to play and use for board testing. fixing the faults is something that I love doing and one reason why I offer electronic spares for others to get stuck in to
I have new decals for mine and I think that will be the first job I tackle while having the legs coin door etc powder coated, not sure if I should get the rails done black also as they will be removed anyway. The only thing I'm missing is the Dalek but I have the dome (thanks Keith)
Ronnie
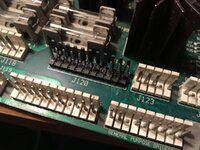
Ok, so first part of driver board sorted out for testing. For some reason someone had removed components for the out hole and left jet. Maybe the game it's really from didn't use these drives, but needed sorting. Also perfect example of what happens when someone doesn't have the skills to do board repair and screws the pads taking out 5p components!! All sorted now though, luckily I was able to join certain component legs to traces
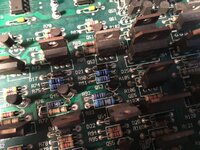
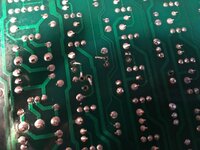


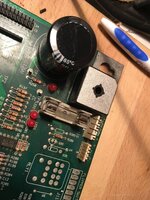
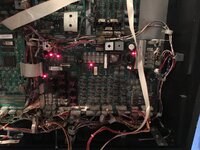
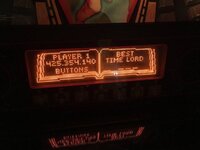
Game now playable with remaining driver board 12v power issue fixed. Changed bridge and capacitor using my sourced electronics spares. Also had to change 5 LEDs on the driver board. Most bizarre. Worth noting that always use a multimeter to check voltages. Don't rely on the LEDs!
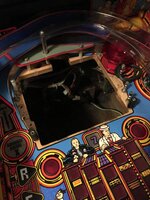
Next up is to drop the time expander out and fix some opto issues with the middle target bank.
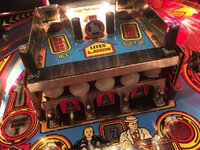


Next up is to drop the time expander out and fix some opto issues with the middle target bank.

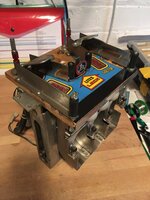
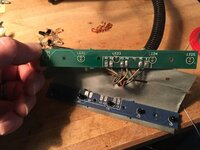
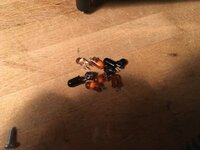
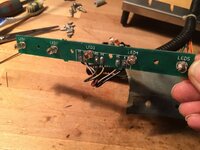
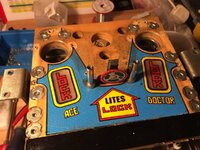
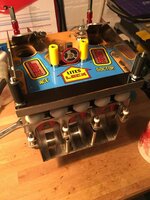
5 target opto bank removed and time to do a shot replacement of all 5 opto pairs. Not worth messing about now its dismantled. 10 opto pairs from me is only £12
Also noticed someone has added extra spacers into the opto bracket, do everything will be returned to factory design. I always ditch anything that isn't factory as it helps fix faults properly the first time
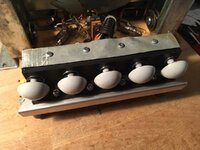
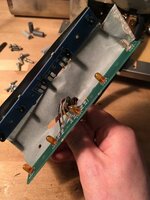
Also noticed someone has added extra spacers into the opto bracket, do everything will be returned to factory design. I always ditch anything that isn't factory as it helps fix faults properly the first time


Whilst play testing game cane across some lamp issues. First was a column drive out and also lamps seemed dimmer than normal when in all lamp test
Changed TIP107 transistor for 8th lamp column and fitted another new bridge for the 18v. Both issues resolved
Changed TIP107 transistor for 8th lamp column and fitted another new bridge for the 18v. Both issues resolved
Game now playing nice.
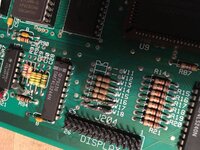
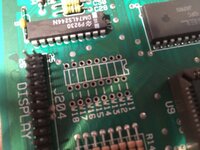
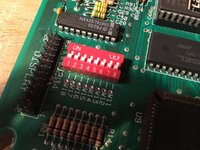
Will be taking a look at the dmd controller board tomorrow and checking voltages. Dmd is working fine for now but best to check the power outputs and possibly rebuild the hv section for long term reliability
Will be taking a look at the dmd controller board tomorrow and checking voltages. Dmd is working fine for now but best to check the power outputs and possibly rebuild the hv section for long term reliability
Re. the Time Expander; I had one where the plastic mounting for the opto boards warped, so that some of the transmitters weren't shining onto the receivers.
And speaking of testing, this game has a special check-out routine programmed that I never saw on any other WMS product. Accessed by holding Enter, + and - at the same time, it includes a handy 'Vibration Test' which runs through the solenoids at increasing speed, stopping if any unexpected switch changes state. Also a trough system test and automated flipper test - not one of the three Dr. Who's I unpacked passed this.
And speaking of testing, this game has a special check-out routine programmed that I never saw on any other WMS product. Accessed by holding Enter, + and - at the same time, it includes a handy 'Vibration Test' which runs through the solenoids at increasing speed, stopping if any unexpected switch changes state. Also a trough system test and automated flipper test - not one of the three Dr. Who's I unpacked passed this.
Great work mate.
I love fixing electronics. Enjoying a few games on this now 100%. I never understood the rules until now. Great game
All parts I used to fix this game are available from me. See my parts thread here http://www.pinballinfo.com/communit...pinballs-consolidated-and-updated-list.32898/ and get hands on yourself.
All parts I used to fix this game are available from me. See my parts thread here http://www.pinballinfo.com/communit...pinballs-consolidated-and-updated-list.32898/ and get hands on yourself.


