Pinball info
You are using an out of date browser. It may not display this or other websites correctly.
You should upgrade or use an alternative browser.
You should upgrade or use an alternative browser.
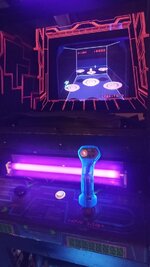
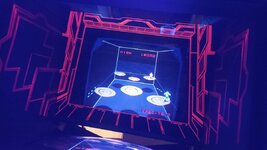
Complete Discs of Tron environmental
- Thread starter Alpha1
- Start date
New flyback, all caps changed and some resistors.That's some serious hum, defo needs the power supply going over and wiring checked, Not sure what you mean by monitor rebuilt? Like chassis put back on and a few caps changed?
I'm waiting for a delivery from the USA to change the main caps on that power brick at the bottom of the cabinet. Hopefully that will fix the hum. If not I'll have to rebuild the audio amps as well. There's two of them. I'll need to check all the grounds are good as well.
Still lots of work to do but amazing to have a go
Last edited:
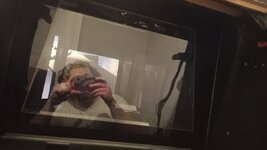
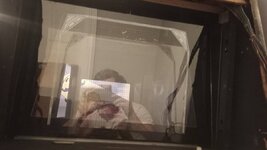
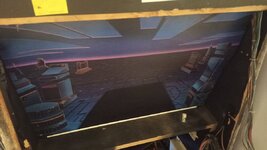
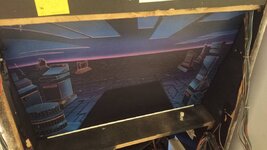
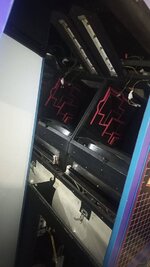
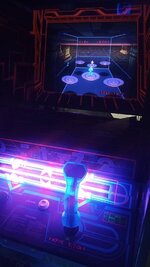
As the monitor is working I have put the diarama back in which luckily I took a load of photos of as it was pretty intense!
Attachments
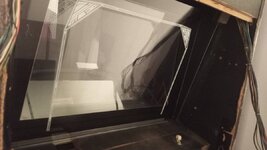
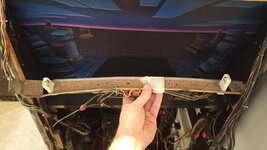
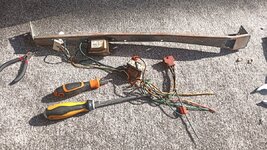
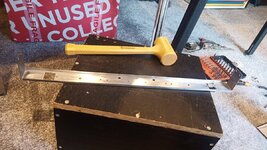
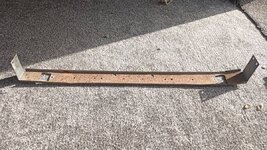
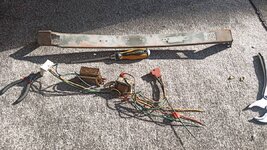
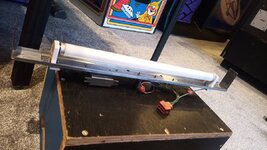
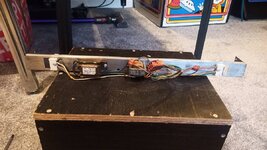
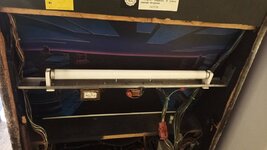
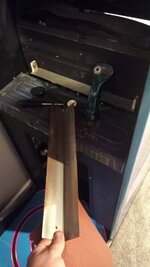
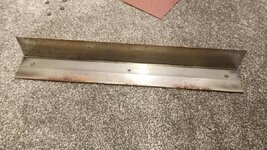
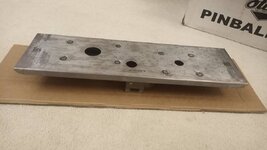
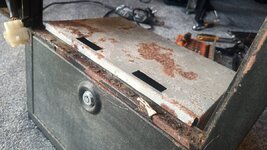
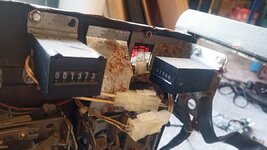
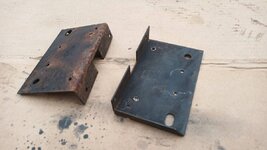
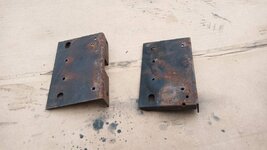
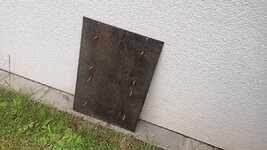
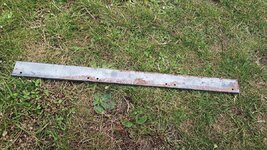
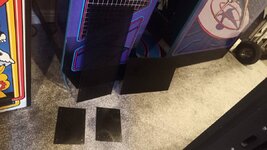
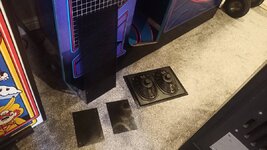
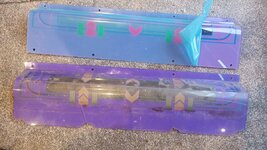
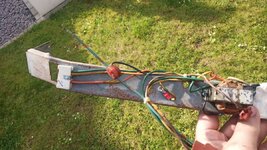
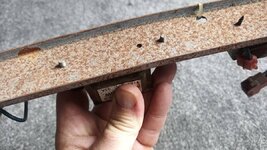
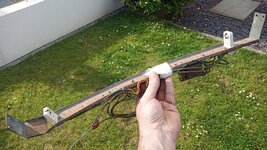
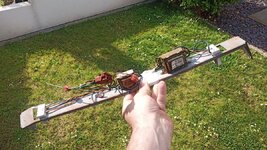
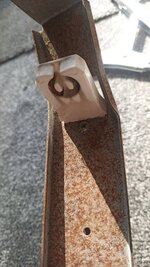
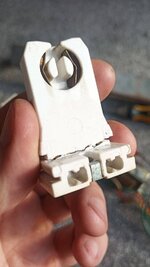
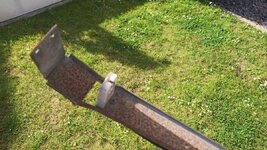
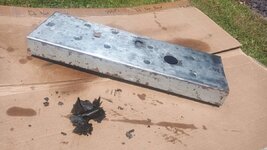
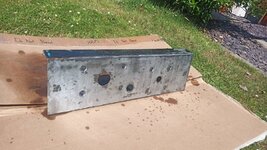
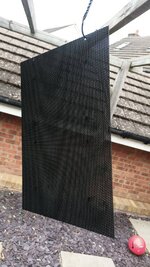
So with the diarama back in the view is a lot prettier but there's a final fluro unit with a standard light that lights up to illuminate the fluro scene. The problem is my one is bent rusted junk.
So I need to sort it before the diarama truly works.
So I need to sort it before the diarama truly works.
Attachments
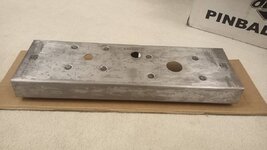
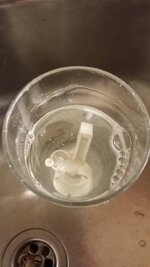
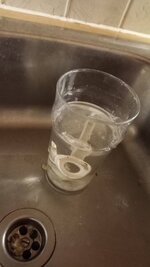
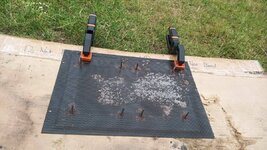
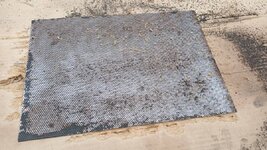
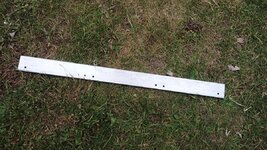
So I get to work on the final fluro unit.
Let's assess it...
Let's assess it...
Attachments
-
 IMG_20220606_173006.jpg157.6 KB · Views: 18
 -
 IMG_20220606_173547.jpg147.7 KB · Views: 18
 -
 IMG_20220606_172922.jpg162.1 KB · Views: 21
 -
 IMG_20220606_172932.jpg217.4 KB · Views: 19
 -
 IMG_20220606_173345.jpg87.4 KB · Views: 18
 -
 IMG_20220606_174357.jpg47 KB · Views: 16
 -
 IMG_20220606_172940.jpg222.3 KB · Views: 18
A bit more progress on a few fronts over last 24-48 hours.
Hum is resolved, well, understood. I swapped the dual amp boards over and the terrible hum stopped. So one needs fixing. Might as well do both.
Squawk and Talk doesn't work and stops on three flashes. I have a @myPinballs replacement and swapped that in, but interestingly that also stops at three flashes. A bit stumped and I'll need to look at this further. But need two functioning dual amp boards for it to work properly anyway so not an immediate problem.
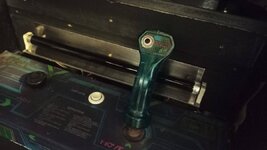
I also removed the shiny metal reflector on the blacklight for the CP and got it shiny again.
Attachments
Last edited:
I would check your -5v. as the last flash (4th) is the speech generator chip and it needs -5v to run.Squawk and Talk doesn't work and stops on three flashes. I have a @myPinballs replacement and swapped that in, but interestingly that also stops at three flashes. A bit stumped and I'll need to look at this further. But need two functioning dual amp boards for it to work properly anyway so not an immediate problem.
Hey fella,I would check your -5v. as the last flash (4th) is the speech generator chip and it needs -5v to run.
Yeah I went into the troubleshooting guide and came to the same conclusion. I have a spare EDOT -5v PCB that I swapped last night but that is dead. I am going to rebuild both and I reckon that should be all issues other than the chase light issue to resolve - but I know that's a transistor issue which i'll sort.
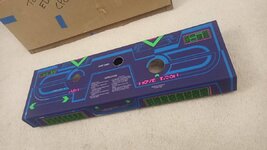
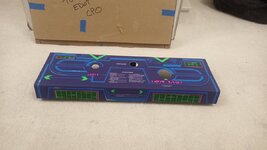
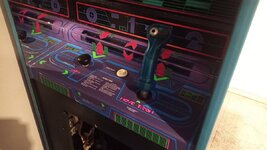
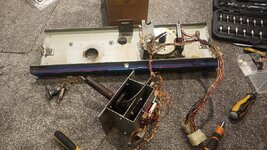
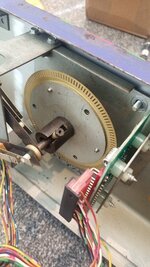
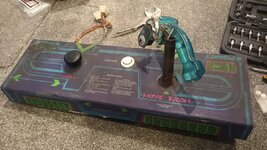
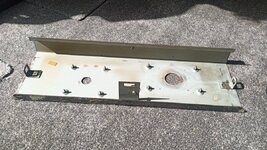
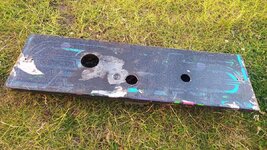
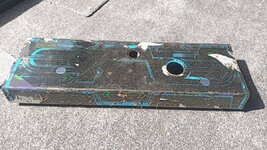
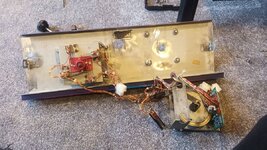
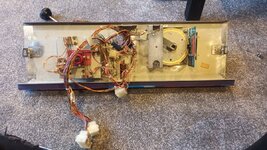
I started stripping the control panel, ready for its refurb.
Attachments
-
 IMG_20220611_194202.jpg189.6 KB · Views: 6
 -
 IMG_20220612_155056.jpg81.1 KB · Views: 9
 -
 IMG_20220611_193209.jpg156.3 KB · Views: 8
 -
 IMG_20220612_163333.jpg204.6 KB · Views: 8
 -
 IMG_20220613_195437.jpg304.9 KB · Views: 8
 -
 IMG_20220615_123920.jpg119.2 KB · Views: 8
 -
 IMG_20220611_193246.jpg92.9 KB · Views: 8
 -
 IMG_20220612_163326.jpg248.9 KB · Views: 6
 -
 IMG_20220615_114920.jpg172.2 KB · Views: 6
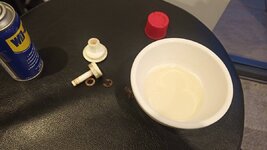
The original start button was in remarkable condition with no scratches or marks. It was just filthy and had yellowed a bit.
So I wondered if I could save it rather than replacing it...
The alligator clip, washer and spring were really badly rusted so I soaked them in WD40 for 24 hours before brushing the crap off and polishing them up with some fine sand paper.
I dropped the white plastic button pieces into a bleach and cleaning solution.
Attachments
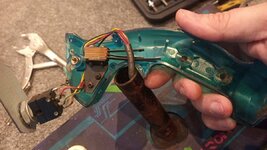
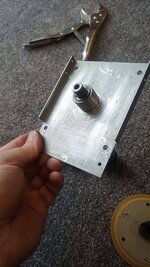
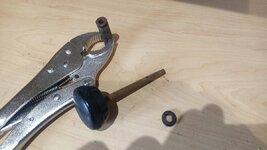
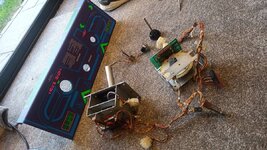
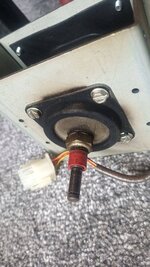
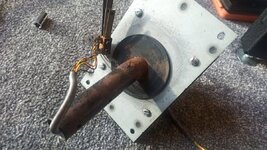
I stripped the joystick and spinner to their individual parts and cleaned everything up.
The joystick shaft was badly rusted so I ground that off.
I replaced the joystick handles with new, and a new trigger button.
The spinner had seized for the up and down movements so that was quite interesting stripping it, working out how it worked, derusting and unseizing it, and putting it all back together.
Attachments
-
 IMG_20220616_205529.jpg86.7 KB · Views: 7
 -
 IMG_20220615_200647.jpg88.9 KB · Views: 7
 -
 IMG_20220616_210704.jpg197.2 KB · Views: 6
 -
 IMG_20220616_193905.jpg84.8 KB · Views: 6
 -
 IMG_20220616_194432.jpg162.2 KB · Views: 6
 -
 IMG_20220616_211354.jpg189.1 KB · Views: 6
 -
 IMG_20220616_211852.jpg208.7 KB · Views: 8
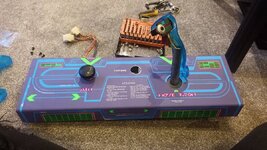
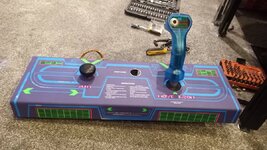
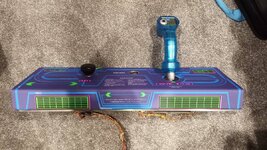
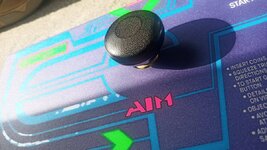
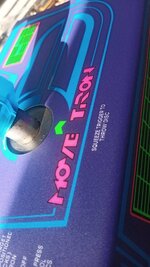
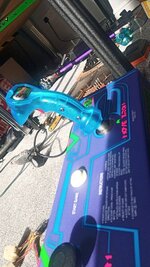
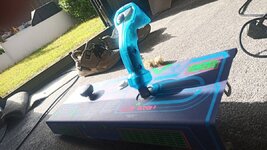
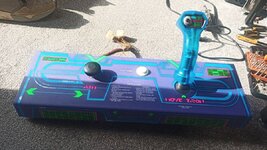
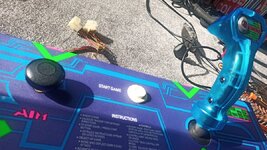
I reassembled the panel, put on a new leaf switch for the start button and did actually manage to save the original start button 
Attachments
-
 IMG_20220616_214016.jpg147.9 KB · Views: 8
 -
 IMG_20220616_215046.jpg142.7 KB · Views: 7
 -
 IMG_20220616_215759.jpg213.1 KB · Views: 7
 -
 IMG_20220617_180601.jpg152.9 KB · Views: 8
 -
 IMG_20220617_180558.jpg78.1 KB · Views: 8
 -
 IMG_20220617_180547.jpg102.8 KB · Views: 10
 -
 IMG_20220617_180552.jpg147.4 KB · Views: 11
 -
 IMG_20220617_180537.jpg168 KB · Views: 12
 -
 IMG_20220617_180610.jpg163.9 KB · Views: 11
So with that there's two things left to restore. Coin door and the front speaker grill.
Decided to jump between them as time allows.
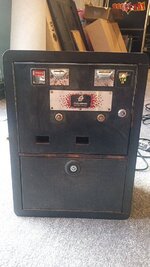
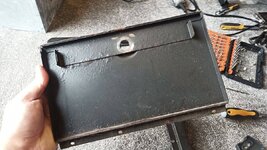
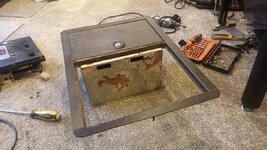
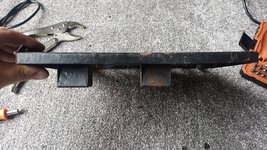
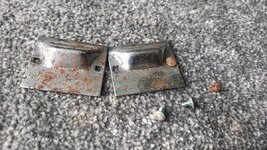
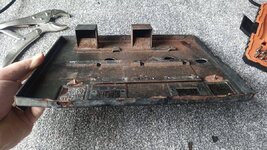
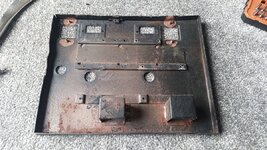
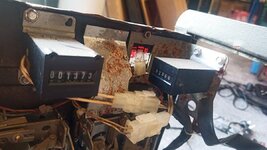
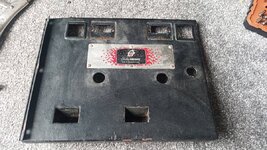
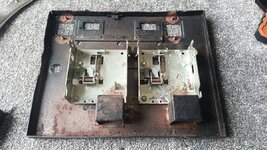
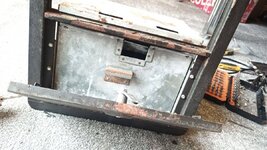
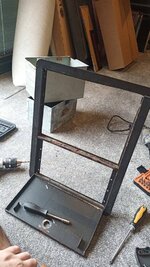
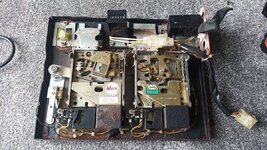
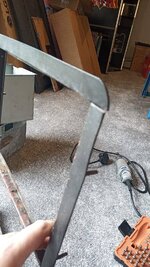
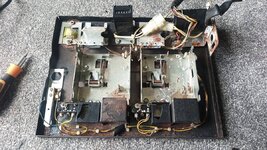
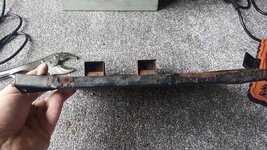
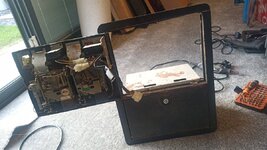
The coin door is bent rusted junk


Looks like someone tried to break into it to be honest.
I also don't have the keys, this wasn't an issue for the main coin door as I got in through the back and removed the lock, but the lower coin door will need to be drilled out.
General status: grim.
Decided to jump between them as time allows.
The coin door is bent rusted junk
Looks like someone tried to break into it to be honest.
I also don't have the keys, this wasn't an issue for the main coin door as I got in through the back and removed the lock, but the lower coin door will need to be drilled out.
General status: grim.
Attachments
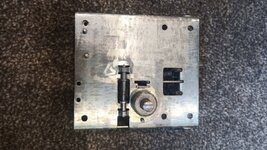
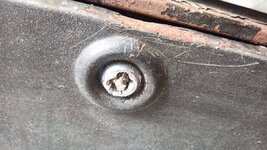
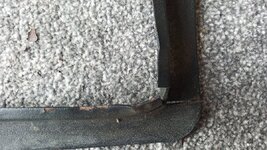
Stripped the door, both doors have been tried to be broken into and the frame is bent also from the force of an attempted break-in.
I drilled the lower coin door lock out to aid stripping the entire thing to individual parts.
I drilled the lower coin door lock out to aid stripping the entire thing to individual parts.
Attachments
-
 IMG_20220618_155538.jpg154.5 KB · Views: 8
 -
 IMG_20220617_213328.jpg168.7 KB · Views: 12
 -
 IMG_20220618_105128.jpg238.6 KB · Views: 8
 -
 IMG_20220618_104456.jpg253.7 KB · Views: 7
 -
 IMG_20220618_105133.jpg212.8 KB · Views: 7
 -
 IMG_20220618_105115.jpg222.8 KB · Views: 7
 -
 IMG_20220617_203115.jpg100.6 KB · Views: 8
 -
 IMG_20220618_105122.jpg210.5 KB · Views: 10
 -
 IMG_20220618_104905.jpg191.5 KB · Views: 11
 -
 IMG_20220618_154224.jpg182.4 KB · Views: 8
 -
 IMG_20220618_154304.jpg154.4 KB · Views: 8
 -
 IMG_20220618_155746.jpg250.8 KB · Views: 7
 -
 IMG_20220618_154757.jpg118.6 KB · Views: 8
 -
 IMG_20220618_101644.jpg232.2 KB · Views: 9
 -
 IMG_20220618_155705.jpg126.7 KB · Views: 9
 -
 IMG_20220618_102905.jpg227 KB · Views: 8
 -
 IMG_20220618_105136.jpg241.6 KB · Views: 7
 -
 IMG_20220617_202951.jpg121.5 KB · Views: 8
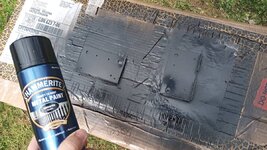
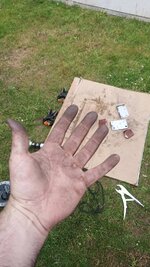
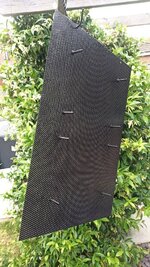
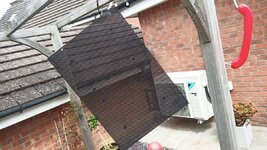
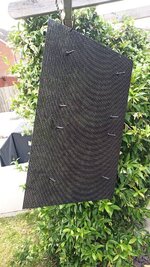
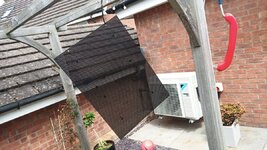
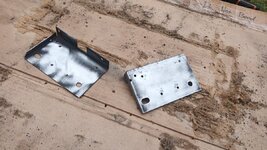
Then prepped and painted.
Attachments
-
 IMG_20220619_140851.jpg178.7 KB · Views: 2
 -
 IMG_20220619_111349.jpg105.6 KB · Views: 2
 -
 IMG_20220619_150523.jpg174.8 KB · Views: 2
 -
 IMG_20220619_144850.jpg217.1 KB · Views: 2
 -
 IMG_20220619_144502.jpg178.8 KB · Views: 3
 -
 IMG_20220619_144854.jpg198.5 KB · Views: 3
 -
 IMG_20220619_150531.jpg137.3 KB · Views: 3
 -
 IMG_20220619_105057.jpg157.7 KB · Views: 2
Then finished up this evening installing all the control panel mounts.
I've taken the bent coin doors and frame to my mate who's a panel beater.
Let's see how well it goes. I'll grab them at the weekend and see how well it went.
Let's see how well it goes. I'll grab them at the weekend and see how well it went.
Attachments
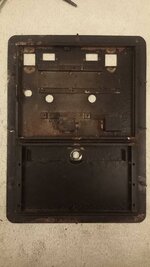
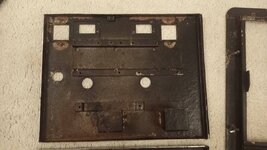
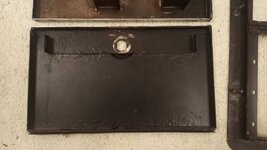
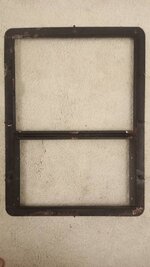
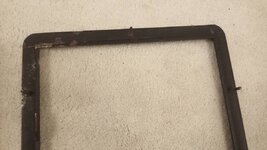
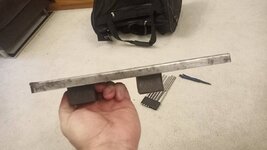
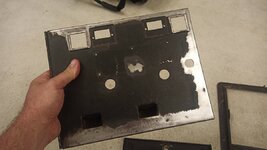
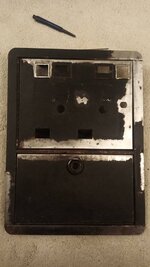
My panel beater has worked magic. I got a call yesterday to pickup in the evening so that I did.
I'll let the pictures do the talking.
I'll let the pictures do the talking.
Attachments
-
 IMG_20220626_212016.jpg63.9 KB · Views: 21
 -
 IMG_20220626_212032.jpg96.7 KB · Views: 18
 -
 IMG_20220626_212036.jpg81.4 KB · Views: 18
 -
 IMG_20220626_212042.jpg69 KB · Views: 18
 -
 IMG_20220626_212049.jpg83.1 KB · Views: 17
 -
 IMG_20220626_212100.jpg67.9 KB · Views: 18
 -
 IMG_20220626_212111.jpg81.5 KB · Views: 18
 -
 IMG_20220626_211948.jpg64.9 KB · Views: 26
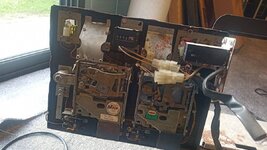
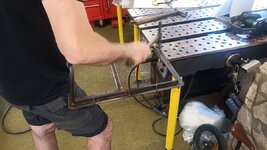
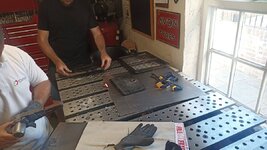
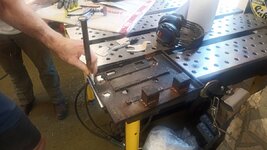
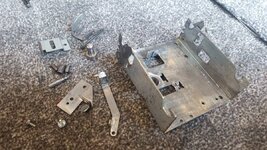
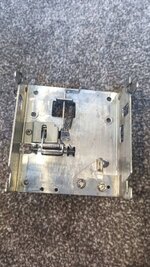
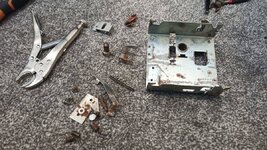
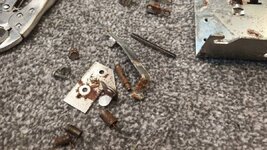
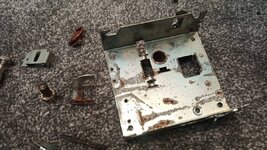
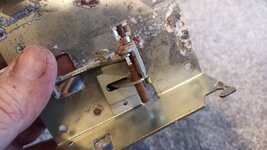
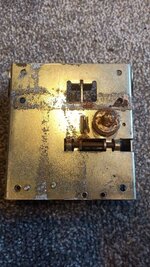
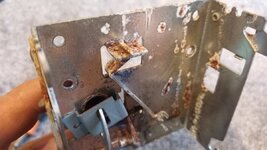
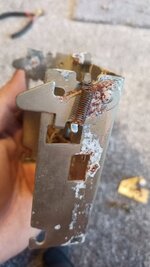
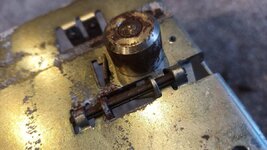
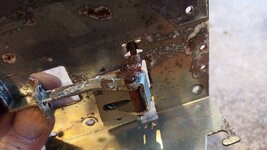
First coin mech holder done. Total and utter nightmare to do.
First I disassembled.
First I disassembled.
Attachments
-
 IMG_20220627_125841.jpg184.6 KB · Views: 6
 -
 IMG_20220627_125845.jpg184.3 KB · Views: 8
 -
 IMG_20220627_125848.jpg170.1 KB · Views: 7
 -
 IMG_20220625_212815.jpg89.9 KB · Views: 8
 -
 IMG_20220625_212419.jpg123.8 KB · Views: 9
 -
 IMG_20220625_212859.jpg78.7 KB · Views: 8
 -
 IMG_20220625_212517.jpg51 KB · Views: 7
 -
 IMG_20220625_213036_1.jpg109 KB · Views: 6
 -
 IMG_20220625_212732.jpg83.4 KB · Views: 7

