What's new
Pinball info

Register a free account today to become a member! Once signed in, you'll be able to participate on this site by adding your own topics and posts, as well as connect with other members through your own private inbox!

Complete Discs of Tron environmental

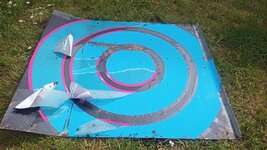
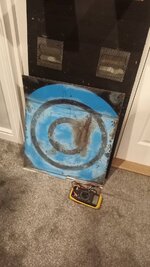
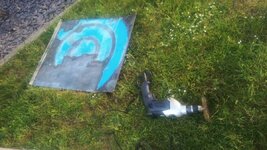
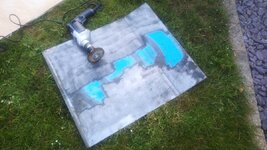
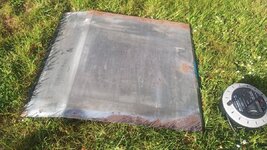
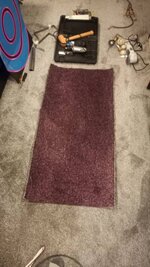
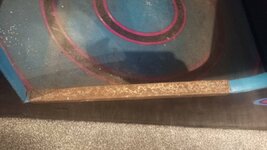
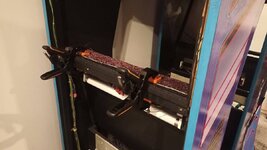
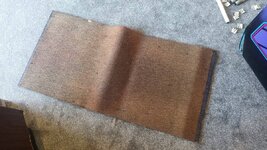
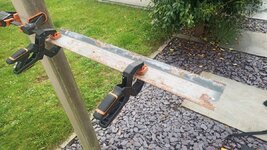
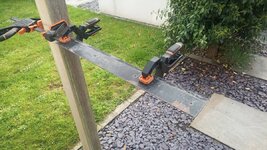
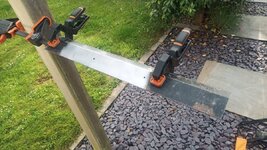
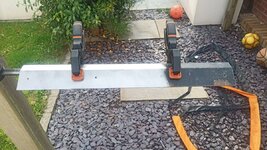
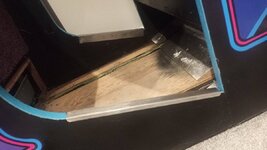
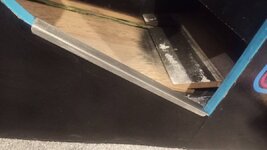
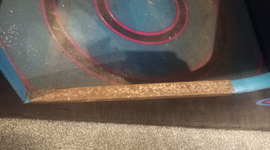
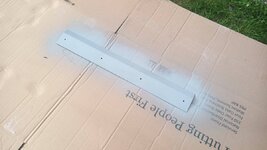
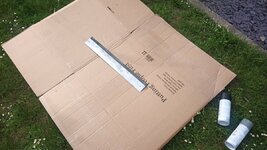
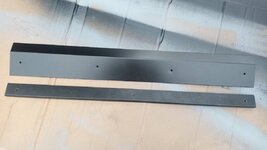
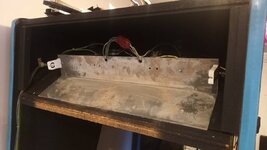
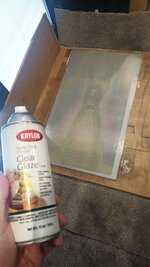
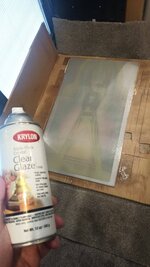
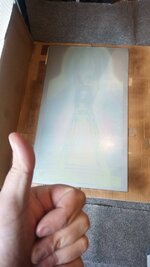
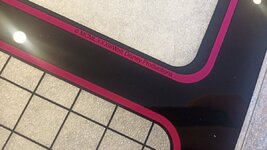
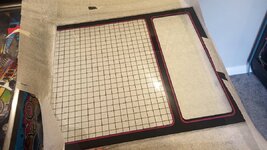
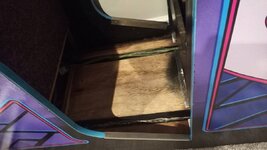
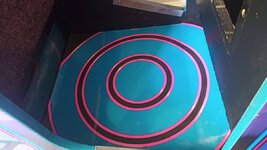
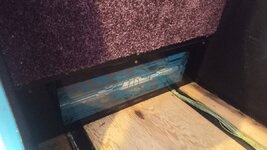
Small update. Started removing the decal from the metal floor pan and cleaning up the rust.

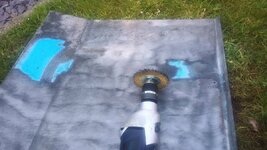
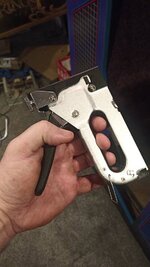
I've ordered a wire wheel for the drill for a final pass as the small one on the Dremel was taking ages.

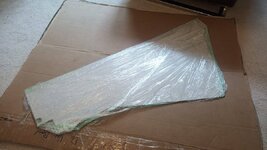
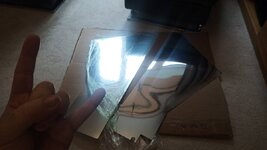
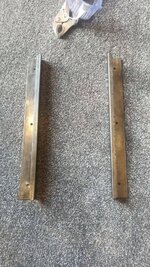
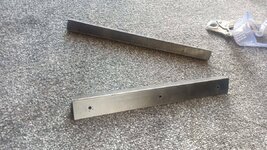
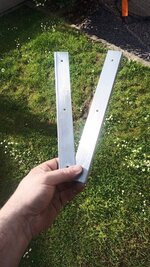
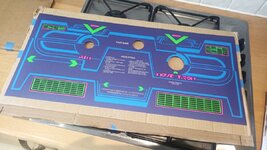
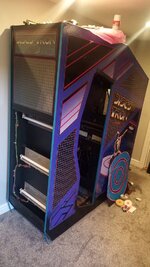
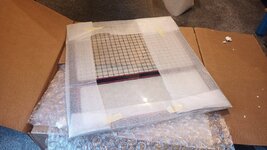
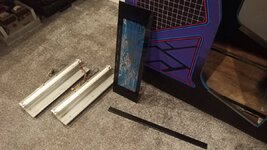
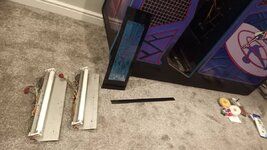
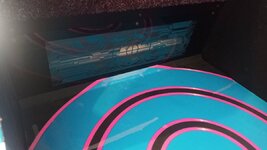
Also the replacement sidemirror blades turned up this morning.
 

Attachments

  • IMG_20220511_122038.jpg
    IMG_20220511_122038.jpg
    100.2 KB · Views: 23
  • IMG_20220511_122144.jpg
    IMG_20220511_122144.jpg
    59 KB · Views: 20
  • IMG_20220509_162300.jpg
    IMG_20220509_162300.jpg
    180.7 KB · Views: 21
  • IMG_20220509_210751.jpg
    IMG_20220509_210751.jpg
    86.3 KB · Views: 24
It should be 120+125. The monitor is on its own isolation transformer. The brick is a 220v one so I think that's the reason for the stepdown increase, I'll need to repin it on the 240 in.

However saying that as it worked in the Tapper ok I'm assuming the G07s are fine with this input voltage. Need to consult the G07 manual.
Just a side note to this previous discussion. Checking the G07 operations manual it has a supported range of 108-132v.
 
Got the surface rust off the floor and the coloured residue from the floor decal.

Ready for a new decal to be applied now.
 

Attachments

  • IMG_20220511_195936.jpg
    IMG_20220511_195936.jpg
    138.2 KB · Views: 19
  • IMG_20220511_195950.jpg
    IMG_20220511_195950.jpg
    131.2 KB · Views: 18
  • IMG_20220511_185514_1.jpg
    IMG_20220511_185514_1.jpg
    145.3 KB · Views: 17
  • IMG_20220511_193514.jpg
    IMG_20220511_193514.jpg
    123.7 KB · Views: 17
  • IMG_20220509_210751.jpg
    IMG_20220509_210751.jpg
    86.3 KB · Views: 14
  • IMG_20220511_181638.jpg
    IMG_20220511_181638.jpg
    227.9 KB · Views: 13
  • IMG_20220511_194312.jpg
    IMG_20220511_194312.jpg
    143 KB · Views: 18
Pulled my NOS floor decal from storage and unfortunately it's slightly delaminated. However they are unobtainium so it will do until they're reproduced.

It applied well.
 

Attachments

  • IMG_20220512_165205.jpg
    IMG_20220512_165205.jpg
    135.2 KB · Views: 20
  • IMG_20220512_211116.jpg
    IMG_20220512_211116.jpg
    143.4 KB · Views: 20
The metal step protectors were pretty rusty so I removed them to work on later. Today after work I decided to tackle them.

I used a drill with a brass metal rust remover wheel to clean them up. They look pretty good now but I'll finish them off Monday when my metal polishing buffer arrives.

I also cut the new carpet out ready to install hopefully at the weekend as my heavy duty stapler has arrived.
 

Attachments

  • IMG_20220513_203531.jpg
    IMG_20220513_203531.jpg
    112.1 KB · Views: 27
  • IMG_20220513_205821.jpg
    IMG_20220513_205821.jpg
    85.8 KB · Views: 28
  • IMG_20220513_195623.jpg
    IMG_20220513_195623.jpg
    169.2 KB · Views: 24
  • IMG_20220416_120357.jpg
    IMG_20220416_120357.jpg
    85.3 KB · Views: 22
  • IMG_20220513_195637.jpg
    IMG_20220513_195637.jpg
    190.2 KB · Views: 25
Goodbye super old smelly fart carpet. You're going in the bin pronto. Honestly it absolutely stinks.

New one installed and looks and smells delicious.
 

Attachments

  • IMG_20220514_203422.jpg
    IMG_20220514_203422.jpg
    76.2 KB · Views: 41
  • IMG_20220514_204809.jpg
    IMG_20220514_204809.jpg
    82.3 KB · Views: 39
  • IMG_20220514_203433.jpg
    IMG_20220514_203433.jpg
    55 KB · Views: 37
  • IMG_20220508_113122.jpg
    IMG_20220508_113122.jpg
    244.9 KB · Views: 35
As I start to try and finish off the rear section I'm working on the rear metal marquee sectional pieces. They're all a bit crap so started to strip them ready for painting.

Normally I would powder coat but they were literally just painted black so I'm honouring the original finish.
 

Attachments

  • IMG_20220515_175719.jpg
    IMG_20220515_175719.jpg
    194 KB · Views: 19
  • IMG_20220515_182345.jpg
    IMG_20220515_182345.jpg
    195 KB · Views: 17
  • IMG_20220515_182552.jpg
    IMG_20220515_182552.jpg
    187.7 KB · Views: 16
  • IMG_20220515_182819.jpg
    IMG_20220515_182819.jpg
    161.2 KB · Views: 17
Finished the metal work on the step over bit.

I decided against a mirror polished finish and more of a factory feel.

I'm amazed at how they turned out, in comparison to how rusted they were.
 

Attachments

  • IMG_20220516_214906.jpg
    IMG_20220516_214906.jpg
    74 KB · Views: 24
  • IMG_20220516_174255.jpg
    IMG_20220516_174255.jpg
    151.5 KB · Views: 26
  • IMG_20220516_214744.jpg
    IMG_20220516_214744.jpg
    64.3 KB · Views: 24
  • Screenshot_20220517-141940~2.png
    Screenshot_20220517-141940~2.png
    207.1 KB · Views: 19
What a great game love these of this era
Taking absolutely nothing away from tron its truly awesome, but cabinet games I can’t get past the empire strikes back Star Wars
Absolutely jaw dropping for me at the time, very young I’m 45 now so god knows how old id be. 7-8-9 ?? Iconic
 
Did some paint tests yesterday. It appears to be a good match for the original paint so I'll clearcoat it once I've primed and
painted the others.
 

Attachments

  • IMG_20220518_181658.jpg
    IMG_20220518_181658.jpg
    77.5 KB · Views: 9
  • IMG_20220518_181108.jpg
    IMG_20220518_181108.jpg
    129.7 KB · Views: 8
  • IMG_20220518_201433.jpg
    IMG_20220518_201433.jpg
    62.6 KB · Views: 9
Last edited:
All external metal work now painted.

It was all stripped to bare metal, then primed, painted and clear coated using Rustoleum products.

Just waiting for some replacement NOS screws to turn up.
 

Attachments

  • IMG_20220523_200445.jpg
    IMG_20220523_200445.jpg
    114.7 KB · Views: 11
  • IMG_20220523_200819.jpg
    IMG_20220523_200819.jpg
    141.6 KB · Views: 11
Cleaned up the rear fluro units in preparation for installing the glass artwork.
 

Attachments

  • IMG_20220523_202533.jpg
    IMG_20220523_202533.jpg
    58 KB · Views: 15
  • IMG_20220523_202909.jpg
    IMG_20220523_202909.jpg
    73.3 KB · Views: 12
  • IMG_20220523_204123.jpg
    IMG_20220523_204123.jpg
    98 KB · Views: 12
  • IMG_20220523_201154.jpg
    IMG_20220523_201154.jpg
    65.8 KB · Views: 12
  • IMG_20220523_201145.jpg
    IMG_20220523_201145.jpg
    77.9 KB · Views: 13
  • IMG_20220523_204358.jpg
    IMG_20220523_204358.jpg
    67.5 KB · Views: 17
Gave up trying to find my CPO and I lucked out finding one in the USA.

It just arrived 😍😍😍😍😍
 

Attachments

  • IMG_20220524_164926.jpg
    IMG_20220524_164926.jpg
    114.4 KB · Views: 24
So after a successful test on the flaked backglass (it didn't turn to ash..), just used my lunch hour to spray the good one.

I did three coats in total. Each coat consisting of one horizontal spray, one vertical, and then horizontal again.

First two coats 5 minutes apart and third coat 45 minutes later.

As luck would have it it started raining as I put on the first coat so I had to pull the doors closed, however I recommend masking up even if there's sufficient air flow.

Wait till tomorrow now before touching it.
 

Attachments

  • IMG_20220525_104513.jpg
    IMG_20220525_104513.jpg
    66 KB · Views: 20
  • IMG_20220525_104515.jpg
    IMG_20220525_104515.jpg
    64.4 KB · Views: 20
  • IMG_20220525_105150.jpg
    IMG_20220525_105150.jpg
    57 KB · Views: 20
Started putting the back end back together.
 

Attachments

  • IMG_20220525_210643.jpg
    IMG_20220525_210643.jpg
    89.6 KB · Views: 29
  • IMG_20220525_210243.jpg
    IMG_20220525_210243.jpg
    66.3 KB · Views: 31
  • IMG_20220525_205822.jpg
    IMG_20220525_205822.jpg
    62.8 KB · Views: 19
  • IMG_20220525_205300.jpg
    IMG_20220525_205300.jpg
    94.4 KB · Views: 19
  • IMG_20220525_205250.jpg
    IMG_20220525_205250.jpg
    150.1 KB · Views: 18
  • IMG_20220525_205014.jpg
    IMG_20220525_205014.jpg
    131.7 KB · Views: 28
So the entire backend is finished now other than swapping a few torx screws out once the NOS ones arrive.

Onto sorting the blacklights around the floor and refitting the floor now...
 

Attachments

  • IMG_20220526_163055.jpg
    IMG_20220526_163055.jpg
    91.5 KB · Views: 28
  • IMG_20220526_163130.jpg
    IMG_20220526_163130.jpg
    73.7 KB · Views: 27
Ok had a bit more time this evening.

Cleaned up and sorted both backlight units with new tubes that fit front and back of the floor plate.

Cleaned the plexiglass that sits in front of one of them and have the black metal bar I restored that locks it all in and secures the bottom of the carpet.

All ready to fit tomorrow hopefully.
 

Attachments

  • IMG_20220526_215943.jpg
    IMG_20220526_215943.jpg
    77.9 KB · Views: 19
  • IMG_20220526_215932.jpg
    IMG_20220526_215932.jpg
    131.4 KB · Views: 20
  • IMG_20220526_215921.jpg
    IMG_20220526_215921.jpg
    115.9 KB · Views: 19
Found a bit more time today. Reassembled the inside of the rear section and the floor and put both blacklights back in.

So with that all done I'll move onto the remaining things to do on the main section that houses the monitor, PCBs, and controls.
 

Attachments

  • IMG_20220527_212142.jpg
    IMG_20220527_212142.jpg
    70.6 KB · Views: 21
  • IMG_20220527_182740.jpg
    IMG_20220527_182740.jpg
    71.3 KB · Views: 21
  • IMG_20220527_181228.jpg
    IMG_20220527_181228.jpg
    94.7 KB · Views: 20
  • IMG_20220527_182811.jpg
    IMG_20220527_182811.jpg
    59.3 KB · Views: 21
Last edited:
Monitor in but having beers and a BBQ now.

More progress tomorrow.
 

Attachments

  • IMG_20220602_144424.jpg
    IMG_20220602_144424.jpg
    63.3 KB · Views: 15
Back
Top Bottom