Pinball info
You are using an out of date browser. It may not display this or other websites correctly.
You should upgrade or use an alternative browser.
You should upgrade or use an alternative browser.
In Progress Creature Feature
- Thread starter s000m
- Start date
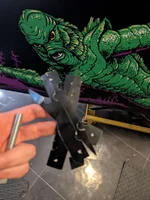
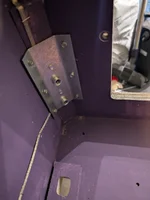
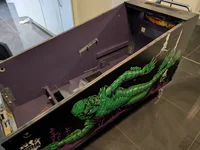
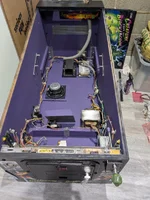
Cool to replace the choc bloc? Not a bad idea tbh. There were choc blocs galore on this game, this was the last one.Good progress! May I convince you to invest in some Wagos or similar to make the 220V distribution touch safe?
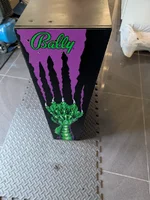
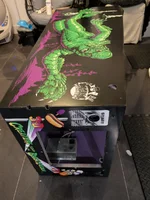
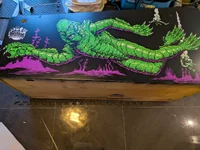
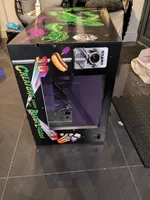
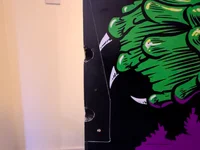
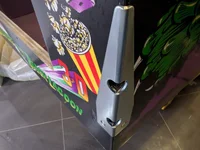
Out of interest, why do you need to cut around the cab protectors? Is that to stop wrinkling or something?
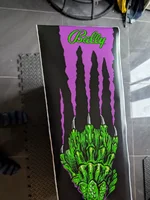
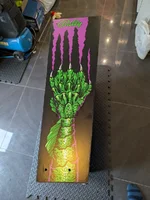
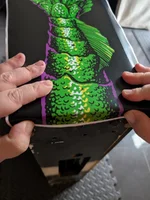
Yes, that’s correct. It you leave the decal underneath they will wrinkle up the new installed decals for sure.Out of interest, why do you need to cut around the cab protectors? Is that to stop wrinkling or something?
You can just score around the leg protectors with a sharpe blade and not remove the decal underneath. It will have the same effect. I do that around coin doors. Though, like Scott, on legs I prefer to remove what’s under it.
Last edited:
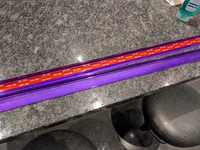
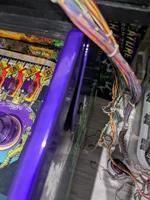
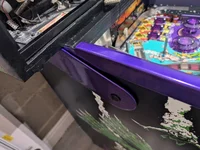
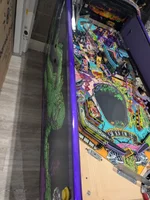
Powder coated parts being fitted.
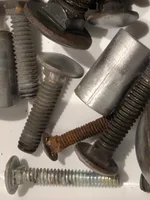
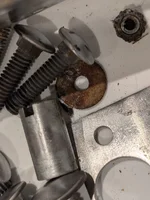
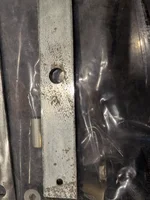
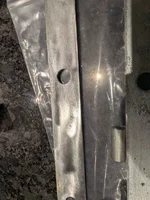
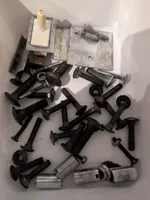
These I received as part of the work, unfortunately whoever did them used way too much material on the parts and I ended spending an hour filing the holes so the carriage bolts could fit!
Note to anyone getting parts done. Always ask for a thin coat around fixtures.
I'm dubious also on the clearance between the rails and hinges. Ants suggested a washer will see what's best. May go down the WPC 95 bracket route they have more clearance.


Last edited:
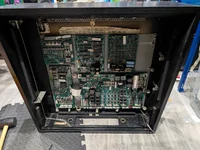
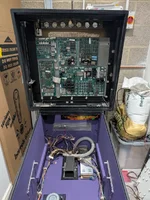
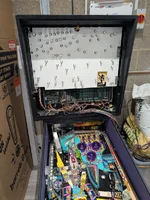
Today was spent deciphering the backbox connectors and repinning snapped wires/broken headers.
One header was entirely missing and the sole wire had been bodged into another lamp matrix header. Wasn't going to accept that!
New header (Molex style) wire stripped and crimped.
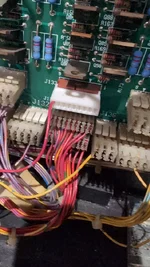
These wires had snapped and needed punching.
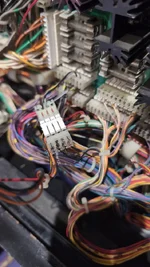
This header was replaced as the wires had snapped.
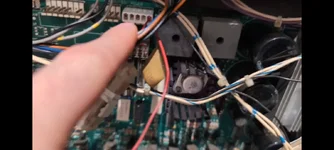
After that I spent time comparing my old build with this one
This game has a nuts amount of wires.
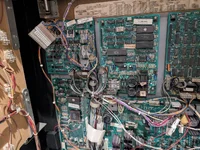
One header was entirely missing and the sole wire had been bodged into another lamp matrix header. Wasn't going to accept that!
New header (Molex style) wire stripped and crimped.

These wires had snapped and needed punching.

This header was replaced as the wires had snapped.

After that I spent time comparing my old build with this one
This game has a nuts amount of wires.

Next up I began installing the wire forms and ramps.
Had to use a different post with a longer threader on top as Cols plastics are quite thick.
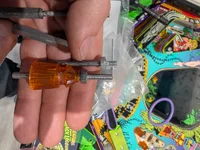
Had to drill a hole for the mount point for the wire form. Hopefully the position is right.
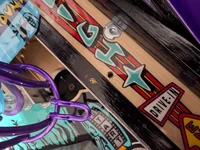
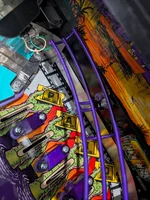
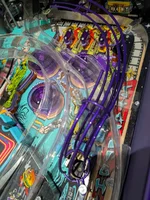
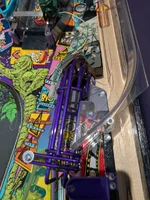
There's a special place in hell for the person that designed this diverter ramp. It's impossible to get at and the back corner plastic is a royal pain to navigate when trying to put the ramp in and then install the diverter over. Thank God for magnet wands!
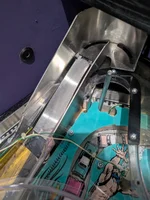
Getting closer to the finish line.
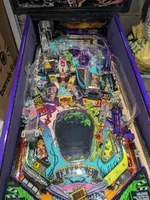
Need to find the diverter part for the mech...
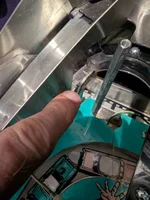
Had to use a different post with a longer threader on top as Cols plastics are quite thick.

Had to drill a hole for the mount point for the wire form. Hopefully the position is right.


There's a special place in hell for the person that designed this diverter ramp. It's impossible to get at and the back corner plastic is a royal pain to navigate when trying to put the ramp in and then install the diverter over. Thank God for magnet wands!

Getting closer to the finish line.

Need to find the diverter part for the mech...

@Asiapinball can you share pictures of the spiral ramp headers/wires please. The header on one was completely snapped and I want to make sure I've wired it correctly.
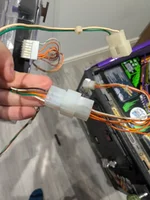
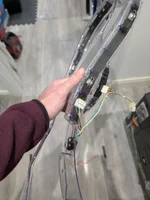
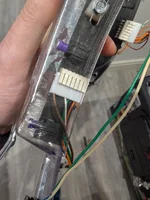
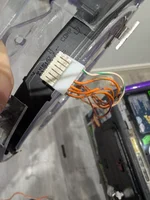


Pin2dmd required a new harness for the power due to the change in power setup.
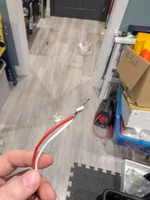
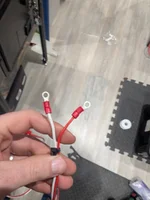
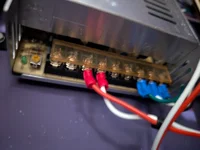
Last two parts finally found there home. It's always a relief to find homes for everything when you receive a box of parts!
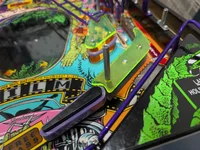
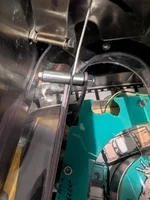
I love Col's plastic protectors but sometimes it's just infuriating when they are so thick you can't even add parts back on. Luckily I had some extra small hex spacers to save me from ripping everything out off and replacing the post below.
Love ya Col, don't hate me
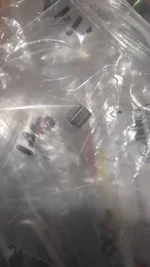
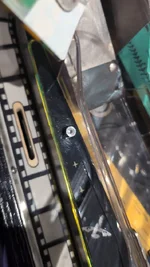
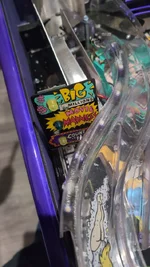
Game is ready for a turn on.
Waiting till I have a long slot free in case there are issues.
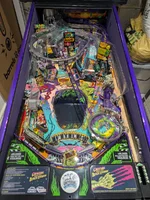


Last two parts finally found there home. It's always a relief to find homes for everything when you receive a box of parts!


I love Col's plastic protectors but sometimes it's just infuriating when they are so thick you can't even add parts back on. Luckily I had some extra small hex spacers to save me from ripping everything out off and replacing the post below.
Love ya Col, don't hate me


Game is ready for a turn on.
Waiting till I have a long slot free in case there are issues.

Amazing stuff on a table i really love. Looking forward to the big switch on. Everything crossed.
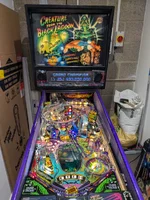
Today was power on day. With the sheer amount of rewiring I had to do I was worried I would get issues. Thankfully the game booted without issue!
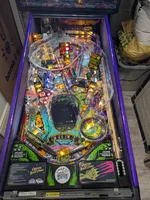
A few lights were out and the outlane switch was on the right return lane and vice versa. Easy fixes.
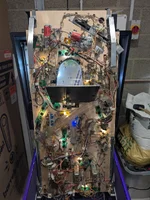
The powder coat thickness reared it's ugly head again however. I spent about 1 hour prying the lock bar to a wider position. It was a bit of a panic not to mark the powder coat while doing it.
I did however just about manage it. I've left it on the cabinet to stretch a bit.
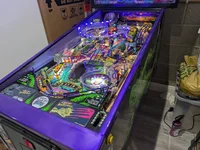
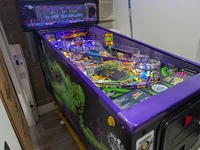
Installed the backbox latch and catch.
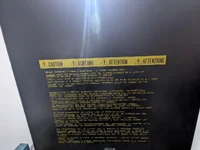
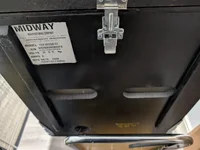
Game needs a play test, but so far so good!
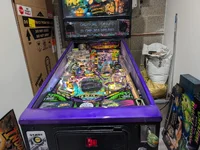

View attachment VID-20251119-WA0024.mp4

A few lights were out and the outlane switch was on the right return lane and vice versa. Easy fixes.

The powder coat thickness reared it's ugly head again however. I spent about 1 hour prying the lock bar to a wider position. It was a bit of a panic not to mark the powder coat while doing it.
I did however just about manage it. I've left it on the cabinet to stretch a bit.


Installed the backbox latch and catch.


Game needs a play test, but so far so good!


View attachment VID-20251119-WA0024.mp4

