What's new
Pinball info

Register a free account today to become a member! Once signed in, you'll be able to participate on this site by adding your own topics and posts, as well as connect with other members through your own private inbox!

In Progress Apollo 13 – “Failure is not an option” “but it’s going to take soon time”

Mozcom

Registered
Joined
Jan 22, 2015
Messages
595
Location
Crewe, Cheshire
Purchased blind from another forum member back in May 2015, this was my first. I’d never played one before but did some research and liked the idea along with an interest of space and a great movie.

It was described perfectly by the seller with loads of pictures, had a saggy bottom, few marks to the cab, played well, but overtime found it difficult to make some shots so I bought a flipper rebuild kit (which has still to be fitted).

I did get a TAFG cab to do a VR setup, a non-working ZAC EWF, and have had a HS2 in the meantime.

Since then it’s been played but not that much sadly, mainly because as some of you may or may not know that my other passion is Motorsport which does tend to take up most of my weekends between March and November and other duties, family, DIY etc.

Sadly I came to realise that I had too many projects and not enough time and so had to let HS2 go as I was playing that and not doing any resto work, TAFG which was nearly finished but sold to another marshal who has the time, money and software experience to finish it, the EWF is still with me, as is AP13.

With prices ever increasing, I’ve decided to do a full resto on the AP13 and give it the time and love it needs and deserves. It may not be everybody’s cup of tea with the 13 multi ball gimmick that can be switched off, but does have some tight shots to achieve the modes I believe as I’m not a good player!

Having never done one before seems very daunting at first, but I figured if a take as many pictures as I need and have fortunately found another chap who is doing the same in Belgium, along with the restores that others have done on here, what could go wrong (gulp).

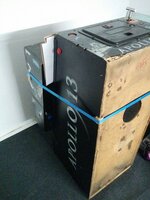
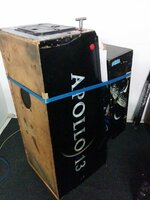
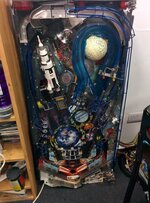
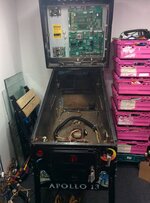
So first up, as it was before it came to mine

http://www.pinballinfo.com/community/threads/apollo-13.19472/

Now before we start this will be a long process as it’s my first so I hope I don’t bore you all?
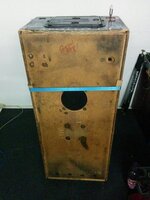
IMG_20161217_162917.jpg IMG_20161217_162959.jpg IMG_20161217_163033.jpg

Saggy bum - Cab damage by leg areas and lower side / front / rear panels - All fixable
 
I loved A13 as did non pinhead family, it's the one that everyone remembers despite having many pins over the years. Would love another but they are just too expensive now, I paid something like £450 for mine 12 years ago and it was minty just had a switch matrix fault.

Anyway nice project and well worth the effort
 
Thanks @ronnie63 but i'm sure most paid much less 12 years ago for all titles, it's for that reason TBH that I decided to give it the full works so that I could, and others, appreciate it like it was new. Once finished I want to give back to community the support that has enabled me to enjoy many other pins and have this at as many shows as possible.
 
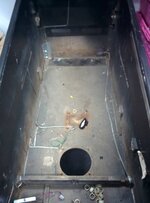
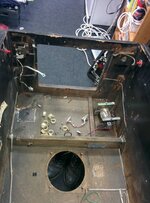
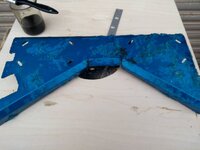
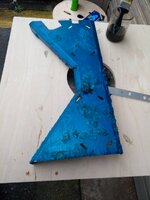
The Bums been removed and a new 18mm MDF piece has been cut to replace it - still needs the speaker and other holes to router out but that will come later.

Custom Abort Handle Removed
IMG_20170423_135042.jpg

Back box removed

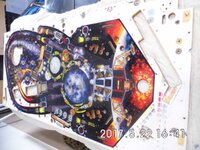
Playfield time :hmm:
 
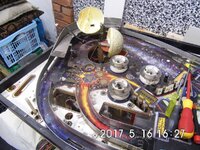
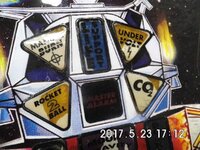
My O My the dirt - 20 + years of it!! Mind you, I suppose I didn't help by not doing something sooner

DSCI0219.JPG DSCI0220.JPG DSCI0282.JPG DSCI0283.JPG DSCI0284.JPG DSCI0296.JPG DSCI0299.JPG DSCI0303.JPG DSCI0313.JPG DSCI0317.JPG DSCI0322.JPG
 
Now Mylar Removal :)cuckoo:)

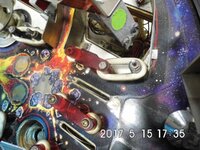
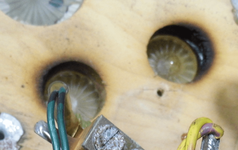
Had been already in touch with @chris platt regarding this and watched and researched the two different methods of removal - freeze spray and hairdryer!!! Different choices even by the same person on same playfields - it's always a gamble - the mylar was already lifting here due to overheating from a bulb below - centre left of the picture

DSCI0240.JPG
So if it's already coming off with heat - then heat is the way to go............

Mylar Heat.png

So if heats lifting it then HEAT IT IS :cuckoo::cuckoo::cuckoo: Oh so I thought?

This was the outcome

DSCI0459.JPG DSCI0460.JPG DSCI0461.JPG DSCI0462.JPG DSCI0463.JPG DSCI0464.JPG DSCI0466.JPG DSCI0467.JPG DSCI0468.JPG DSCI0469.JPG DSCI0471.JPG

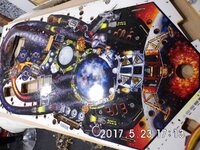
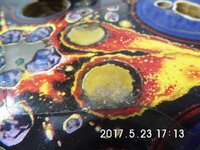
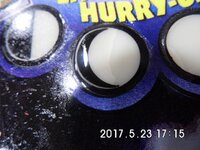
OH FFS - what have I done :mad::mad::mad::mad:

I sent these pics to @chris platt who told me "if it's happened to you it would have happened to me" .......... I'm not so sure, first one and all for me!!!

It has now been hand delivered to him for assessment, repair with deposit paid because I never want others to be out of pocket whilst doing things for me, and I have every faith in him looking at other work that he has done for others that this will return as new if not better. He did explain that the areas that were lifting already that the Mylar could have been removed and fixed in those areas and leave the rest of the Mylar on, so just a little tip to others if doing this!! Maybe I went too far but after looking @tonybelgium restoration I wanted the Mylar off, playfield spot on and several coats putting on with a lovely glimmering finish.
@chris platt was even kind enough as he was going to @chris b house the same day, that he'd pick up the stern blades I wanted and keep safe so when the playfields ready, I can pick up both from him, I just hope they will fir my SEGA? It was probably a good idea considering what @chris b posted to sell that day or I would have spent a lot more, but sad that I didn't meet the bloke but I had to go also to Liverpool to pick my lads stuff up from uni.:(
 
That's a bummer! I would be crying, did you pull back on the myler and not upwards?
 
Pull back carefully. Not the right way? Anyway, ****s done now :mad: nowt I can do about it, as I said - @chris platt got the job in hand!

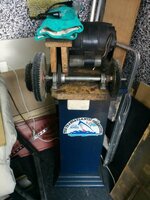
Any way, asked around for a polishing machine for sale or loan - friend came up with one - ORIGINAL I have to say - sorry pics on phone update soon
 
I spun up the drill too quickly when buffing my Earthshaker and took a load of paint off to the wood

It's infuriating but the best lessons in life are learnt the hard way. You gotta go there to come back. Don't worry I'm sure Chris will sort it.
 
I spun up the drill too quickly when buffing my Earthshaker and took a load of paint off to the wood

It's infuriating but the best lessons in life are learnt the hard way. You gotta go there to come back. Don't worry I'm sure Chris will sort it.
Sure are mate. Live and learn! Oh and I'm not your mate who f##£ed his AP13..... I'm your new mate that has[emoji41]
 
Ah yes. I have been barely on here for a while. I think this left mine on route. I might be able to explain some of the odd bits I remember like the broken fuse soldered to a breaker. :confused:
 
Ah yes. I have been barely on here for a while. I think this left mine on route. I might be able to explain some of the odd bits I remember like the broken fuse soldered to a breaker. :confused:
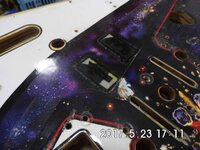
"WHERE HAVE YOU BEEN" !!!!!!!! Nice to see you back. 2 years since you posted assistance on this little dilemma. [emoji6]
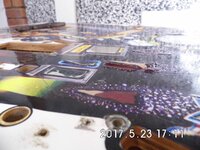
 
Well, it has to be said that not much has been happening here at Mission Control other than sanding the base cabinet back yesterday after being busy with my marshaling.
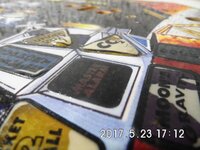
I'm not sure whether to be a purist and put retrorefurbs original decals back on, the alternative or have some of my own commissioned by Stuzza?

The artwork on the plastics as you all know are very low definition and I'd like High Def or bespoke ones made?

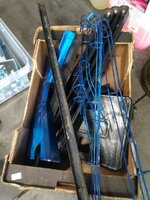
Also, although I like the previous refurbs of metal work being done in blue, I was thinking either metallic white or metallic black?

Any thoughts greatly appreciated ?

I do have a couple of mod's to put on later when done ( pics to follow)

Again many thanks to @Neil McRae for the LEDs
 
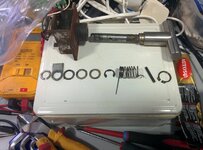
Please can someone advise if this is a normal amount of play in a slingshot arm?

Sorry trying to upload vid but can't seem to.
 

Attachments

  • VID_20180121_152755625.mp4
    14 MB · Views: 13
Not really but is it a a rivett pin ?
Is so tightened up up with a hammer and nil punch .A riveting die will be better !?
 
Black legs and metals with silver specles like batman 66 would be spot on


Sent from my iPhone using Tapatalk Pro
 
Black legs and metals with silver specles like batman 66 would be spot on


Sent from my iPhone using Tapatalk Pro
Cheers Neil. Kinda possibly thinking chrome/nickel metal work. Personally gone off the blue. would like to get rid of it and mirror/brighten it up somewhat .
 
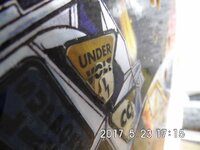
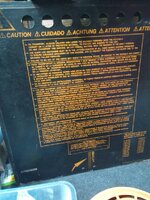
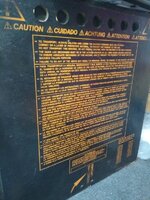
Going from others views about a full shop I've decided to stick to the original decals which I'll be ordering from @PeteB soon. Would have had new done buy stuzza but it seems original is best even though I know what I'll spend on this I won't get back and probably won't due to this. And also A13 is not up there but I want to do it right. Can anyone help with these. The original warning decal/screen print or should I just go for generic?
Bottom missing due to already sanding off sorry!!!
Metallic black preferred for legs and side armour
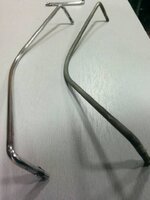
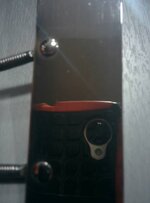
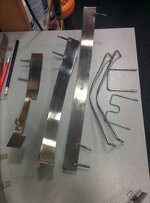
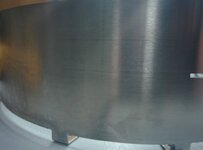
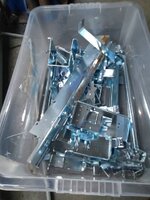
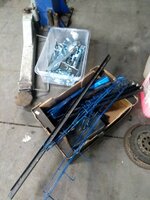
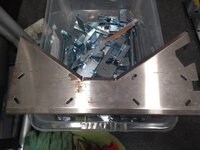
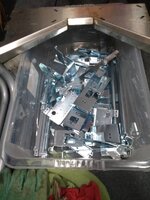
Zinc plating done so far
Any thoughts????
uploads.tapatalk_cdn.com_20180205_d266009b03d6d1eb0f365e99f1f4d81c.jpguploads.tapatalk_cdn.com_20180205_774bca8b2404202035f41094c5a171e1.jpg

Sent via my phone and Still looking for a working but inexpensive TWD....[emoji57]
 
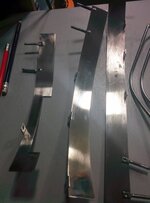
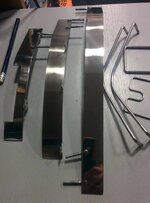
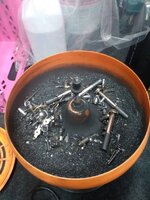
Cleaning polishing. Cleaning polishing cleaning polishinguploads.tapatalk_cdn.com_20180205_3f8ca17d08d048d43742b2462c850528.jpguploads.tapatalk_cdn.com_20180205_e65374072b1ad17a461dd822c7b0ed3f.jpguploads.tapatalk_cdn.com_20180205_a5c2d7492bce6ddf7bb709df9917f7bd.jpguploads.tapatalk_cdn.com_20180205_0e0b6d0b402dc6314b1e7568a813026e.jpguploads.tapatalk_cdn.com_20180205_7e46f357136ac6c0f8aaa3a4c092e6b7.jpguploads.tapatalk_cdn.com_20180205_28c2e25594c7a047c8511004e8e5fdfe.jpguploads.tapatalk_cdn.com_20180205_fe2be24efdf187b4a26535d0aa98484c.jpguploads.tapatalk_cdn.com_20180205_6beb4e9b117b54e3a16d7b0b850611dc.jpg

Sent via my phone and Still looking for a working but inexpensive TWD....[emoji57]
 
Back
Top Bottom