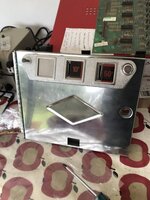
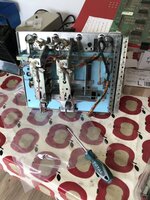
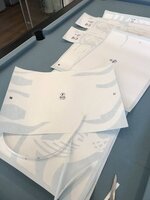
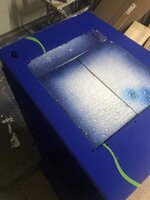
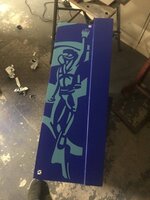
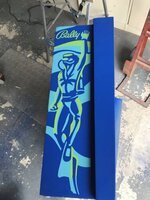
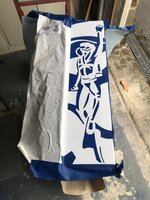
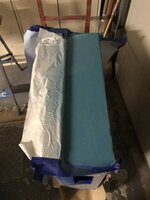
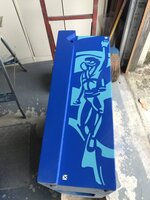
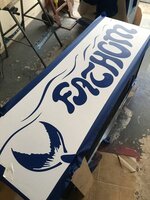
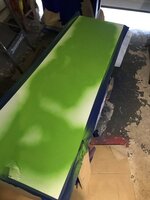
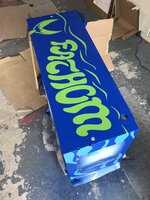
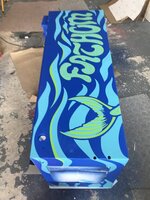
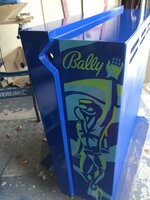
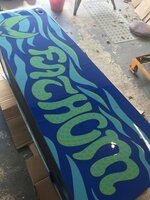
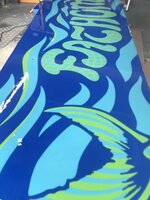
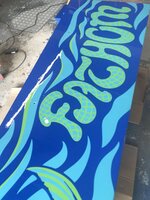
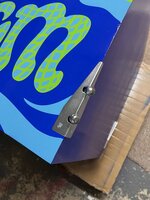
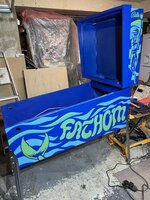
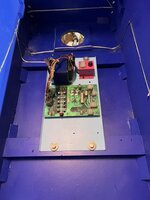
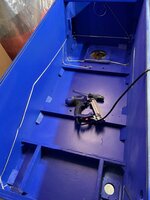
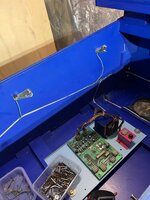
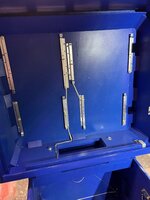
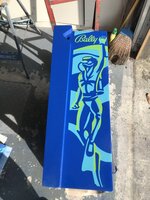
Hi Rattle cans, fathom, went for a nice sea blue base and then need to experiment to find the right stencil colours.
Pinball info
You are using an out of date browser. It may not display this or other websites correctly.
You should upgrade or use an alternative browser.
You should upgrade or use an alternative browser.
Complete Bally Fathom
- Thread starter AlanJ
- Start date
I love everything about the new haggis fathom EXCEPT that ****ty coin door.I wonder if anyone will ever transfer a new haggis fathom playfield and electrics into an original fathom cab, I think it would look much better than that terrible rip off of a bally coin door someone designed for the new cab
Second stencils.
I’ve learnt (the hard way) to not rush the stencilling. only do one side and one colour per day.
Second stencil on the cab front. no need to remove all the transfer paper if there is no paint going down so i just leave it in the centre of the cab front area
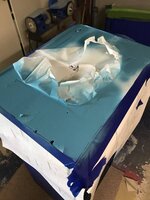
remember to mask off the rest of cab
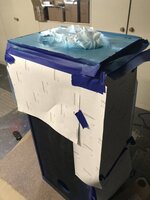
but remember to tape over the registration mark holes to avoid a small thin line
because the registration mark squares never ever line up enough to avoid a gap
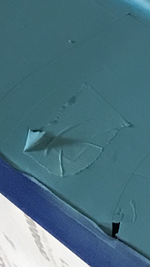
stencil 2 on the head lh side.
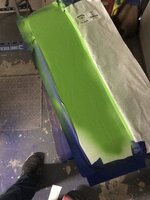
Tomorrow i’ll turn the head over (need to protect the new artwork with a clean sheet of waxed paper), and start the rh side.
I’ll also do the lh side of the cabinet. 2 days to do those, then another 2 to do the rh side of cab.
Finally, It takes about 6 days in total to clear coat everything, but need the paint underneath fully dry first.
I’ve learnt (the hard way) to not rush the stencilling. only do one side and one colour per day.
Second stencil on the cab front. no need to remove all the transfer paper if there is no paint going down so i just leave it in the centre of the cab front area

remember to mask off the rest of cab

but remember to tape over the registration mark holes to avoid a small thin line
because the registration mark squares never ever line up enough to avoid a gap

stencil 2 on the head lh side.

Tomorrow i’ll turn the head over (need to protect the new artwork with a clean sheet of waxed paper), and start the rh side.
I’ll also do the lh side of the cabinet. 2 days to do those, then another 2 to do the rh side of cab.
Finally, It takes about 6 days in total to clear coat everything, but need the paint underneath fully dry first.
I love everything about the new haggis fathom EXCEPT that ****ty coin door.
Hi, Alan,
Re. the door shown for the Haggis remake; I've finally snuffled through the other thread to see what it looks like, and wished I (or haggis for that matter) hadn't bothered. The point of the original door (as with most at the time) was that it could be altered in the field for single, twin or triple chutes, whereas that's locked as a twin. I thought it couldn't be as bad as the one used on the pre-merger games.. but it reminds me of the imitation Williams door that Zaccaria used to use.
Last edited:
Even Vee's Flash Gordon would look out of place there, Alan. Especially as you already have one.
ha ha yes no golden coin doors for me here
Another early start the morning, head 2nd side done. and completed the cab lhs. tomorrow i’ll turn the cab and start the other side.
The stencil has left some white glue stains in places. This hasn’t happened before, I guess it’s because i’m using matt paint rather than gloss, which is stickier. I’ll have to experiment to see what is best to remove that without harming the paint. I’ll start with water
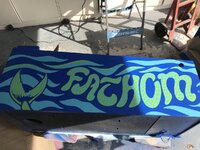
The stencil has left some white glue stains in places. This hasn’t happened before, I guess it’s because i’m using matt paint rather than gloss, which is stickier. I’ll have to experiment to see what is best to remove that without harming the paint. I’ll start with water


Yes we've reached the Stencil Porn phase of your shop log @AlanJAnother early start the morning, head 2nd side done. and completed the cab lhs. tomorrow i’ll turn the cab and start the other side.
The stencil has left some white glue stains in places. This hasn’t happened before, I guess it’s because i’m using matt paint rather than gloss, which is stickier. I’ll have to experiment to see what is best to remove that without harming the paint. I’ll start with water
View attachment 167224
View attachment 167225
Spent the last few days touching up paintwork and applying several coats of clear with a light sand in between. Working in the garage isn’t ideal as the Mrs keeps coming in and out with her car. Might have to invest in a spray tent for future refurbs.
The clear takes time to cure, i’ve done the majority of the head, and the front and one side of the cab. need to leave it a few days now before I turn it over and do the final side.
I have seen some folk paint their cabs vertically, but for me I have experimented and found that horizontal gives the best paint and clear coat results. It just elongates the time massively. Hopefully I’ll be finished next week sometime.
applying several coats of clear with a light sand in between
Fantastic work. I'm almost to scared to start a shop log reading this!
Hi - what type of clear are you using. Rattle can or a tin and brush on?
Thanks
Hi rattle cans for paint and clearFantastic work. I'm almost to scared to start a shop log reading this!
Hi - what type of clear are you using. Rattle can or a tin and brush on?
Thanks
Wow absolutely incredible stuff, very clever.
Can’t wait to see it complete Alan
Can’t wait to see it complete Alan
When I first looked at that I thought you had managed to take some paint off - but I see its just shinier that a very shiny thing.
yep the white bits are the reflection of the light 

Some finish that 


Absolutely stunning
Fathom has awful hinges for playfield maintenance. If you lift the PF up, the spinner bracket hits the backbox.
So you have to remove the playfield from the furthest hinges and place it on the second set of hinges nearer to the coin door.
If you want to keep it original, you are stuck with this. But given the work you are doing, I would consider the wooden track hinge system used in Paragon and other games. I find this much better and far less likely to bugger my back or my game.
I despise the Fathom hinges and feel like selling my game every time I have to lift the playfield out
Full day on this today.
first - it was a lovely day, so got to do some polishing, the coin door frame first
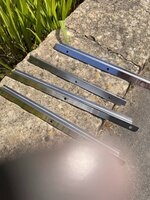
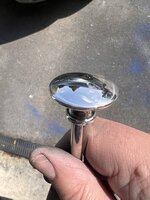
Then I decided to have a go at polishing my knob
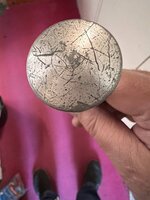
turned out as:
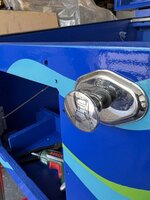
So decided to polish the huge bolt that holds the lockdown receiver and opener in:
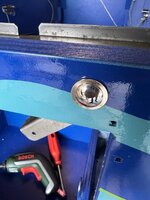
Front coming together:
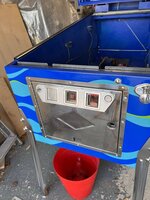
I polished loads of other little bits and started reassembly
Then for a change - decided to have a go at sorting out the stained insert door:
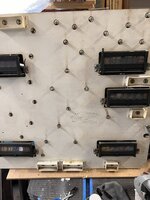
first remove bulbs and score display and trays
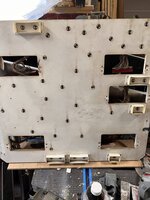
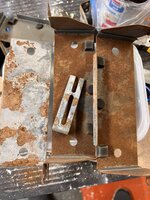
Evaporust time for these nasty rust monsters:
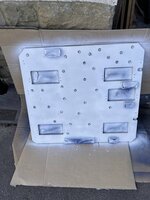
Masked everything off and sanded then a few coats of brilliant white. This is after 2nd coat. Still patchy
Got waylaid by a surprise visit from Marting Deliveryman with a Centaur present for me - no idea it was arriving @steve brum
first - it was a lovely day, so got to do some polishing, the coin door frame first

Then I decided to have a go at polishing my knob

turned out as:


So decided to polish the huge bolt that holds the lockdown receiver and opener in:

Front coming together:


I polished loads of other little bits and started reassembly

Then for a change - decided to have a go at sorting out the stained insert door:

first remove bulbs and score display and trays

Evaporust time for these nasty rust monsters:

Masked everything off and sanded then a few coats of brilliant white. This is after 2nd coat. Still patchy

Got waylaid by a surprise visit from Marting Deliveryman with a Centaur present for me - no idea it was arriving @steve brum
Can’t believe how well your knob came up 

 oh errr

