What's new
Pinball info

Register a free account today to become a member! Once signed in, you'll be able to participate on this site by adding your own topics and posts, as well as connect with other members through your own private inbox!

Complete Bally Fathom

AlanJ

Site Supporter
Joined
Dec 27, 2017
Messages
7,776
Location
Leeds, West Yorkshire
Alias
Alan
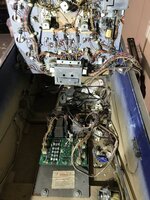
Decided to make a start on this today - I need a break from an Alien Poker sound / speech card which is driving me nuts !

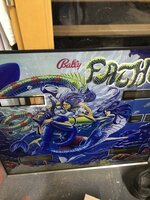
So fathom - original backglass lost major artwork at the bottom, but i have an ok cpr one to replace this
E94F2EDF-3E67-4473-87E2-0F876F9F7A9F.jpeg

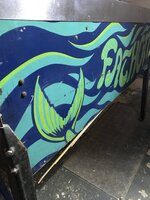
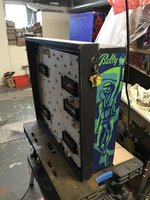
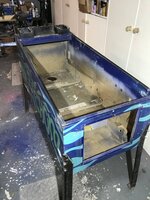
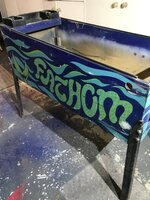
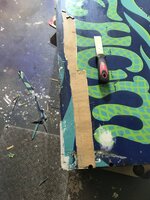
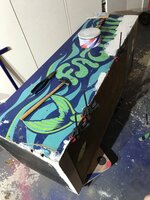
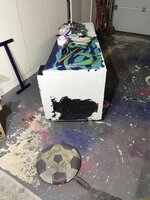
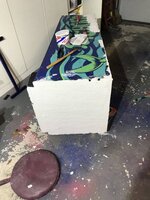
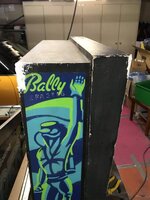
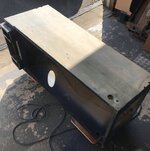
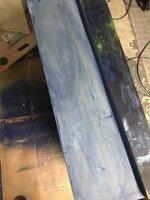
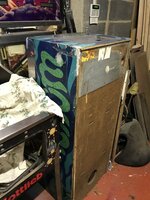
the cab and backbox ok but need repair and restencilling
65045CDD-DD89-4925-93B0-1AF7C967B398.jpeg

752AC0B0-8599-4442-B25C-63EE0091A6FC.jpeg
295EB701-83B8-4DA3-A0B5-95C78236E1E1.jpeg

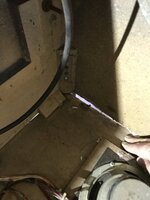
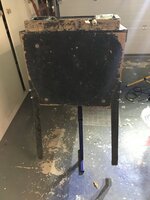
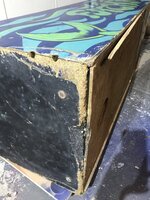
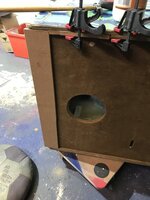
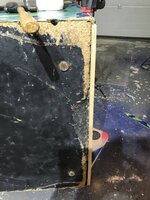
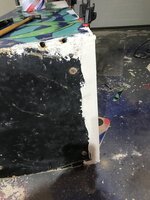
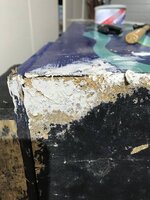
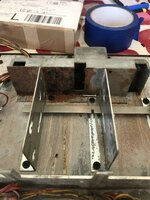
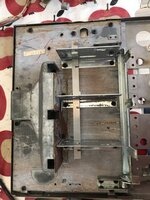
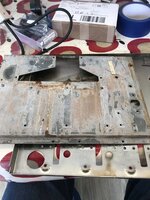
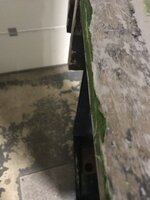
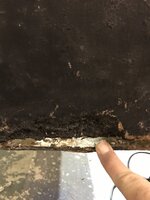
The rear of cab floor is loose, quite a bit of the back panel at the bottom also missing
CAE237C4-10F9-4B9D-B295-6035EBBF5D2C.jpeg
CA1C60E3-0B7E-4F73-9031-87B209A1938F.jpeg
21CB23A2-FB31-4C9E-95A4-D70868E6705B.jpeg
So needs some careful repair

04746E43-F7D2-4D19-9BD0-F2253C2ABFFA.jpeg
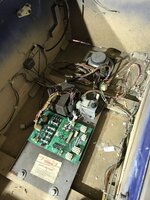
Everything seems there in the cab

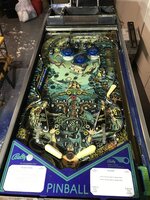
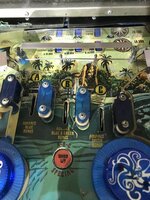
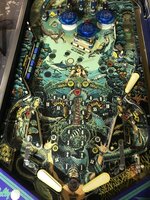
Playfield isn’t in too bad a shape. a broken plastic or two, but overall not bad. I’ll eventually put in a new CPR playfield if i can get one.
8BC1E607-759C-4596-ABC9-878432DF2792.jpeg
39701273-6104-4672-981D-A37C3CB1DE2D.jpeg
3D660095-902C-470E-BA80-B00E89934AC4.jpeg
1006187B-5C1F-4C70-AB54-4D5D2EC551B1.jpeg
88BEE03D-4B2C-4700-96BF-3B438628B477.jpeg
209595C1-C7E2-4242-9282-9816DC9446DE.jpeg
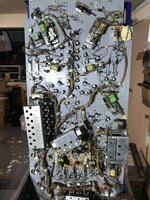
Underside of pf all looks fine. nothing missing

So on with the strip out:
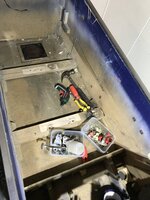
I have decided to take absolutely everything out of the cab and backbox, and do a real quality inside and out refurb on this one.
928F9820-A97F-4DE0-AE1E-77A4667E4E08.jpeg
9E61FAF3-DB82-4E93-B342-FFEB999F606A.jpeg
A46BCBB5-54C9-4BA3-A882-B1CE9090CBB5.jpeg
05F584E5-4ED9-419D-A5E2-41AD265DFF4A.jpeg
55175129-B11D-405A-B155-698332DC0F14.jpeg
32337F0D-4A0B-4E00-8848-1E4D60A38051.jpeg
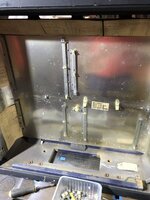
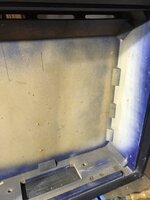
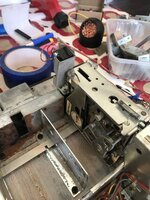
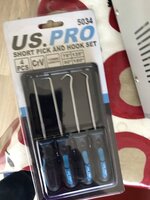
Removing the silver foil card liner is a nasty job because it is stapled in with quite a lot of staples that are hard to remove, I used some picking tools to lift up the staples
9EB83CA0-C813-45FA-A8B1-9535E5CF10FE.jpeg

Next stages are to clean all the rusty metal and screws and then prep the inside of the backbox and repair the cabinet floor and rear panel.
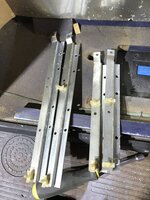
Also have jobs like the coin door to refurb, clean and polish plus the side rails and other metal bits to polish

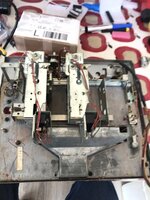
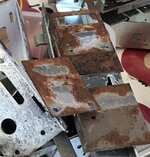
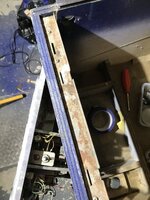
as usual the lockdown receiver is really rusty and nasty. evaporust time !!
7928D251-391F-433C-A8BD-43F8A70C5B8A.jpeg
 
Good luck with your mission! You replacing the lower timber or will it live again? Did the factory use particle board at the rear of the cabinets? Looks crumbly.

You could touch that side stencil paint work up, worth thinking about?
 
Rear as usual is chipboard - horrid stuff, I think it's all repairable. I'll take a real good look tomorrow

Cab art could be saved, but I'd rather totally strip and repaint it.
 
Crumbly junk almost as bad as MDF! Me personally, I'd touch the cabinet up and respray the inside. Either way, it will be nice to see tidied, I love the colours on Fathom!
 
I was just watching videos of laser rust removal last week. Is that something you've ever considered?
 
I was just watching videos of laser rust removal last week. Is that something you've ever considered?
Ive seen a similar video - no idea where i'd get it done though. To be honest evaporust is the magic solution for me. it really does the best rust removal job.
 
Tackling the cab repairs
018D02CF-1B05-43FE-A78C-F938FCD0A7F0.jpeg

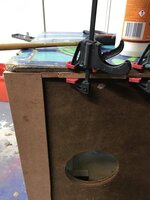
I glued and tacked the base board back in place, then set about strengthening it up, plus need something to work to in order to repair the chunk out of the back panel :
A86B5EDC-C58F-4AE2-9C3D-0B0CAE398B37.jpeg
0FEE6FCE-A455-4867-A1CD-CF41BF012498.jpeg
So glued and nailed a piece across the bottom, and put some edge pieces on. glued up the original edge piece - will fill and sand these all later. rear now got a work line :
0A2294DB-22D8-4E46-9575-244A43FD66CE.jpeg
Filler:
ED7F50A6-1077-455F-B8A6-7F199DB12EA1.jpeg
Next this side piece of ply has risen and warped, i know from prev experience these don’t glue down and stay down, so decided to cut it out, glue the edges down and fill:
FD6632CB-73A6-475B-BE04-DE2C59D51C72.jpeg
91968FA5-0DB2-4F6F-8DA2-47CF078E08E2.jpeg
233BF69A-EC3F-46D6-B30F-E83D043FAF56.jpeg
 
I don’t usually do too much to the rear panel, but on this project I want the back super smooth, so first job remove the rusty old metal furniture glides. they were really yucky and so it the chipboard underneath
8A7ED6D5-45AE-490D-BAD6-8DA4E5ACA647.jpeg
1DE85E56-39C1-4C64-9C0C-BBAC4C3AF655.jpeg

The edges of the back panel have been chavvelled off with being scraped around over the years
743F9FFD-7F9A-4E1E-BAAA-88468D556E2B.jpeg743F9FFD-7F9A-4E1E-BAAA-88468D556E2B.jpeg

So I have decided to apply a layer of filler over the whole rear panel.
79B97013-9F05-46E6-859D-25E88B5DD51B.jpeg
0C5473EA-FE20-4C66-BE00-2ADB11CA5AFA.jpeg

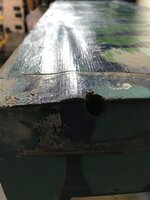
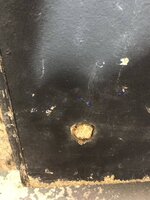
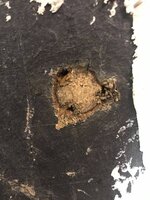
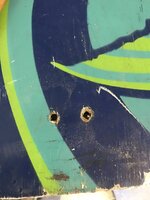
At the rear of the cabinet sides there were two carriage bolts. I can’t see what they were used for, so removing and filling in these two holes
8FCB13E9-619F-4EE4-A57C-DC43BB2A571B.jpeg

Had to make up quite a few batches of filler, so started to fill in other areas I can see need it with the leftovers.
34136002-96BF-469C-971C-68EED492F618.jpeg
 
Does the Evaporust work on plastic bits? (I see what looks like the toggle switch cover in there). Btw, where are you buying it from?

Enjoying this thread, thanks for posting :thumbs:
 
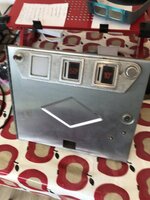
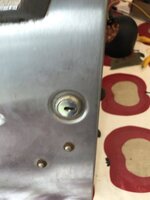
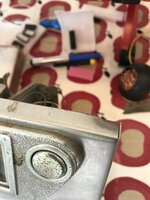
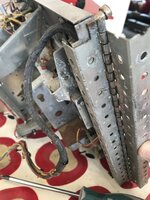
Coin door dismantle.
As usually filthy and rusty but will clean up all ok
12022066-1A8B-475C-846B-070DD519E89C.jpeg

Two bolts through the front of the door. not nice

FF0FC754-FBF1-4AAB-94AE-0D2F9700173F.jpeg

Usual bends on the side and also on the top
238AB11E-19C8-4DED-BB70-0E29E7BB7858.jpeg

Need to photo how the hinge goes on cos i always put in back wrong 😂😂
AE7C1A6A-D03F-4EAB-8D78-CCABA7AD314A.jpeg

0139C9FA-EC11-4256-BBBB-4CF59DC7D342.jpeg
593E914A-F04A-4EB8-934D-755A85392F10.jpeg
9C539A37-9FF8-4BA6-9C6F-F237FDFD3809.jpeg
F8C376B6-FBDB-4930-A69B-15899F04F814.jpeg
D1732ED9-ACE1-4327-B038-0CC886869D70.jpeg
3EDB11CE-CC97-48C5-85CF-07E61E1CF412.jpeg
287170B9-6D30-4882-97C3-20CDCA594286.jpeg
165EAD09-F420-4ABF-9D41-243D7BCF56C3.jpeg
FA04058A-40E0-4D07-A6D1-36576BC73026.jpeg

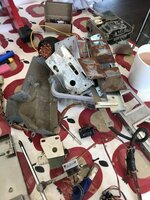
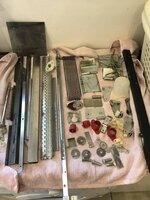
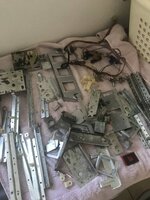
Done. nice pile of rusty greasy metal
ACCDD643-AF51-409C-81C8-DD06A1C2F653.jpeg

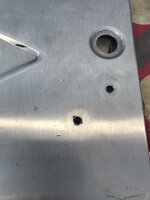
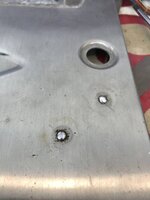
Now those horrid holes:
58EFC3AA-3193-457E-9778-2F8A6B7AB6D5.jpeg

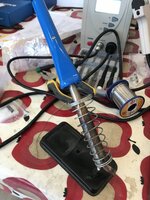
Gonna fill with solder, so out with my biggest soldering iron
B2147433-9EBF-44D9-997E-6E490C094A2E.jpeg

Two nice blobs of silvery solder in the holes, it will polish up well I hope
A3FDE636-B540-430C-8676-5503EEBA1B14.jpeg

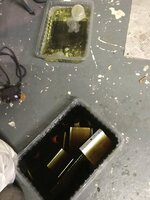
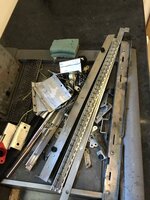
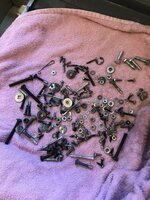
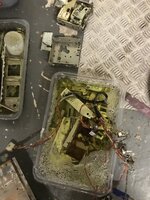
Rest of the parts off for an evapobath.
 
Does the Evaporust work on plastic bits? (I see what looks like the toggle switch cover in there). Btw, where are you buying it from?

Enjoying this thread, thanks for posting :thumbs:
Yes it is really good for cleaning up dirt plastic - dont know why it does, i discovered it does by accident.

Last lot i bought was 20l (4x5l) off ebay £110 mins you that was 2020 !!
it’s not cheap but lasts plenty of uses
 
The coin entry plastics look like Williams ones, or copies of them. At least the 50 pence was central, as I supposed Bally placed it to ease the reject path for such an awkward coin. U.K. spec. Stern games with 10 pence to the left and 50 pence to the right could have problems with an old 50 pence coin if rejected.
 
Another tray of parts in evaporust
F8673B2A-C90B-4CF1-8A61-01177A78DBC9.jpeg
Tip: large packs of chicken breast packaging are good trays

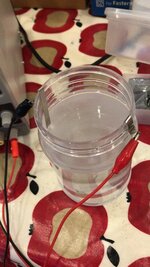
Gonna have a go at electroplating so first step make a nickel plating solution
69EDAC1D-68CA-427C-963F-92836CCE863F.jpeg
it’s bubbling away nicely.

need to find some hydrochloric acid next. not sure where you get that???
 
Got family stuff on today, but just time to do a bit more filler work and empty the initial lots of evaporust treated stuff:
FADA268C-0F42-45B9-818A-7269C8AE7653.jpeg
B0EA71EC-B703-40D2-B791-71FB38B96640.jpeg
452C5E16-0616-47EA-8EAF-65E62211164C.jpeg
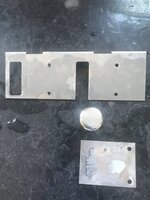
All nice and rust free. so need a good polish and cleanup, lockdown received loping a whole lot nicer now.

14 hours so far on this project. Will be interesting to see total hours at the completion !!
 
Absolutely zero progress today. Had some friends round for pinball and 🍷 last night. they didn’t leave until after 2:00am. Many bottles were consumed. I’ve just started to come round at 21:15, been wiped out for the whole day. #GettingOld

Normal service will be resumed tomorrow. Sanding the cabinet day if the weather is good.
 
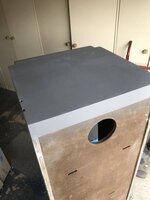
Tried the acetone method of paint removal. pretty good , almost down to bare wood
13347943-85E9-451F-A9ED-ADF0F793C54A.jpeg
will reduce sanding time considerably

sanded the rear of cab and then been round refilling edges and missed bits. using a strong epoxy type glue
1D66D9A2-962C-453E-AD3C-077CF737F307.jpeg

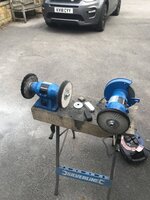
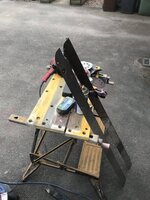
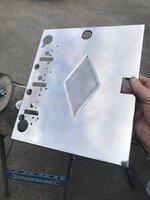
Spent a leisurely afternoon polishing metal
A8DB152A-189F-4163-909E-AE519A33A23B.jpeg
619BD324-C35D-4012-8E1C-F8F2335FCF16.jpeg

not bad:
689D7B48-855E-490E-A1C1-6B6FC08925AF.jpeg
Lots more polishing tomorrow.

project time so far. 30 hours
 
Tried the acetone method of paint removal. pretty good , almost down to bare wood
View attachment 164318
will reduce sanding time considerably

sanded the rear of cab and then been round refilling edges and missed bits. using a strong epoxy type glue
View attachment 164319

Spent a leisurely afternoon polishing metal
View attachment 164321
View attachment 164322

not bad:
View attachment 164320
Lots more polishing tomorrow.

project time so far. 30 hours
Is that two polishers at once??? Skills!
 
Boring day today, filling sanding filling sanding filling sanding sanding filling sanding filling. then polishing and polishing and polishing and polishing. i’m ****e at polishing it’s such a boring job.

no pics cos they would have just been pics of a grumpy old bloke polishing bits of old metal and sanding old planks of wood.

Worst thing is, I’ve got several more days of this s**t.
You love it really...come on, we need pics!!
 
@AlanJ I've probably asked you this before but how are you painting the cab....compressor/gun, rattle can, roller etc? What specific colours are you using for Fathom as I need to start thinking about doing mine soon, it's only been waiting for 5+ years :eek:
 
Back
Top Bottom