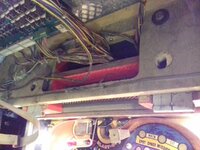
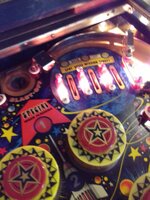
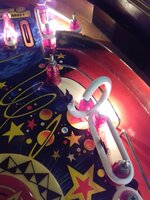
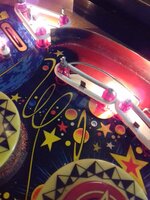
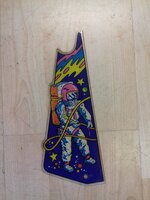
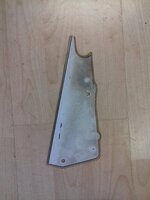
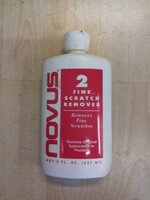
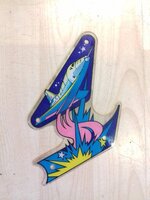
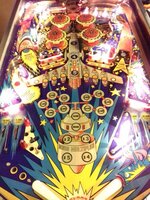
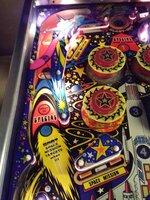
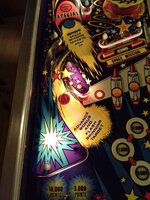
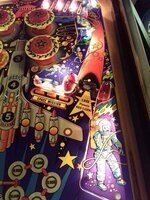
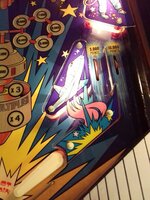
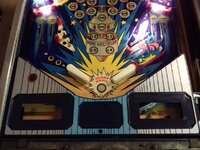
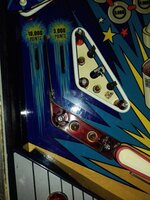
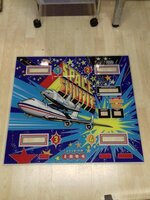
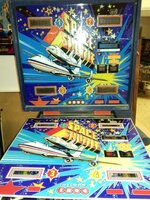
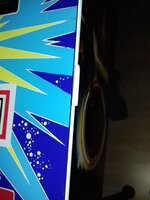
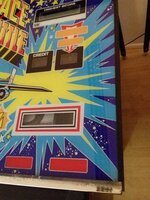
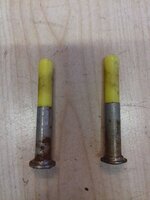
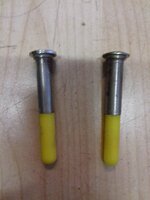
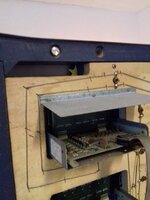
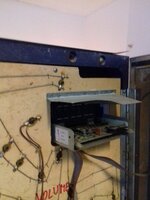
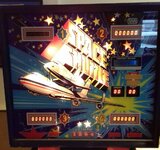
That just about brings us up to date. New backglass on order along with replacement displays for the faulty one. @Zaccaria Keith is going to help me out with a few parts from his spares.
Pinball info
You are using an out of date browser. It may not display this or other websites correctly.
You should upgrade or use an alternative browser.
You should upgrade or use an alternative browser.
In Progress Zaccaria Space Shuttle
- Thread starter Moonraker
- Start date
Cripes, that playfield is now looking good 
That's looking great now Peter - some good before and after pictures there. I hope to make time tonight to sort out the parts you need to finish it.
Super job as always 
May I ask what is your preferred method in taking the screws out of the playfield or are they bolts ?

May I ask what is your preferred method in taking the screws out of the playfield or are they bolts ?
Removed the damaged insert...
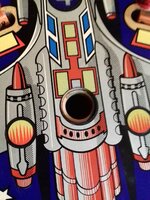
The old insert and it's replacement...
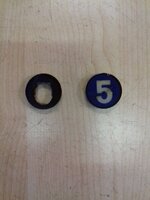
Underside of the insert...
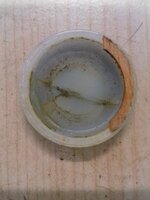
After a clean...
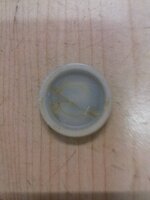
As you can see it is damaged and has previously been glued. I wanted to improve on this so I reached for the triple thick...

And added a small amount to the underside...
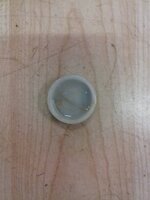
That has been left to set with a minimum of 24 hours to set.

The old insert and it's replacement...

Underside of the insert...

After a clean...

As you can see it is damaged and has previously been glued. I wanted to improve on this so I reached for the triple thick...

And added a small amount to the underside...

That has been left to set with a minimum of 24 hours to set.
Also cleaned the flipper bats (no photo yet) and the replacement metal post screws. Tried getting the sheared screws out but no joy and I will need to drill them out so need to buy some suitable drill bits.
Continuity checked the coin door wiring...
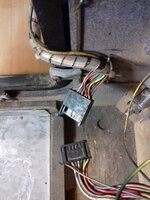
The reason for that is I don't have a working game yet. Zacc's a brilliant in many areas, particularly playfield but have one very big handicap, if they loose their programming then you don't have a working game until your friendly service agent pops along and re-programs it for you. Or you can read the manual that says, "Press the programming enable button P1 on the top left of the CPU"... this was missing and I have replaced it.
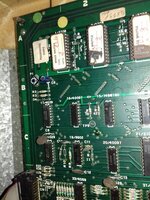
Then short test points 19 and 20 together with a bit of wire.
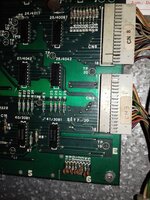
Then press the programming enable button again and with 06 showing in the credit window, program various features of the game such as how many balls in the game, how many coin switch activation's to give a credit, what replay values, etc. My only problem is that it doesn't show 06 in the match window so I can't program the game to allow it to work...
I will need to resolve that one another time as I was out of time for the evening.
Continuity checked the coin door wiring...

The reason for that is I don't have a working game yet. Zacc's a brilliant in many areas, particularly playfield but have one very big handicap, if they loose their programming then you don't have a working game until your friendly service agent pops along and re-programs it for you. Or you can read the manual that says, "Press the programming enable button P1 on the top left of the CPU"... this was missing and I have replaced it.

Then short test points 19 and 20 together with a bit of wire.

Then press the programming enable button again and with 06 showing in the credit window, program various features of the game such as how many balls in the game, how many coin switch activation's to give a credit, what replay values, etc. My only problem is that it doesn't show 06 in the match window so I can't program the game to allow it to work...

I will need to resolve that one another time as I was out of time for the evening.
Looking well on it's way. Looking forward to playing it 
Another day and more work to Space Shuttle...
Better get on and remove those pesky sheared screws... First one...
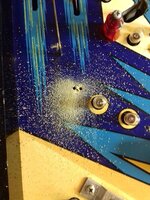
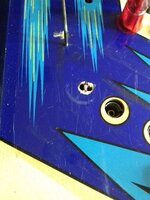
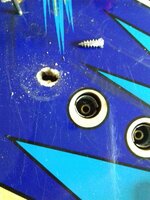
Then the second one...
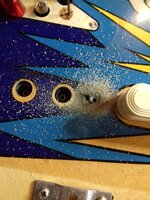
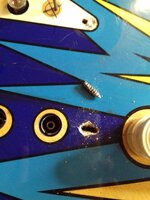
And finally the third one, left to last, as there is less area to hide under being a star post, with practice making perfect. etc...!
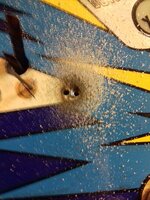
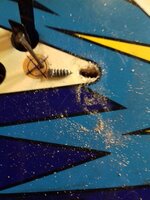
To fill the holes I prefer using everyone's favourite coffee stirrer as they're easy to break in to small pieces...
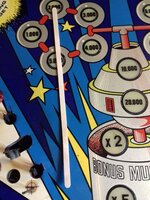
Better get on and remove those pesky sheared screws... First one...


Then the second one...


And finally the third one, left to last, as there is less area to hide under being a star post, with practice making perfect. etc...!


To fill the holes I prefer using everyone's favourite coffee stirrer as they're easy to break in to small pieces...

Pack holes with wood glue (no nails) and bits of wood then let dry...
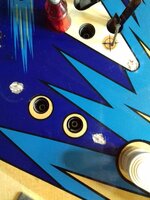
I ought to mention that it took the best part of 2.5 hours to remove the three sheared threads, taking it steady so I didn't do too much damage.
Then on to gluing the new number 5 insert in to place (no picture).
Then on to sorting out the shooter rod and it's very mushroomed end...
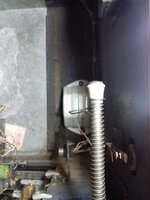
First cut away the old rubber...
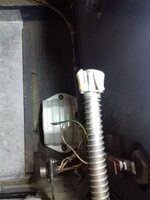
Put a metal filings catch tray underneath...
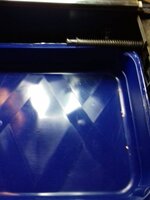
Then reach for the trusty wizard and grind off the mushroom like this (wizard inactive for this photo)... Always use eye protection when using power tools...!
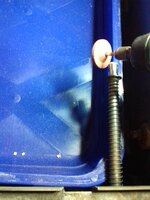
Then remove cir-clip... Always cover with hand to stop them flying off in to the distance never to be seen again...
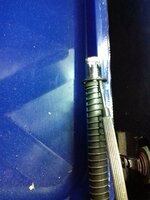
Store safely and easy to find again...
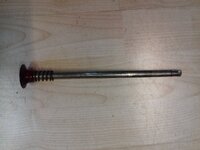
I then cleaned it up only to find that it was about 3 or 4mm shorter than it should be due to the mushroom so replaced it with a used stern shooter rod. I normally like to replace the spring with a nice shiny new one but I'm totally out of those.
Also clean the holder while the shooter rod is out... No shooter sleeve here.
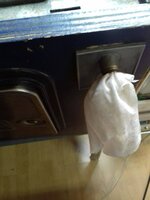
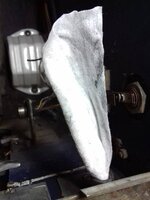
Finished item...
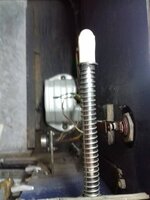
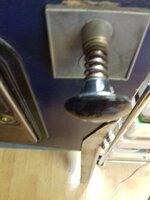

I ought to mention that it took the best part of 2.5 hours to remove the three sheared threads, taking it steady so I didn't do too much damage.
Then on to gluing the new number 5 insert in to place (no picture).
Then on to sorting out the shooter rod and it's very mushroomed end...

First cut away the old rubber...

Put a metal filings catch tray underneath...

Then reach for the trusty wizard and grind off the mushroom like this (wizard inactive for this photo)... Always use eye protection when using power tools...!

Then remove cir-clip... Always cover with hand to stop them flying off in to the distance never to be seen again...

Store safely and easy to find again...

I then cleaned it up only to find that it was about 3 or 4mm shorter than it should be due to the mushroom so replaced it with a used stern shooter rod. I normally like to replace the spring with a nice shiny new one but I'm totally out of those.
Also clean the holder while the shooter rod is out... No shooter sleeve here.


Finished item...


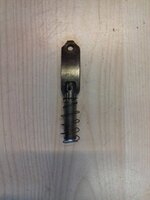
You may have noticed earlier that the right flipper wasn't sitting correctly like this...
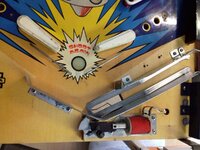
I though it would just be a loosed the grub screws and adjust, until I noticed the difference between left and right end stops...
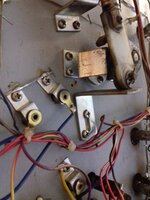
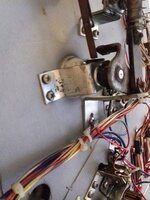
Spot the bend on the end stop? Straightened out using a hammer and re-installed. I wish sorting Stern and B/W end stops were this easy!
Also cleaned the flipper plunger (and coil sleeve) whilst it was out...
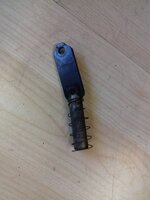
After...

I though it would just be a loosed the grub screws and adjust, until I noticed the difference between left and right end stops...


Spot the bend on the end stop? Straightened out using a hammer and re-installed. I wish sorting Stern and B/W end stops were this easy!
Also cleaned the flipper plunger (and coil sleeve) whilst it was out...

After...

View attachment 116797
View attachment 116798
View attachment 116799
View attachment 116800
View attachment 116801
with Apron cleaned and back in place...
View attachment 116802
Several hours (about 8) after the gluing hopefully it's dried enough..!
View attachment 116803
Nice job there mate
Sent from my iPad using Tapatalk
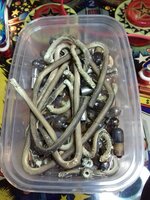
So this is what remains after the playfield restoration...
Had a look at why I'm not able to programme the game, there is noise / activity on the data line possibly masking the reset signal. Chip select is staying on ROM1. Checked the ROMs and cleaned the legs.
Before...
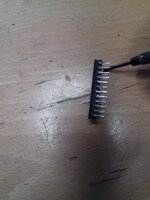
After (hard to see the difference) not the best photos...
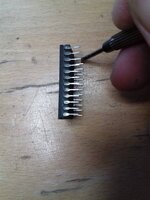
Sadly that didn't resolve anything and I'm probably going to get a new set of ROMs (@Paul) to help rule out any problems in that area before swapping other chips out.
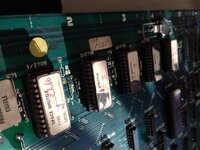
Labels as found when I purchased the machine.

Had a look at why I'm not able to programme the game, there is noise / activity on the data line possibly masking the reset signal. Chip select is staying on ROM1. Checked the ROMs and cleaned the legs.
Before...

After (hard to see the difference) not the best photos...

Sadly that didn't resolve anything and I'm probably going to get a new set of ROMs (@Paul) to help rule out any problems in that area before swapping other chips out.

Labels as found when I purchased the machine.
Regarding the programming issues, if there is no response to the TP19/20 short (normally get a warble) check Row1 (grey) and Col0 (Grey/White) for any stuck switches or shorted diodes. The lack of change on ROM1 CS sounds very suspicious though! If you need any help with ROMs let me know.
Regarding the programming issues, if there is no response to the TP19/20 short (normally get a warble) check Row1 (grey) and Col0 (Grey/White) for any stuck switches or shorted diodes. The lack of change on ROM1 CS sounds very suspicious though! If you need any help with ROMs let me know.
You've given me the idea to disconnect CN8 and CN9 then do the short for TP19/20 which will avoid stuck switches and shorted diodes from the game.
Yes, it is suspicious. I couldn't decide if it's stuck on ROM1 until it has received programming. The activity on the data lines (DS3) may be a symptom or a cause.
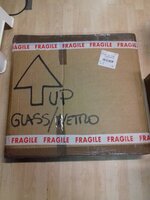
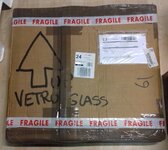
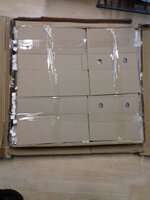
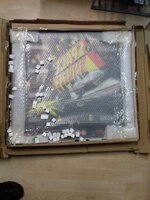
phewThis arrived in the middle of last week... Dumped upside down on the door step whilst we were out...
View attachment 117545
View attachment 117546
View attachment 117547
View attachment 117548
View attachment 117550
View attachment 117549
phew
Phew indeed, best part of nearly a grand of backglasses in there..!
Last edited:
You've given me the idea to disconnect CN8 and CN9 then do the short for TP19/20 which will avoid stuck switches and shorted diodes from the game.
Yes, it is suspicious. I couldn't decide if it's stuck on ROM1 until it has received programming. The activity on the data lines (DS3) may be a symptom or a cause.
That will certainly eliminate any issues caused by the game wiring and switches. Note that ROM1 is the boot ROM and is the same code and checksum for all of the Gen1 games with a 2716 in position 1, whcih can be useful if you have another Gen1 game to borrow a ROM from (or test the ROM in).
Replacing the old back glass, I found the sides and channel lift were stuck on with double sided padded foam so they easily pulled off. Quick clean on the channel lift... "Spot the spider"...
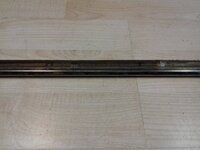
Oh and you pull out the pegs to remove the backglass ! More about the pegs in a bit, but with the backglass removed we find the following....
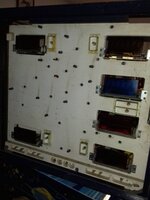
how many are working do you ask? Lets see...
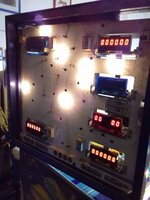
Hmm, a quick clean and replace all blown bulbs results in...
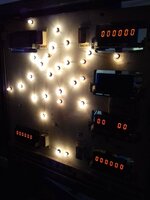
Got one strand out... not sure why they've used different strands for back box GI... unless they're controlled lights?
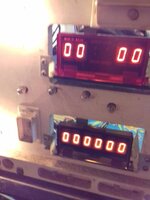
Plus 2 more although I suspect they're faulty holders...
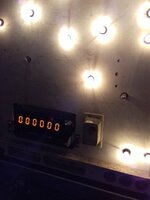

Oh and you pull out the pegs to remove the backglass ! More about the pegs in a bit, but with the backglass removed we find the following....

how many are working do you ask? Lets see...

Hmm, a quick clean and replace all blown bulbs results in...

Got one strand out... not sure why they've used different strands for back box GI... unless they're controlled lights?

Plus 2 more although I suspect they're faulty holders...

That string of lights behind the yellow flash on the backglass are not part of the GI. I can't remember under what conditions they come on, but I have just confirmed on mine that they don't come on with the GI.
Fantastic Stuff love these write ups 

Not much movement on this, the machine got folded when Special When Lit re-opened awaiting a new set of ROMs to arrive. In the mean time I did a playfield swap on the lower playfield for Haunted House, along with various bits and pieces on games set up at Special When Lit, such as installing new colour display, replace broken target, etc.
Fitted the new ROMs last week, unfortunately to no avail so the game got folded again. Last Sunday I did some homework on the MPU circuit diagram to identify which chips to check on next, which I'll do when I get the game set-up next. Going to be a detailed oscilloscope job trying to trace the fault.
New displays arrived during the week, they'll be put in when the game is set-up.
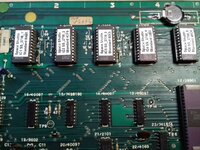
Nice new ROMs...
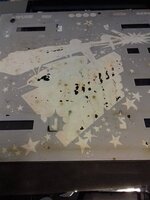
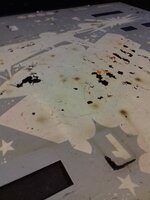
Oh and the original backglass showing just why I replaced it...
Fitted the new ROMs last week, unfortunately to no avail so the game got folded again. Last Sunday I did some homework on the MPU circuit diagram to identify which chips to check on next, which I'll do when I get the game set-up next. Going to be a detailed oscilloscope job trying to trace the fault.
New displays arrived during the week, they'll be put in when the game is set-up.
Nice new ROMs...

Oh and the original backglass showing just why I replaced it...


