What have you done about matching the blue mate? Are you gonna try matching it yourself
Pinball info
You are using an out of date browser. It may not display this or other websites correctly.
You should upgrade or use an alternative browser.
You should upgrade or use an alternative browser.
In Progress Whitewater Rebuild......
- Thread starter Paul
- Start date
Still unsure Gaz - several were saying that Peugeot Royal Blue or Peugeot Indigo Blue are the two clostest colours from off the shelf you can buy - I may try one of each on a base of Grey primer and see which are closest to the decals I have - Failing that I'll have to go the pain in the ass route and order some from the US, dig the compressor out and start spraying.... 
P
pintableuser
www.polyvine.com supply acrylic enamel paint in small 50mil touch-up pots....... No42 Baltic Blue may do the trick.
I found them in my local Homebase store in a rack of various colours ..... in the paint isle for a couple of quid per colour.
I found them in my local Homebase store in a rack of various colours ..... in the paint isle for a couple of quid per colour.
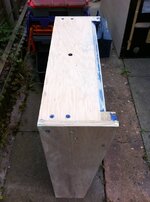
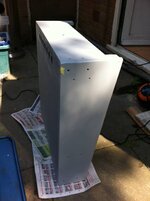
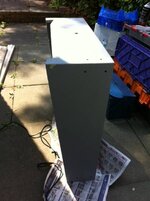
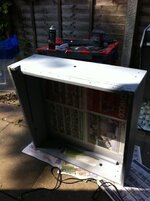
Thats box looks great! Is that standard automotive high build primer you are using on that?
That box would look much better on the back of my SE
That box would look much better on the back of my SE
Thats box looks great! Is that standard automotive high build primer you are using on that?
That box would look much better on the back of my SE
Not even High Build - Just standard Simoniz grey primer
Thanks Paul. 
So the latest as of a few days ago....
Paint Match testing against the new Planetary Pinball Decals...
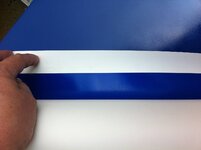
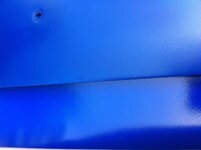
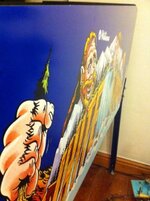
Near enough a perfect match as far as i can see Cab top - decal below
Thats using Halfords own "Peugeot Indego Blue" car spray (thanks for the heads up Daz!)...
Head top done first - sides done next
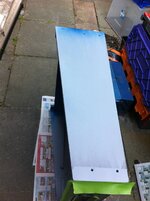
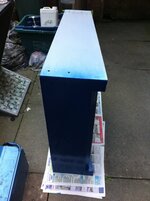
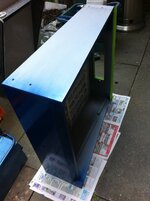
So all done other than the back...
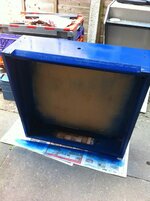
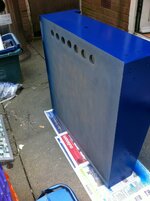
Nice sharp edges too ...
...
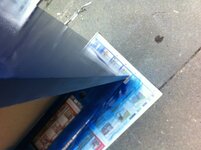
So just the back of the head to go.... Which has already started whilst we have good weather...
Paint Match testing against the new Planetary Pinball Decals...


Near enough a perfect match as far as i can see
Thats using Halfords own "Peugeot Indego Blue" car spray (thanks for the heads up Daz!)...
Head top done first - sides done next


So all done other than the back...


Nice sharp edges too

So just the back of the head to go.... Which has already started whilst we have good weather...
Nice work mate
Here's a question tho... Seeing as it's car paint, can you still use T-cut (very sparingly i hasten to add!) to remove small spray marks and make it look like an overall shine???
Nice Paul looks great
Here's a question tho... Seeing as it's car paint, can you still use T-cut (very sparingly i hasten to add!) to remove small spray marks and make it look like an overall shine???
You can but unless you have every pock mark and pinhole filled then the T-cut will get stuck right in there and will make the finish look cloudy. Waxing will not pull the t-cut out so will not resolve the issue.
I do however recommend flatting the first finish of colour back with 600 wet and dry to get as close as possible to a dimple free finish and then re-spray two further layers. Allow to cure for 7 days and then gently flat with 12oo wet and dry but avoid the edges and about 15mm from the edge. Get a shine back using a product called G3. You can get this from wilco's.
Finish with a wax that contained canuba.(prob spelt wrong)
Give it 3 good coats of wax to seal in the paint.
I used to repair old classic cars.
Looking good, what you gonna do about the silk screening on the back?
You can but unless you have every pock mark and pinhole filled then the T-cut will get stuck right in there and will make the finish look cloudy. Waxing will not pull the t-cut out so will not resolve the issue.
I do however recommend flatting the first finish of colour back with 600 wet and dry to get as close as possible to a dimple free finish and then re-spray two further layers. Allow to cure for 7 days and then gently flat with 12oo wet and dry but avoid the edges and about 15mm from the edge. Get a shine back using a product called G3. You can get this from wilco's.
Finish with a wax that contained canuba.(prob spelt wrong)
Give it 3 good coats of wax to seal in the paint.
I used to repair old classic cars.
Hmm... I'm getting a blooming finish, which is usually associated with it being too cold. However it would well be through being too warm.... Not worried about the few dimples... they arent too noticable and i'm trying to refurb it not making a museum piece or a work of ary(or thats how it goes in my head!)
I may hold off for an hour and try again... should be around 20C by then, which is about right....
Typically the sides are fine... it's just the back..
G3 is the way to go tho
Looking good, what you gonna do about the silk screening on the back?
I know a very nice man
Blooming in the heat I am guessing would be down to the thinners content in the less than quality halfords paint.
Try getting a purpose mixed can from wilcos. the spray pattern is better and the paint will lay better etc.
I then recommend adding a couple of layers of 2k clear over the lot. This is something best done with a gun but some clever bugger has made 2k clear in cans! This will give a high shine and a very hard wearing surface compared to the halfords paint.
http://www.ebay.co.uk/itm/Aerosol-C...oduct-Clear-/360169704193?hash=item53dbc98b01
This will happily lay on even outside at over 20C. I wouldn't go any over 28C and try to shade from direct sunlight for at least 1hr
Blooming in the heat I am guessing would be down to the thinners content in the less than quality halfords paint.
......
I then recommend adding a couple of layers of 2k clear over the lot. This is something best done with a gun but some clever bugger has made 2k clear in cans! This will give a high shine and a very hard wearing surface compared to the halfords paint.
Cheers DR
It has to be screen printed over the top with the Backbox text tho, so i'm thinking the Clear would be the last thing to go on. As for halfords, it's the only colour i have a choice of short of mixing and spraying my own, and that isnt happening (I can just about get by using a can!)
I did see the 2k clear in Cans. Deffo something to think of when its been screen printed with the text tho
wilco's usually have a mixing service. they chuck it in a fairy large can too.
Mixed to the paint code from the car. (or just give them the code from the can you have bought)
If you need more colour then I recommend this over the halford's stuff.
Yeah clear over the printing would be good protection for it mate.
These 2k cans really are good. I have used these to hide a multitude of sins
Good work soldier 
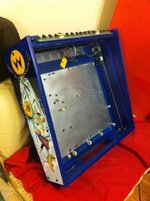
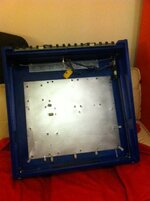
So head virtually complete now - Just ready for decals 
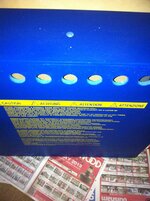
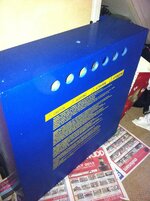
a Small flaw on the backbox printing that I may touch in later, however looking good and ready to re-decal the head
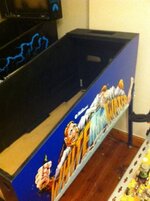
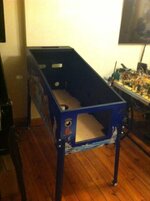
However the back end of the Cab is now looking sweet as attention turns to it...
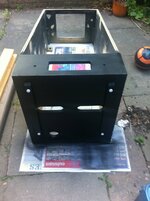
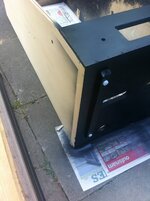
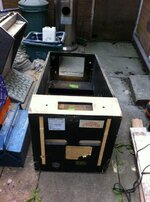
The inside of the cab is a wreck tho - I have manage to sand and fill the holes from the huge gouges where the PF rubbed against the sides, however looking at other people's efforts they just look much better....
Advice gratefully received....


a Small flaw on the backbox printing that I may touch in later, however looking good and ready to re-decal the head
However the back end of the Cab is now looking sweet as attention turns to it...


The inside of the cab is a wreck tho - I have manage to sand and fill the holes from the huge gouges where the PF rubbed against the sides, however looking at other people's efforts they just look much better....
Advice gratefully received....
Install some Mirror Blades.
Where do you get the backbox re screened? Considering just getting a decal
Not trying to pick fault but isn't the back of the head normally black?
Not on Wh2o, Head Blue, Cabinet base is black.Not trying to pick fault but isn't the back of the head normally black?
I see you got the red carpet out for it.
Looks good
Looks lovely.

