Pinball info
You are using an out of date browser. It may not display this or other websites correctly.
You should upgrade or use an alternative browser.
You should upgrade or use an alternative browser.
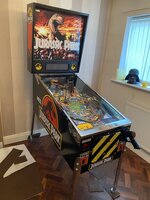
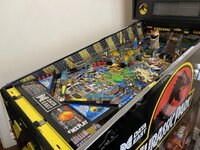
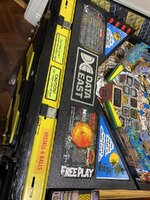
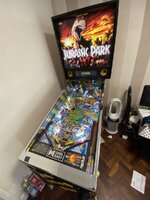
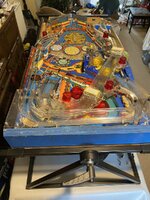
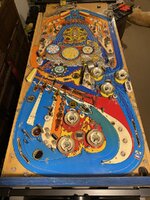
In Progress Whirlwind vs DE Jurassic Park
- Thread starter PinIB
- Start date
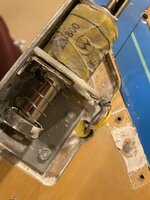
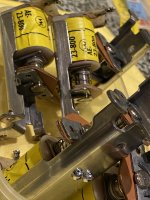
I went in to adjust a switch yet again. The switches on the flipper mechs stick open (I think) and after a squeeze and run through with a bit of cardboard work again for a random number of games.
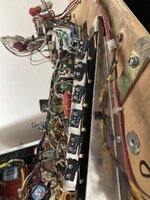
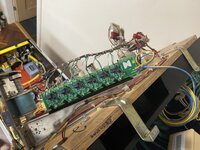
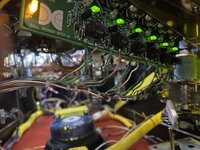
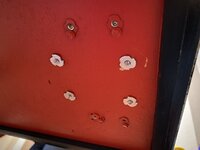
Whilst I was in there I fitted the Pinsound shaker motor. I had a battle with the t-nuts as the mdf is like concrete.
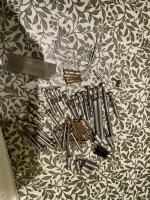
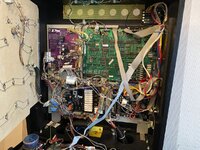
After 60 or so plays lots of random crap had fallen into the bottom of the cab from the playfield.
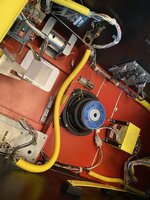
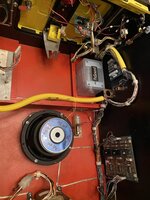
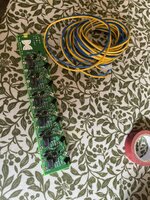
A lot of extra wires to manage now .....
Whilst I was in there I fitted the Pinsound shaker motor. I had a battle with the t-nuts as the mdf is like concrete.
After 60 or so plays lots of random crap had fallen into the bottom of the cab from the playfield.


A lot of extra wires to manage now .....

New home roms in and a pre video of progress so far. I'll do a proper video for YouTube at some point. Plenty of little jobs to finish first.
View attachment IMG_4568.mp4
View attachment IMG_4568.mp4
The serial number has been deliberately removed
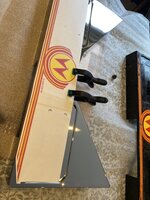
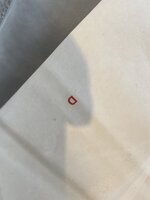
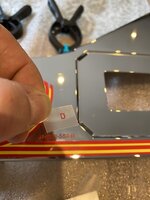
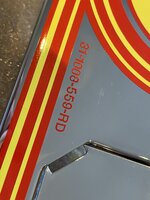
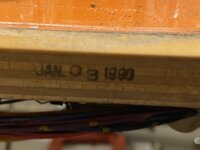
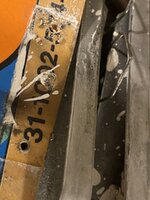
The same number applied to the cabinet, backbox, electrical components like the transformer, and circuit boards on Williams games off the production line*. Whoever removed the number from the rear of the cabinet may have missed a secret label, hidden on the lower edge of the wooden tilt panel. They definitely missed the transformer label, 574 for Whirlwind, an upper-case 'I' for export, and the number 338960.
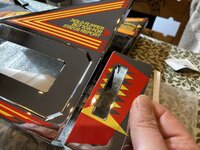
Re. the Insert board on Jurassic Park; many Williams/Bally games have a post fixed to the wood to act as a stop for problems like this. Not tall enough to foul the glass, of course, but enough to touch the woodwork before a lamp does.
* though not necessarily for very long; the only Diner that work bought was faulty out of the box, with the clock wheel not rotating. The remedial work attempted at the factory must've been something like 'Try another clock wheel/motor/opto board unit'. "Still the same?" 'Ok, cancel the FCC verification on the cabinet, change the coin labels, acceptors and stuff (or more likely the entire door), then box it up for export instead'
Last edited:
The same number applied to the cabinet, backbox, electrical components like the transformer, and circuit boards on Williams games off the production line*. Whoever removed the number from the rear of the cabinet may have missed a secret label, hidden on the lower edge of the wooden tilt panel. They definitely missed the transformer label, 574 for Whirlwind, an upper-case 'I' for export, and the number 338960.
Re. the Insert board on Jurassic Park; many Williams/Bally games have a post fixed to the wood to act as a stop for problems like this. Not tall enough to foul the glass, of course, but enough to touch the woodwork before a lamp does.
* though not necessarily for very long; the only Diner that work bought was faulty out of the box, with the clock wheel not rotating. The remedial work attempted at the factory must've been something like 'Try another clock wheel/motor/opto board unit'. "Still the same?" 'Ok, cancel the FCC verification on the cabinet, change the coin labels, acceptors and stuff, then box it up for export instead'
Thanks - that's really useful for getting the rear label redone. I'll try the post thing as I can't break anymore 455 bulbs!
Amazing job on JP. I'd reccomend the comet indicator bulbs for the lamps above the scoops and t rex lights. They look great and much better than white or clear domed LEDs if you want rid of the ugly condom incandescents
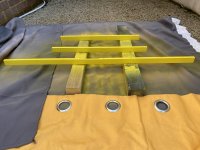
I'm pretty sure you're missing a piece of wood on the door. I'll check mine when it's set up again, it's just been hammered at the UK open

I break my 5th 455 bulb. Nightmare design - when you swing the light board open it squashes the bottom left bulb every time.
I'm pretty sure you're missing a piece of wood on the door. I'll check mine when it's set up again, it's just been hammered at the UK open
Amazing job on JP. I'd reccomend the comet indicator bulbs for the lamps above the scoops and t rex lights. They look great and much better than white or clear domed LEDs if you want rid of the ugly condom incandescents
I'm pretty sure you're missing a piece of wood on the door. I'll check mine when it's set up again, it's just been hammered at the UK open
I'll have a look for those indicator bulbs. Yes on the door - I actually remember filling in the old screw holes with filler before sanding and spraying. I don't know why I didn't realise at the time.
This is such an amazing game with the home roms installed. I can't stop playing it.
Mine has home roms too, heres some footage from the weekend of it being played, unfortunately no dmd camera
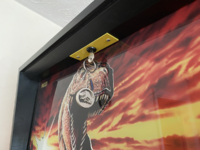
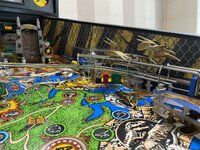
I like the bending wireform - mine just has the standard straight one.
If you aren't a fan of the blinding flashing GI there's a great board called EnerGI which I have that smooths the led flashes out, it's a bit over the top as you can customise the brightness and fade of each GI string individually if you like.
It's from a guy in Australia called David Morrel,he does awesome third party wireforms.
I like the bending wireform - mine just has the standard straight one.
It's from a guy in Australia called David Morrel,he does awesome third party wireforms.

EnerGI
That’s got to be worth it on a keeper. LEDs and the multi ball is currently mental.
100% I love it! It also stops the relay clicking noise during the flashing. It might be apparent on the video from the UK open that the flashing is smoother.That’s got to be worth it on a keeper. LEDs and the multi ball is currently mental.
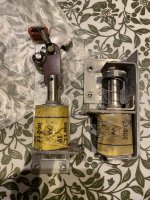
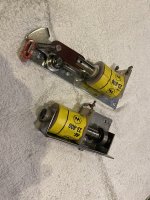
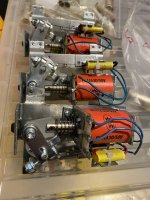
Hello, a word about the flipper assemblies; if those are the 'new' pattern flipper links, they're likely to break up the 'old' type conical return springs. I had that happen when using this combination.

