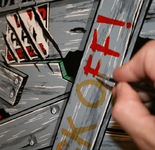
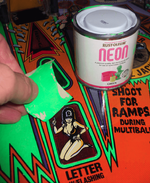
Hi again, todays fun packed instalment sees me tidy yet more playfield inserts on my DE Tales From the Crypt TFTC.
After the excitement of Part 1 I know you've all been dying to know how the rest of it has been going. OK, maybe none of you, but I'm going to tell you anyway!
https://www.pinballinfo.com/communi...epair-picture-heavy-part-1.51064/#post-430246 << Pt. 1.
So with almost all the nasty mylar removed it was time for inserts with colour and in bigger areas than last time.
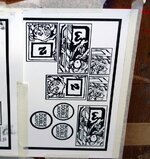
Above you can see the "Door Prizes" decals printed (what I needed anyway). I didn't want to remove solid areas just the flakey areas which was 50% of 3 large inserts.
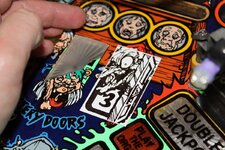
Some trial fitting of the decals to make sure I'd got them sized pretty close, yeah not far off. At the missing Door #2 area I removed just the loose flakey decal, most was gone anyway.
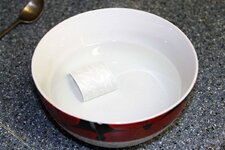
Into the water with a "Fizzzzzz". Weird that.
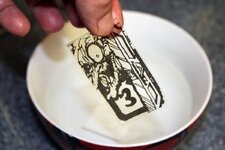
About 60-90 seconds later, out it comes....
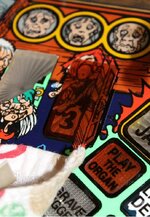
Onto the insert missing art, door 3 was the big one....
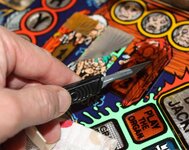
Trim where slightly oversize. Otherwise it will be proud and the ball would bump slightly. Undersize I can make up with paint & lacquer, I'm talking about 1mm here by the way.
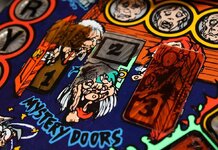
Doors 1,2 & 3 done. Pad off all the moisture and leave it for a few days. Paint next.
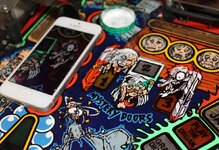
White paint first, phone for reference....
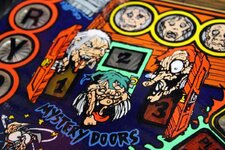
Flesh tones, green, orangey-red. I mixed 2K automotive paint in small amounts to match.
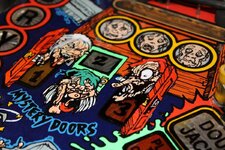
Once about done I left it for a week or so again, although I could have done it next day and brushed some 2K lacquer on. As I mentioned in the previous posting, if I replace this playfield with the better one then this will get stripped and the whole playfield 2K lacquered. It is pretty level though and it was better me saving this before it got any worse.
Hopefully this will answer someone's questions regarding playfield touch-ups and decal replacement.
After the excitement of Part 1 I know you've all been dying to know how the rest of it has been going. OK, maybe none of you, but I'm going to tell you anyway!
https://www.pinballinfo.com/communi...epair-picture-heavy-part-1.51064/#post-430246 << Pt. 1.
So with almost all the nasty mylar removed it was time for inserts with colour and in bigger areas than last time.

Above you can see the "Door Prizes" decals printed (what I needed anyway). I didn't want to remove solid areas just the flakey areas which was 50% of 3 large inserts.

Some trial fitting of the decals to make sure I'd got them sized pretty close, yeah not far off. At the missing Door #2 area I removed just the loose flakey decal, most was gone anyway.

Into the water with a "Fizzzzzz". Weird that.

About 60-90 seconds later, out it comes....

Onto the insert missing art, door 3 was the big one....

Trim where slightly oversize. Otherwise it will be proud and the ball would bump slightly. Undersize I can make up with paint & lacquer, I'm talking about 1mm here by the way.

Doors 1,2 & 3 done. Pad off all the moisture and leave it for a few days. Paint next.

White paint first, phone for reference....

Flesh tones, green, orangey-red. I mixed 2K automotive paint in small amounts to match.

Once about done I left it for a week or so again, although I could have done it next day and brushed some 2K lacquer on. As I mentioned in the previous posting, if I replace this playfield with the better one then this will get stripped and the whole playfield 2K lacquered. It is pretty level though and it was better me saving this before it got any worse.
Hopefully this will answer someone's questions regarding playfield touch-ups and decal replacement.

