What's new
Pinball info

Register a free account today to become a member! Once signed in, you'll be able to participate on this site by adding your own topics and posts, as well as connect with other members through your own private inbox!

In Progress Stern Indiana Jones Shop Log

Davey D

Site Supporter
Joined
Aug 4, 2014
Messages
608
Location
Grimsby, UK
Ive finally got round to picking up a Stern IJ4 a few weeks back. Ive been after one since NLP last year where i got to play on the machine that Jim @myPinballs took along to show the work he has been doing on the re-write. Of all the machines at the show i think its the one i went back to the most times to play on :D

The machine is generally quite tidy, but the list of work I will be doing so far consists of the following:

Clean/polish playfield and cabinet
Fit cliffy hole protectors to cover wear on "Temple of Doom" and "Last Crusade" holes
Fit cliffy coloured posts (saw these on his site when i ordered the hole protectors and thought they looked great on this game)

Fix flasher PCBs that arent working - Replaced with Mypinballs new version
Fix "Cairo Swordsman" that doesnt stay out (it flips out and then returns again straight away)
Blast/Powdercoat legs in original black textured finish (ive never bought a pin with legs in nice condition)
Paint stripes on the Sankara stone to look more like it did in the film
Fit trough / auto launcher service kit

Replace lamp holders for tube in head box as plastic has broken up
Install shaker motor

And most importantly:

Install hardware for the IJ4 re-write ( including colour display) :cool::cool:
 
Last edited:
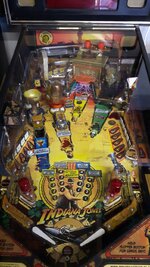
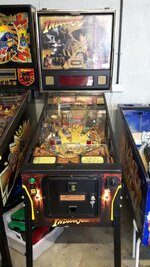
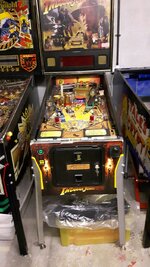
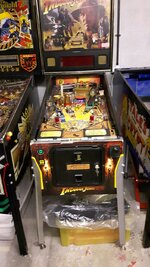
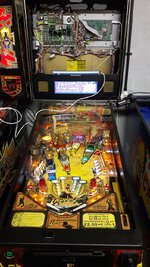
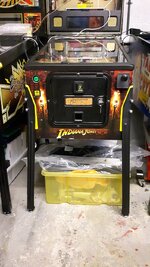
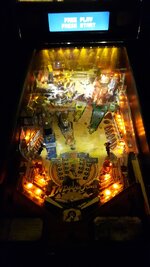
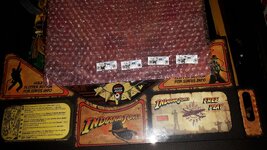
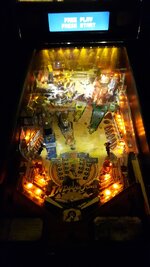
Here is how it stands as i got it home. Have fitted some yellow pinguards to help protect the cabinet

i.imgur.com_4mGYiIt.jpg

i.imgur.com_QgvIvib.jpg

Notice the TFTC next to it in pieces. That is another machine that im working on, but not doing a log for that one as its just a bit of a tidy up of the cab, and getting all the metalwork blasted and powder coated in Gloss Black. I had 8 x legs, 2x side rails, 2x backbox hinge plates, and 1x slam panel blasted, and powder coated for £60 which i thought was a darned good price. I had to get these back so i have some spare legs to stick the IJ4 on whilst its legs are being sorted out
 
CJ Powdercoating on Wilton Road Ind. estate. Usually takes around a week from dropping bits off. It seems to be a good place for social networking too. I think most times ive been in there i get chatting with some about the bits being done. On saturday i ended up chatting to a bloke who was friends with the person who owns "Taylor Made Fun" (they run arcades around this area)
 
Cheers Dave. I actually went in there when I needed my legs and side rails coating but ultimately I took them to a place up near Tescos (can't recall the name) as they were marginally cheaper and it was just more convenient for me to get there.

Might look at dropping the habitrails up to CJ and see how they compare in terms of finish. I presume you're happy with what they did for you - did they shot blast them too or did you do that yourself?

As for "Taylor Made Fun" they had an Elvis and Indy 500 in there a few years back but they disappeared a couple of seasons ago. Would be interesting to know where they vanished to.
 
Ha, ok, so looks like they have two sites then? One on Wilton Road and the other down the side of Tescos (Market Street I think it's called)?

Odd that I got quoted two different prices then.
 
aah ok must be someone else then. CJ is just on Wilton Road (which is near tesco) but maybe there is someone closer :D
 
Lots of confusion. I'm talking about the other Tesco. The one up near the Police Station and Victoria Mills. :)
 
So i was quite busy last night.

Ive put some crappy spare legs on the machine so i can send the originals off for blasting/powdercoating in textured black as per original.

i.imgur.com_7LHlTrS.jpg

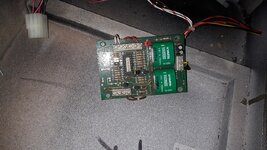
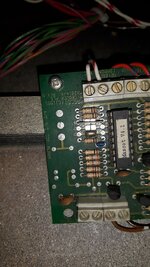
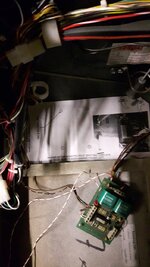
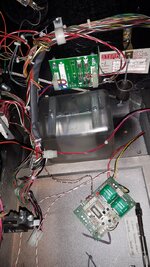
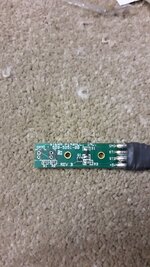
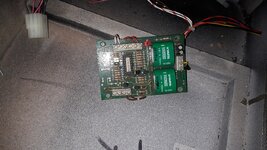
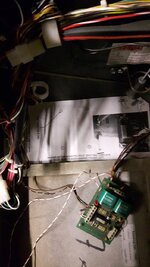
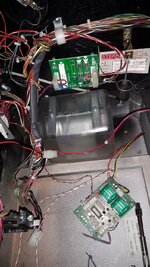
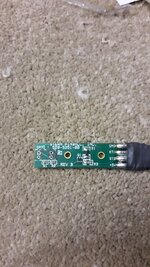
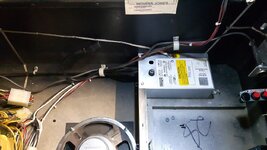
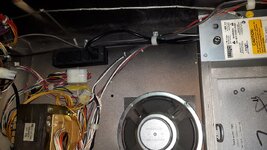
Inside the machine there is this little PCB. It hooks upto a power source on the right hand side of the machine, has a button behind where the coin box would go, has some wires that go upto near the coin counter but connected to nothing, and then goes to what looks like a lamp that someone has drilled into the fron of the cabinet. Anyone any ideas what it was for?

i.imgur.com_piYg7y2.jpg

i.imgur.com_mLP3Pe7.jpg

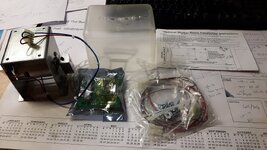
Fitted the shaker motor. It comes with a template you cut out, then lay in place as a drilling guide.

i.imgur.com_sODxQgR.jpg

And fitted. again you can see where the unknown PCB sits

i.imgur.com_MGw0NSM.jpg


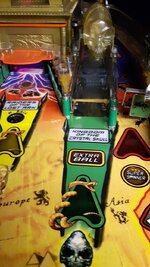
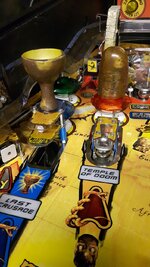
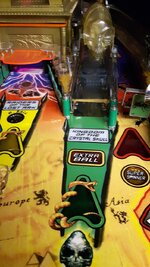
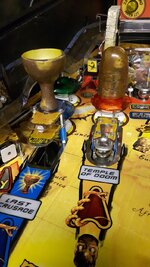
I went round the table removing parts down to the playfield, cleaned and buffed all the bits and then replaced. I'm not keen on removing everything in one go as yo need to bag and organise everything, then remember where it all goes back. The playfield really wasnt that bad so cleanup didnt take long. Whilst i was removing bits i fitted the Cliffy hole protectors, and Cliffy colour posts. Looks much nocer now with the added colour :cool:

T-cutted the clear ramps as they had marks down the centre where the ball rolls over them. Look much better now

i.imgur.com_Uy55Dpu.jpg

i.imgur.com_D2BzDrZ.jpg


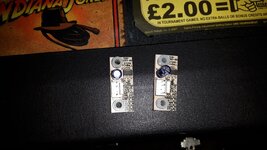
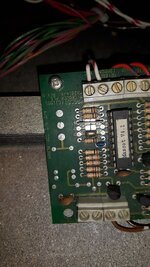
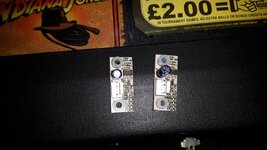
Whilst i was under the Playfield i thought id investigate why the Cairo swordsman wouldnt stay out. So here is the Opto PCB... Spot theobvious problem....

Yup someone has removed the optos from the board and not replaced them :tut:

i.imgur.com_2AqG5IW.jpg

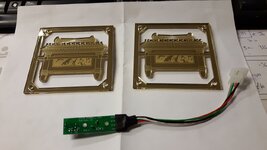
Ive removed the 2x non working twin flasher PCB for repair. They both look a bit toasty around R3 which is the one that often fails as discovered by Jim

i.imgur.com_HlxJY3h.jpg


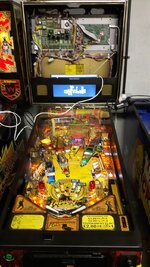
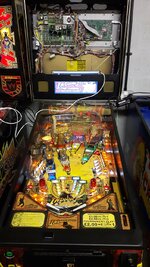
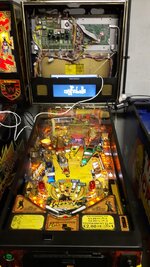
And then lastly for the night i thought id start with the install of the new hardware. Original SAM board out, and PROC in. There is a spreadsheet on the PROC website that tells you what connectors from the SAM board to connect to the PROC. Had to pull the wiring out of some clips and pull it though towards the board a bit more but it all fit nicely.

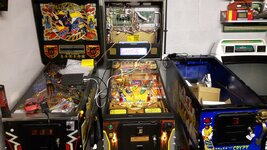
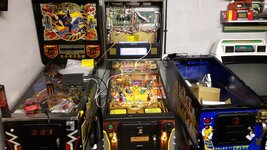
I havent had chance to modify the wiring for 240v in the cabinet yet so i plugged in the power for the PC and amplifier to a wall socket. Powered it all up and....

....

...

...

...

...

...

It Lives!!

i.imgur.com_QpAOTtH.jpg


i.imgur.com_7Zy5UEN.jpg


i.imgur.com_lCGQHrS.jpg


Had a quick few tries and called it a night as its was silly 'oclock by the time i had reached this point :rolleyes:

Very pleased with what i managed to get done

Excellent work sir :) That unknown board is a stupid alarm system, cut it all out and BIN IT!

Nice to see the LCD screen and new software come to life on other game :D
 
I collected the legs last night from the powdercoater, and they look fantastic! the texture perfectly matches the original so very pleased. Photo doesn't do them justice

i.imgur.com_FmRf2ho.jpg

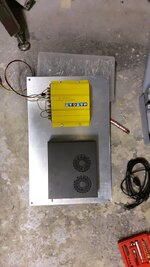
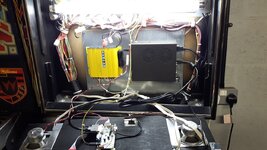
Now that i know everything is connected correctly i have mounted the PC and amplifier to a piece of galv steel plate, and fitted inside the backbox

i.imgur.com_Ur1lss0.jpg


i.imgur.com_if9ipEz.jpg

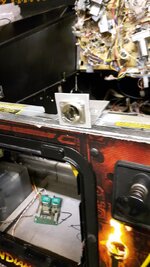
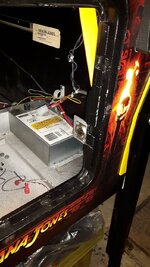
And last job for the night was to make a bracket for a USB port up front so that future updates are done easily without having to go into the head box. The idea came from RFM which has a serial port mounted in the same way for updating the machine

i.imgur.com_zXuBmKz.jpg


i.imgur.com_s5lwoyH.jpg


Service kit arrived yesterday so will fit that over the weekend, and i have some power connectors from an old arcade cabinet that will be perfect for use in this machine for hooking up the power for PC and amplifier inside the cabinet
 
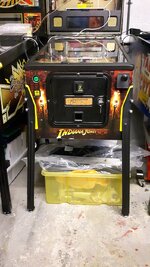
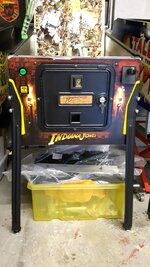
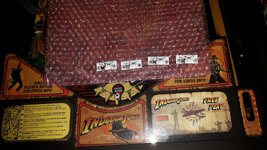
One thing that has been niggling me which i notice even more in the photos is the slight bits of wear on the front in high wear areas (around start / tournament buttons, above legs, and below Indiana jones under the coin door) . It is where the graphics have worn away to show the white vinyl it is printed on, so set to touching them in. Looks spot on now.

From this:

i.imgur.com_FmRf2ho.jpg

to this:

i.imgur.com_8mjQ7Vd.jpg


To connect the amp and pc inside the cabinet i piggy backed off the power switch in the cabinet to put in an IEC cable, which i then plugged into an IEC multigang

i.imgur.com_oGx9C1g.jpg

i.imgur.com_D63V3Uo.jpg

then modified the power cables which go to the transformers for the amp and pc by chopping off the 13A plug and fitting an IEC plug

i.imgur.com_iYxcARP.jpg
 
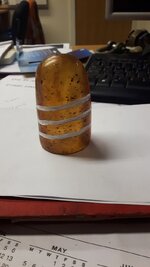
Quick, and easy this one: wanted to make the Sankara stone look more like it did in the film, so painted in the 3x stripes

i.imgur.com_yQvHUtg.jpg


i.imgur.com_Vuty3Uk.jpg
 
Just had some bits arrived. New opto board for cairo swordsman. This is a later revision of the board so hopefully there should be no more problems with that. I also picked up some fancy speaker grills as i think the DMD / Speaker panel on Stern pins looks quite boring in the plain black and plain gold mesh. Im going to make my own speaker illumination panel as the ones this is meant for goes for a silly price

i.imgur.com_WTD2TSW.jpg
 
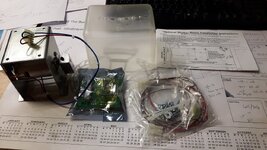
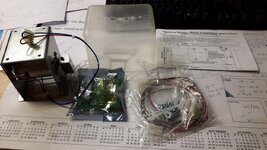
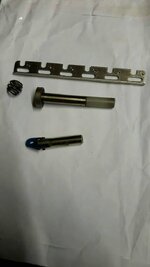
I finally got round to installing the service kit last night which consists of 2x new plungers for the load and launch coils, a new damper spring for the shooter rod and a new piece of metal for the ball trough.

The install instructions are really good as they show you a picture for each part showing the difference between original and updated parts so you can double check if any of the parts have been updated previously.
Nice quick job just lift the play field rest it on the front of the cabinet and everything is accessible

i.imgur.com_9JdDK4s.jpg

I fitted the new opto board a while ago for the Cairo swordsman but I've been unsure if it was working correctly still.
Unfortunately there is no working diagnostics on the released version of the rewrite yet so I pulled out the proc and fitted the same board back in place with the original did connected to it.
In test mode the swordsman still wouldn't stay out. So I did a switch test and nothing registered?! I pulled the new opto board out and looked at the pcb a bit closer.
Where the opposite were soldered on the tails had been cut back through the solder joint and the opto had come lose from the solder joint. There also looked to be a component missing compared to the other board 330ohm smd resistor. There was a pad for it with solder on one side. This was on the 5v line so looked like the pcb wad getting no power... is this what everyone means when they talk about Stern build quality?

So I soldered up the opto legs, desoldered the smd resistor from the old pcb and soldered it onto the new board. Plugged it in and tested the opto.. it works!
Fit it back in the machine and run the swordsman test again..... still problems it doesn't stay out. After a bit of investigation work i had to pack out the pcb a bit more as the interupter wasnt cutting the beam between the optos.

Had a go at fixing one of the flasher pcb, plugged it back in and it doesn't seem to work right so I think I'll wait on Jim's new boards for that problem
 
Ive not done much with it the last few weeks other than help test with installing the first update for the system on my machine, which went well. i was on my laptop at the IJ4 cabinet speaking to jim on the forum as i was sending him log files, and he was sending me extra files to copy to the IJ4 setup, and what code to tweak in the game.

Ive done a bit of a review of the game here: http://www.pinballinfo.com/community/threads/stern-ij4-the-mypinballs-re-write.34554/ but everyone going to NLP next weekend should be able to give his machine a good playing with :D :clap:
 
Whilst at NLP on Saturday i picked up a full set of replacement flasher boards from MyPinballs. He's just released them as a greatly improved version of the Stern item which is prone to failure (of which 3 of the 4 originals in mine have died)

15 mins and they are all swapped over and working :clap:

i.imgur.com_YYsESei.jpg


Whilst at NLP i noticed that his playfield looks a lot brighter than mine. A previous owner of my machine had fit Orange LED, where as Jims machine had original white incandescent bulbs with a much better spread of light. looking at mine you can see the orange spots of the narrow spread of light. So ill be ordering some warm white led with a wide spread to brighten things up a bit more

i.imgur.com_4dtNFMK.jpg


Good to hear you got the new boards installed without any issues. The install inside the ark can sometimes be a little time consuming, as they are buried inside and the ramp is in the way when trying to gain access. Also good to hear on the white led front for your game. I don't think this particular game needs any more orange!! Also, worth thinking about is the sunset matching lamps at the back like i've done. That adds a nice glow if the rest is clear :thumbs:
 
Yeah the flashers in the Ark were a little more awkward to fit (i had already removed the broken ones some time ago). In the end i used a long skinny terminal screwdriver to hold the plug up in place whilst i pushed the new PCBs connector into place. There is a long slot on the inside of the ark which lets you poke the screwdriver in. I would be damned if i was going to start removing all the ramps and plastics around the ark to get them in :D
 
Not strictly part of the shop log, but I thought this was the best place to put it.

The latest update has been released after being demo'd at NLP, so I thought I'd do a quick video of how easy it is to install.

Excuse the vertical video.... they are one of my pet hates, but it does show the most when videoing a pin

 
Back
Top Bottom