What's new
Pinball info

Register a free account today to become a member! Once signed in, you'll be able to participate on this site by adding your own topics and posts, as well as connect with other members through your own private inbox!

In Progress Silverball Mania

Courtney Blush

Never enough space.
Joined
Jan 9, 2016
Messages
894
Location
Birmingham, UK
Alias
Courtney
Well it's finally happened.

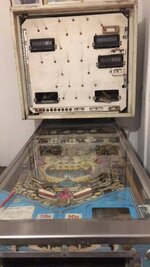
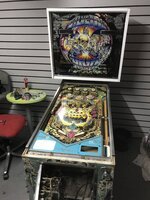
I found my personal Holy Grail machine, Bally's 1979 Silverball Mania. This was the machine that got me into Pins, Jukes, Arcade games etc. This was the first machine I played when I was just 9 years old and it means more than words can even remotely explain.

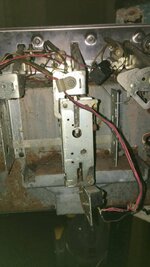
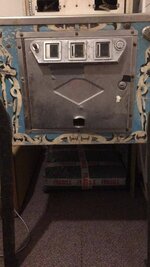
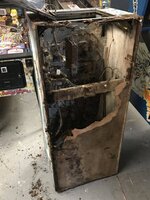
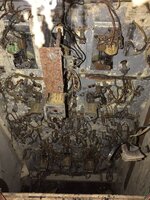
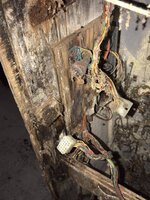
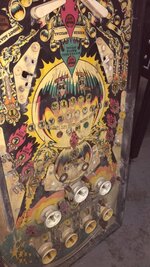
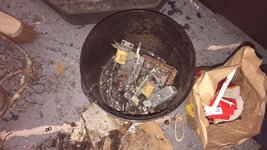
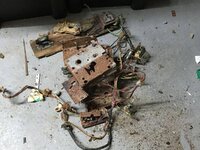
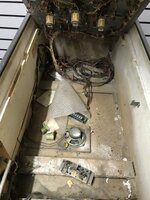
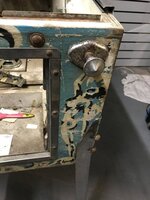
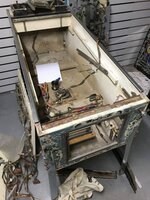
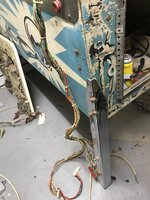
This one is trash to be honest, probably the worst condition pinball I have ever tackled, Rusted out backbox, wood seams split, rusted out coin door, all mechs under PF are rusted, plunger and plunger surround rusted too, no backglass etc..

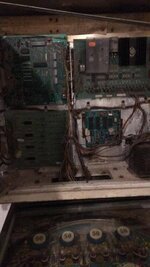
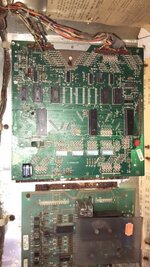
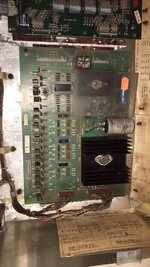
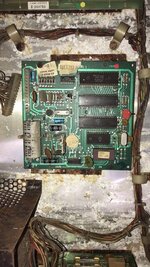
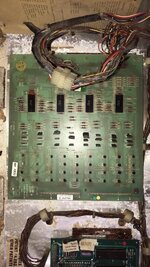
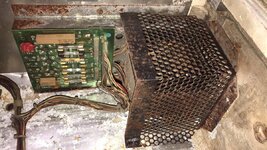
PSU fuse holders are black and all PCB mounts are rusted to the point the screws are unrecognisable. CPU is corroded.

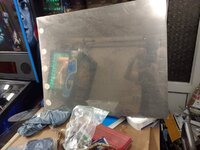
PF Glass is wrong as its off a Zac (anyone need a genuine Zaccaria glass?)

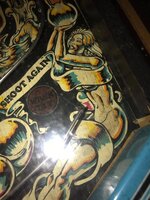
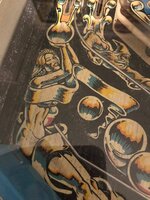
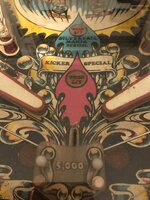
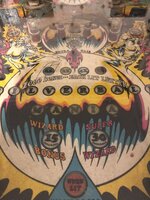
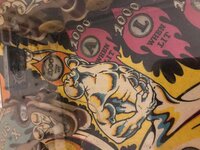
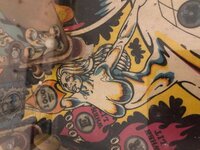
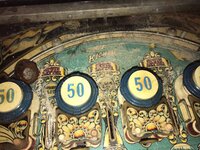
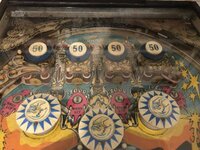
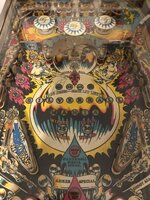
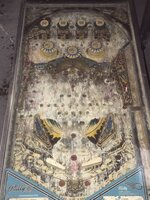
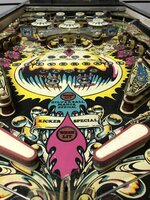
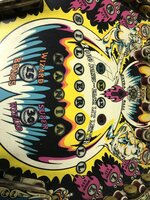
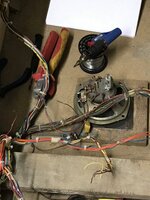
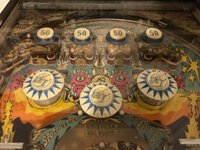
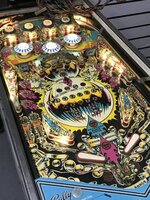
Heres some pics of the PF... and wish me luck.....!!!!1.jpg 2.jpg 3.jpg 4.jpg 5.jpg 6.jpg 7.jpg 8.jpg 9.jpg 10.jpg
 
you can't beat a winter project!,im sure you'll get it looking sweet if you put the hours in
 
Hey all

So the latest progress is.....

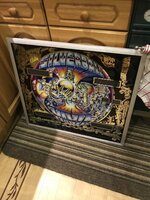
I managed to track down a Backglass for it. It cost me a lot compared to the condition of it but when you don’t ace much choice you have to go with what’s available.

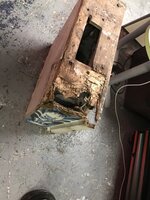
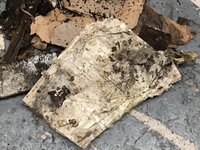
However the upside to this was that the guy I bought the glass off also had a complete machine in his garden, completely rotten but complete, bar CPU.

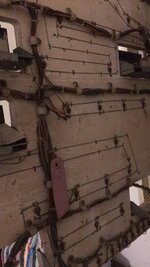
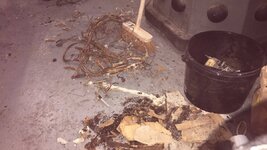
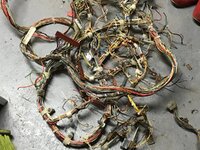
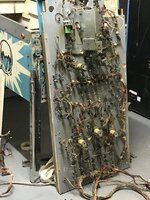
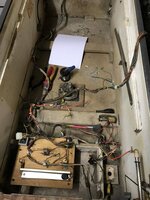
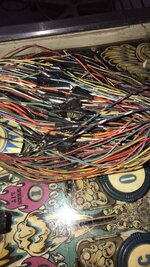
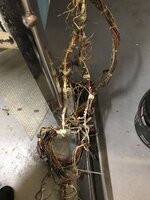
On the original machine I had bought, the wiring loom had literally been cut in half then twisted and taped to get it to work again. The one from the garden had a complete uncut loom.

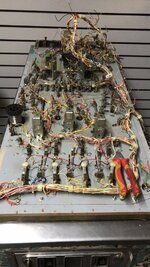
Both Cabinet and Playfield looms went through the dishwasher and are currently being fitted.

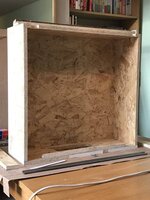
A friend is making me a backbox from scratch due to both of these being rotten.

The other bonus of the garden one was a full set of plastics, mechs, displays and all boards bar the CPU, so plenty of spares.

So far I have started the cab rewire and playfield cleanup.
 
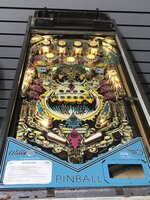
So, I had bought a brand new set of bumper caps but they are just too white for the age of the machine, so I have reverted to using all the bumper caps from the donor machine. The PSU is rebuilt with new connectors and a nice clean and complete plastic set from the donor machine also fitted. Makes the machine looks like a good used original rather than a complete refurb.

There are a couple of spots of PF wear but I think on this machine that's more authentic than having it touched in. The factory Mylar has done it's job well and is staying. Cleaning under the edges of it around the pop bumpers may prove a challenge though.
 
Any pics of the Dalek :rolleyes:

Good luck in he restoration :)
It's at Electric Circus in Birmingham.

Bloody hell, that's a heavy job you've got there. You'll crack it, your current progress is already amazing.
Can't believe people let them rot out so badly...

For the too-white bumper caps, perhaps consider painting them them in light buttermilk, or antique white + mixed in titanium white to achieve the right blend? I used the Americana range of acrylics for my machine and it's as close to ideal as I can find for everything including playfield and cabinet: https://decoart.com/americana/acrylics - it's also the range I would use for touching up the excess playfield wear. I agree with you though, I think it's a machine that wears patina well.
 
Last edited:
D7318D63-342B-42EB-AA5C-C37E3EFC500C.jpeg

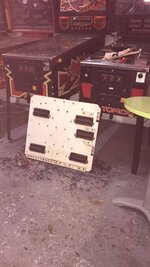
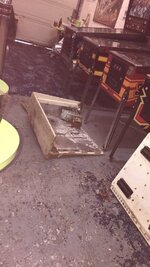
I would love to take credit for this but honestly not that good at DIY. This is being made for my by a forum member. It’s really coming together.

This really is resto if love rather than value!

Yes. I have a full set of bumper caps from the donor machine that have all yellowed equally and yet have all of the blue paint in place. Going to use them I think with some bright LED’s to counter the discolouration.
 
I've just about completed the backbox now, will get some pics up before I start on sorting the inner door.
 
CD93BD84-A475-4A67-B831-B7E819F135B9.jpeg F85D6C1E-F796-40FD-A084-7AB1704CAE57.jpeg ECBE7B08-96BF-4D95-A4FC-0BD4B7622AA1.jpeg 3538BE98-DD51-41EE-B252-7EAC1C25DABB.jpeg

Latest update.

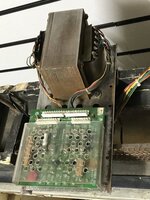
Main cab has had a complete replacement loom. PSU has been rebuilt and now tested and sound card has also been rebuilt and tested.

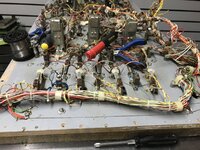
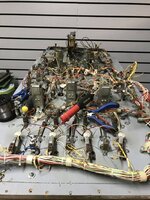
Now replacing the wiring loom on the playfield. At about 15% done so far.
 
1A86FB7C-D4DA-4894-9014-4B3FA4600CA5.jpeg 6AAD52CC-898C-406E-8177-0CE9735B4D5D.jpeg EFA3E73C-21A5-4819-80B1-CCECBB28B0A2.jpeg

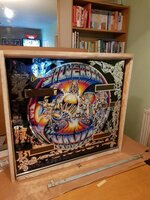
So games meets new backbox and glass for the first time and the playfield loom and cabinet loom swap is complete. Next job is to find something to line the backbox in to earth all the boards and then sand down the main cabinet ready for the white base coat of paint before stencilling.

The only thing I don’t have is a CPU that is in a state to be repaired.

Anyone got one?
 
It's thin it's 1 mm thick I think !
What it is ,it is a stainless steel splash back for a kitchen, it has a few scratches on it ,so it could not be used in a kitchen !
 
You can have it ! Still have that coin door for you just not had time to get down to Terry's ! To drop it off !!
 
Wow that is an impressive project to tackle. Well done so far, it's amazing what's been done.

Quick newbie question here - When you remove a witing loom - how do you know what wires go back where? Is it just a case of taking lots of photos before hand?
 
Wow that is an impressive project to tackle. Well done so far, it's amazing what's been done.

Quick newbie question here - When you remove a witing loom - how do you know what wires go back where? Is it just a case of taking lots of photos before hand?
Hopefully yes I also in a similar boat at the mo ,my Playfield being repaired at the mo :)
 
When I remove one, I leave 1cm or so of the old wire in place so you know what wire goes where. The total rewire was around 7 hours of soldering and wire stripping and tidying.
 
Back
Top Bottom