What's new
Pinball info

Register a free account today to become a member! Once signed in, you'll be able to participate on this site by adding your own topics and posts, as well as connect with other members through your own private inbox!

In Progress Scared Stiff Cabinet Restore / Build

"What a huge boner-us!"

Screen Shot 2022-03-07 at 22.07.20.png

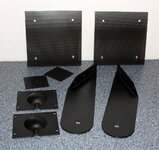
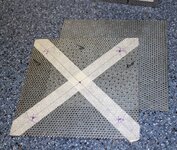
Next up, it's time to chop up some perforated steel for the cabinet speaker and spilt-beer-exits!
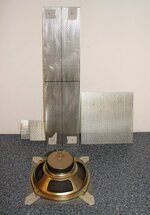
S1.jpg

S3.jpg

X marks the spot....

S4.jpg

A little while later with some hinges and a pair of rear cable covers done in the usual Satin Black.
S9.jpg

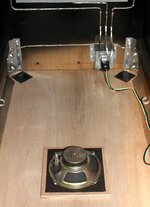
Stapled the grilles to the timber. Sounds easier than it is, get that staple misaligned and nope. Try again. Just gotta glue the speaker square down now.
S10.jpg

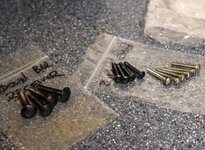
Some partially heat treated carriage bolts for the lockdown bar and side rails. A nicer way of doing it than just painting 'em.
S11.jpg

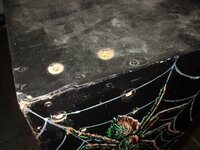
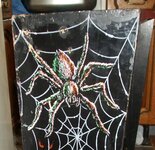
Onto the head now... yeah it's not that clever here and there... still I'll see how it goes.
S12.jpg

Poor touch-up's, screws holding it together (!) It's not very nice is it? No! It's a chuffin mess!
S14.jpg

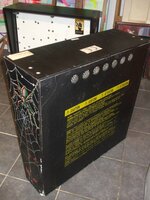
The rear of the backbox? Cracked MDF. You can't really glue it, not properly so I think I'm really gonna have to replace the back of this head. Still, it will be all ply now so that's a good thing.
S15.jpg

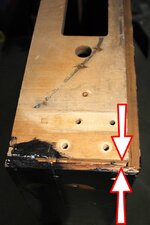
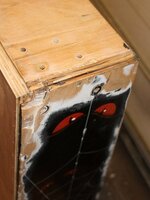
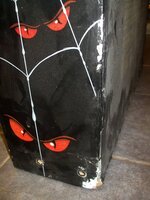
Lower corners missing and clagged with crap filler. I dunno what this is but it's cracked and drops out without hardly touching it.
S16.jpg

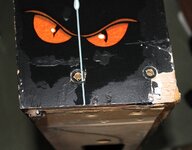
I've a nasty feeling at this rate I'm making a new head for the cabinet...
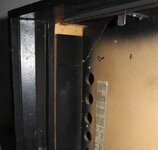
S17.jpg

Inside the head with split MDF. Meh.

S18.jpg

Lower right, yeah that back of this is going in the dang bin!
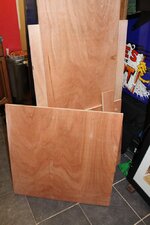
S19.jpg

A trip to pinball parts dept. in B&Q later ....
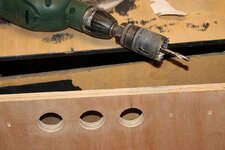
S20.jpg

Grade AA 11-Ply timber it's not but it will be fine and a vast improvement over the factory timber.
Firing up the hole saw!
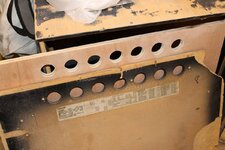
S21.jpg

New timber drilled....

S23.jpg

Rear of the head out. "How's the cabinet coming?" Me - Dunno, it's a bit hit and miss at the moment.
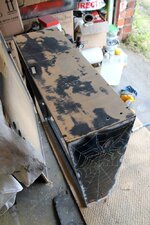
S22.jpg

Top sanded this section is pretty much fine. A few screw holes at the moment but they're no biggie...
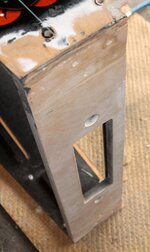
S25.jpg

Bottom is OK too.

S24.jpg

Wow that corner really is gone....

S27.jpg

More claggage removed, the areas that were touched up by the previous owner somewhere down the line I partially feather edged.
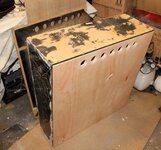
S28.jpg

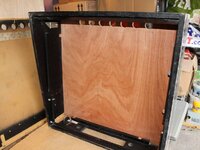
A quick trial fit of the replacement back. I maybe able to save this OK after all!

Next time, glue, nails, fibreglass resin and filler! :)
 
What a fantastic restore thread, I have been thinking of tackling my Congo cab in this way for a while and this is really spurring me on.
Keep up the great work @Dex-Jay .
Do it dude! Piece at a time, work tidy & tight, take loads of pictures and find plenty on the net if you need them, you'll be fine. Someone on here, is always around to point you in the right direction. :)
 
"Wake me up when you're done..."

Screen Shot 2022-03-10 at 23.14.30.png

With the rear of the cabinet now chopped it was time to get it fixed.

S30.jpg

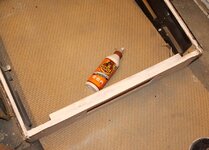
A smear of Gorilla Glue in the incompetent hands of the garage monkey... (yeah, that's about right)

S31.jpg

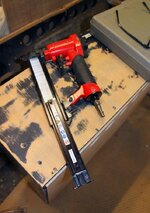
It was time to go full SargeGritz with a nailgun and full mag of ammo (nails)!

37.jpg

Phadumf, phadumpf, phadumpf... (air nailer sound!) Keep that firing pattern tight soldier....

S32.jpg

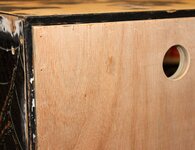
Fixed and done. Pretty solid now. I just want to add more glue where it needs it before I go any further.

S33.jpg

Missing ply on the underside of the head. If you think I'm leaving this gap you're mistaken, no sir!
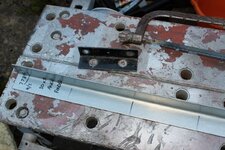
S35.jpg

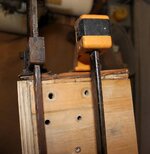
If you think those look like double stacked wooden dowels glued and pinched in there... well, you'd be right. A pull together while the glue goes off.

41.jpg

Once set it looked like fine after a quick sand.

40.jpg

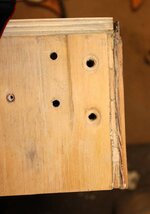
Last view of the missing corner before I fix it for good.

42.jpg

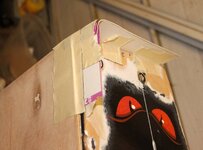
Cardboard and masking tape shuttering to keep resin in...

43.jpg

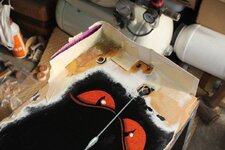
Resin and a little matting in, then left for 24 hours to set.

44.jpg

Resin is a far better bet in a corner than just chucking body filler at it. Hell, it's tougher than the wood and why they use in car body panels.

45.jpg

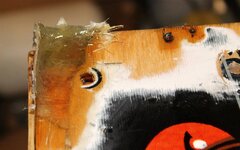
It will need a touch more resin before a slight smear of filler. Almost got it.

46.jpg

For some reason there was black acrylic (?) in areas it didn't need it. That came off with celulose thinners and cloth.
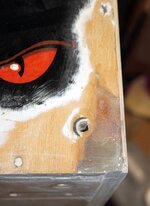
You can see that once the black areas are repainted the rest of it shouldn't be too hard. Even if I was going to redecal it I needed to put the above right before going any further.

47.jpg

Other side shuttered & glassed. This corner wasn't as bad the first one.

49.jpg

The chewed up edges got some resin before a sand to get them straight. Mo' tape, mo' resin.

48.jpg

1st pass almost got it, I just need a touch more resin. I'm filling all the old screw holes as I go by just running resin into the holes. A second mix next.
After this is a touch of filler, and a little sanding.

Next update - paint!
 
what resin do you use?
I use this stuff > https://www.ebay.co.uk/itm/234061897315

It's a pretty standard fibreglass resin you'd use on a boat / roof. Comes with catalyst, pour, mix and apply. Use a little medium matting too if you need it.
A litre will go a long way, I bought the 2.5 as it was the better buy and I'll always end up using it. I used to get it locally but their prices went up so eBay it was.
 
"Just wait 'til you get your hands on my bumpers...."

Screen Shot 2022-03-14 at 19.26.34.png

As promised, time for some paintin' action!

50.jpg

Sides masked up, they're ropy but I don't want to make it any worse at this point.

51.jpg

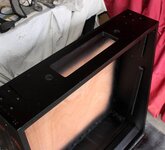
Vent at the top masked and rear of the timber lightly sanded at this point.

55.jpg

2 coats of satin black and that's the top and rear covered. (It had another 2 coats after a flat in between)

56.jpg

Yeah, even enough with a slight sheen which was what I was after with the satin.

57.jpg

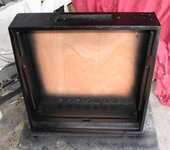
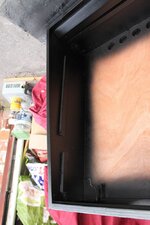
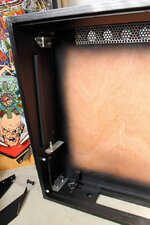
The inside wasn't terrible but it had some marks which will show once assembled and as it's over the garage now's the time to do it. (This is of course before I scrapped the MDF original back of the head).

58.jpg

When I removed the MDF panel these 2 small blocks came with it which were then glued and nailed to the new rear section.

59.jpg

Back where the came out from.

60.jpg

It's upside down of course in this shot as it was just painted but it was sprayed much like the factory did with paint just into the corners.

61.jpg

The inside of the head needed a couple of dabs of filler as it really wasn't the worlds finest piece of timber when it was built.
I can only imagine quality control were on holiday for a few months...

62.jpg

A shot of the bottom. Another couple of dabs of filler without going mad. I want it to look close to factory build not to a ridiculous finish as they were never that good.
I wasn't going to paint the whole bottom but it looked half finished when I paused half way through and I said "Nah, hell with it, I'll spray the whole thing."

64.jpg

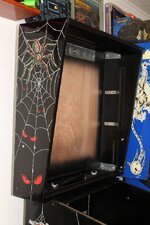
(This shot was before I painted the back and sides) The cabinet I figured was savable, the head was borderline me ordering new decals. What did I do?

Stay tuned until next time for more monsters and mayhem!
 
"Please keep all body parts inside the crate..."

Screen Shot 2022-03-29 at 22.03.08.png

So how has the touching up & paint work gone on the head? Did I manage to save the art or did I go with new decals?
-SPOILER ALERT-

(Yes I did, but really in hindsight decals would have been preferable. Worked out OK though).
Read on!

65.jpg

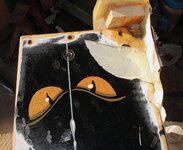
With a buff of the old paint it was meh, OK. Better after a buff with compound.

66.jpg

I brushed on some 2K primer, gave it 48 hours or so then blocked off. It went on a bit goopy, it's high build so it's supposed to. Blocked down with a little 180 then 320 dry.
Never sand without a block to keep it flat....

67.jpg

Wet & Dry with 800 and a little 1200. I wasn't worried about rubbing through the primer too much. As long as it was flat.

68.jpg

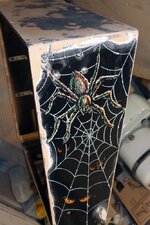
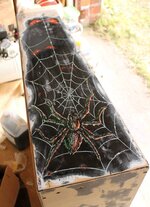
Keeping off the art as much as possible but if you can't avoid it, you can't. One side was a little more time consuming than the other.

69.jpg

Right hand side done in black...

70.jpg

.. and the left. Just the grey webbing and a glaze over the red and green to go now.

71.jpg

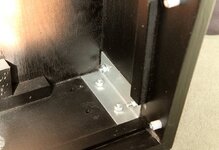
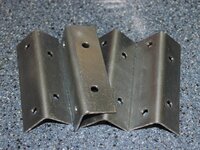
I was missing the corner cabinet bracing so I ordered some equal angle 2mm galvanised steel off the bay... and if you paid attention in woodwork / metalwork / needlepoint you should end up with something like this....

72.jpg

75.jpg

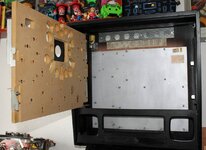
The head felt solid without these now the new piece of ply is in the back but I might as well put them back in aswell.

76.jpg

Scoreboard pivots in. The rear upper vent cleaned and fitted with new screws too.

83.jpg

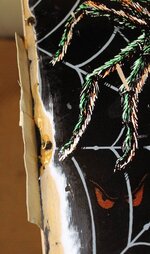
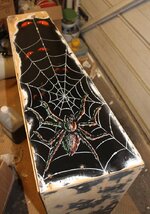
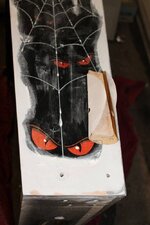
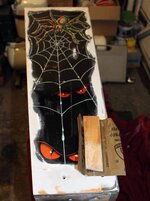
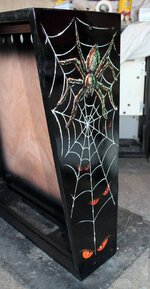
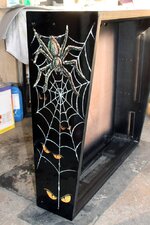
Grey web done as well as red and green on both sides. I might just add a few fine dabs but it's good enough.

82.jpg

Yeah, not bad.

81.jpg

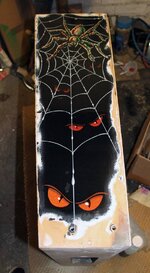
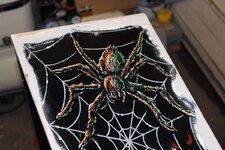
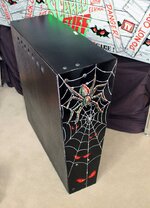
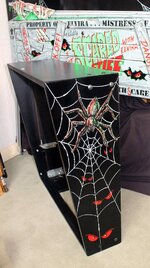
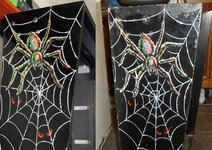
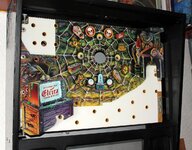
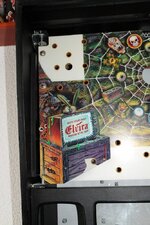
Here's a before and after for you! No decals, just time and TLC.

80.jpg

And that pretty much concludes the cabinet work. I've just got a few bits to add in the next minor update, but all paintwork is done.

78.jpg

:)
 
"Wake me up when you're done..."

Yeah, it has been a while. I've been busy with work on 2 garages getting knocked into 1 and work on another 2, so I've had games and tools all over the place.
Anyway, as best I can remember it I'm upto here!

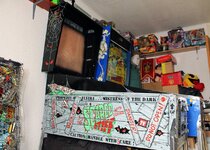
Earlier this year I had a load of parts of Todler @todler and it that treasure trove of goodness was translite, lightboard, backbox plastics, head-cpu-mounting board, some wiring harnesses, spider pointer & load of other useful hardware.

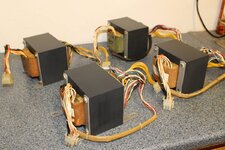
Also I had some gubbins off Matt Adams which included a few transformers, specifically a couple of WPC95 transformers.
So with this lot to clean, paint etc. I've got enough to get me messin hands on!

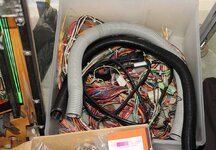
Box of harness bits.. some of the part numbers tally so that will save me some work.

SS_Aug_22-6.jpg

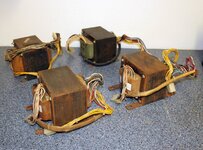
Transformers as bought.

SS_Aug_22-0.jpg

and cleaned and repainted, well I was doing one for my Scared Stiff so I might as well do the lot...

SS_Aug_22-00.jpg

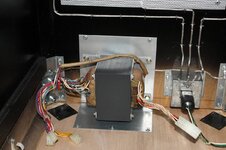
I ordered the steel power supply mounting off a local metal place which I just had to drill and mount the supply with a load of new hardware bolts & fasteners.

SS_Aug_22-2.jpg

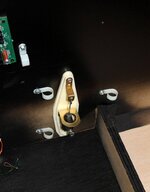
Had a plumb bob off Todler so with a clean I put that in...

SS_Aug_22-1.jpg

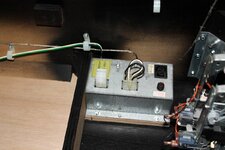
Had a ON/OFF switch housing off Matt (I think) and got that in too.

SS_Aug_22-3.jpg

Mounted the backbox mount. The decal came out of the old ratty head. Added the hardware hinges from Todler.

SS_Aug_22-5.jpg

Lucky me getting the lightboard really, saved me having to rout one out.

SS_Aug_22-4.jpg

Plastics too! Awesome!

SS_Aug_22-9.jpg

While the lightbox overlay isn't mint, I had to do a couple of repairs, it will do for now.

SS_Aug_22-8.jpg

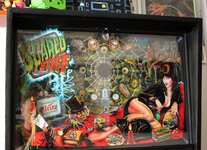
With the translite, it's looking great to me! The whole thing is actually looking like a pinball machine!

What's next? As I've got the Molex's make up the short harness between the transformer and the on/off switch. Then I've got to chase some boards for the head.
That's it, you're all up to date!
 
Not really touched my SS build in a while but I noticed I'd not uploaded any pics of the DMD & speakers now in place... so here's a couple.

SS-web--Dec23-1.jpg SS-web--Dec23-2.jpg

Once I've got a bit more space over the garage I'll get the insert decals printed and applied for this and my Funhouse playfield and get them lacquered once it starts warming up a bit in a couple of months.
 
Thanks to Mr. s000m for the ramps that will go towatds my collection of playfield parts!
These will be fine with a clean polish. I can always replace with new if I run out of other things to be buying!

ramps.jpg

If anyones got terror from the crate parts and a coffin lid, do let me know!
Some touch up's and lacquer is on the menu for this playfield next year.
 
Thanks to Mr. s000m for the ramps that will go towatds my collection of playfield parts!
These will be fine with a clean polish. I can always replace with new if I run out of other things to be buying!

View attachment 239942

If anyones got terror from the crate parts and a coffin lid, do let me know!
Some touch up's and lacquer is on the menu for this playfield next year.
I'm glad they arrived in one piece. I had my doubts when I had to frakenstein 6 boxes together ><
 
I'm glad they arrived in one piece. I had my doubts when I had to frakenstein 6 boxes together ><
I looked at the boxes and thought... "Oh shiznit...." but it got here all safe, thankyou! :)
 
Back
Top Bottom